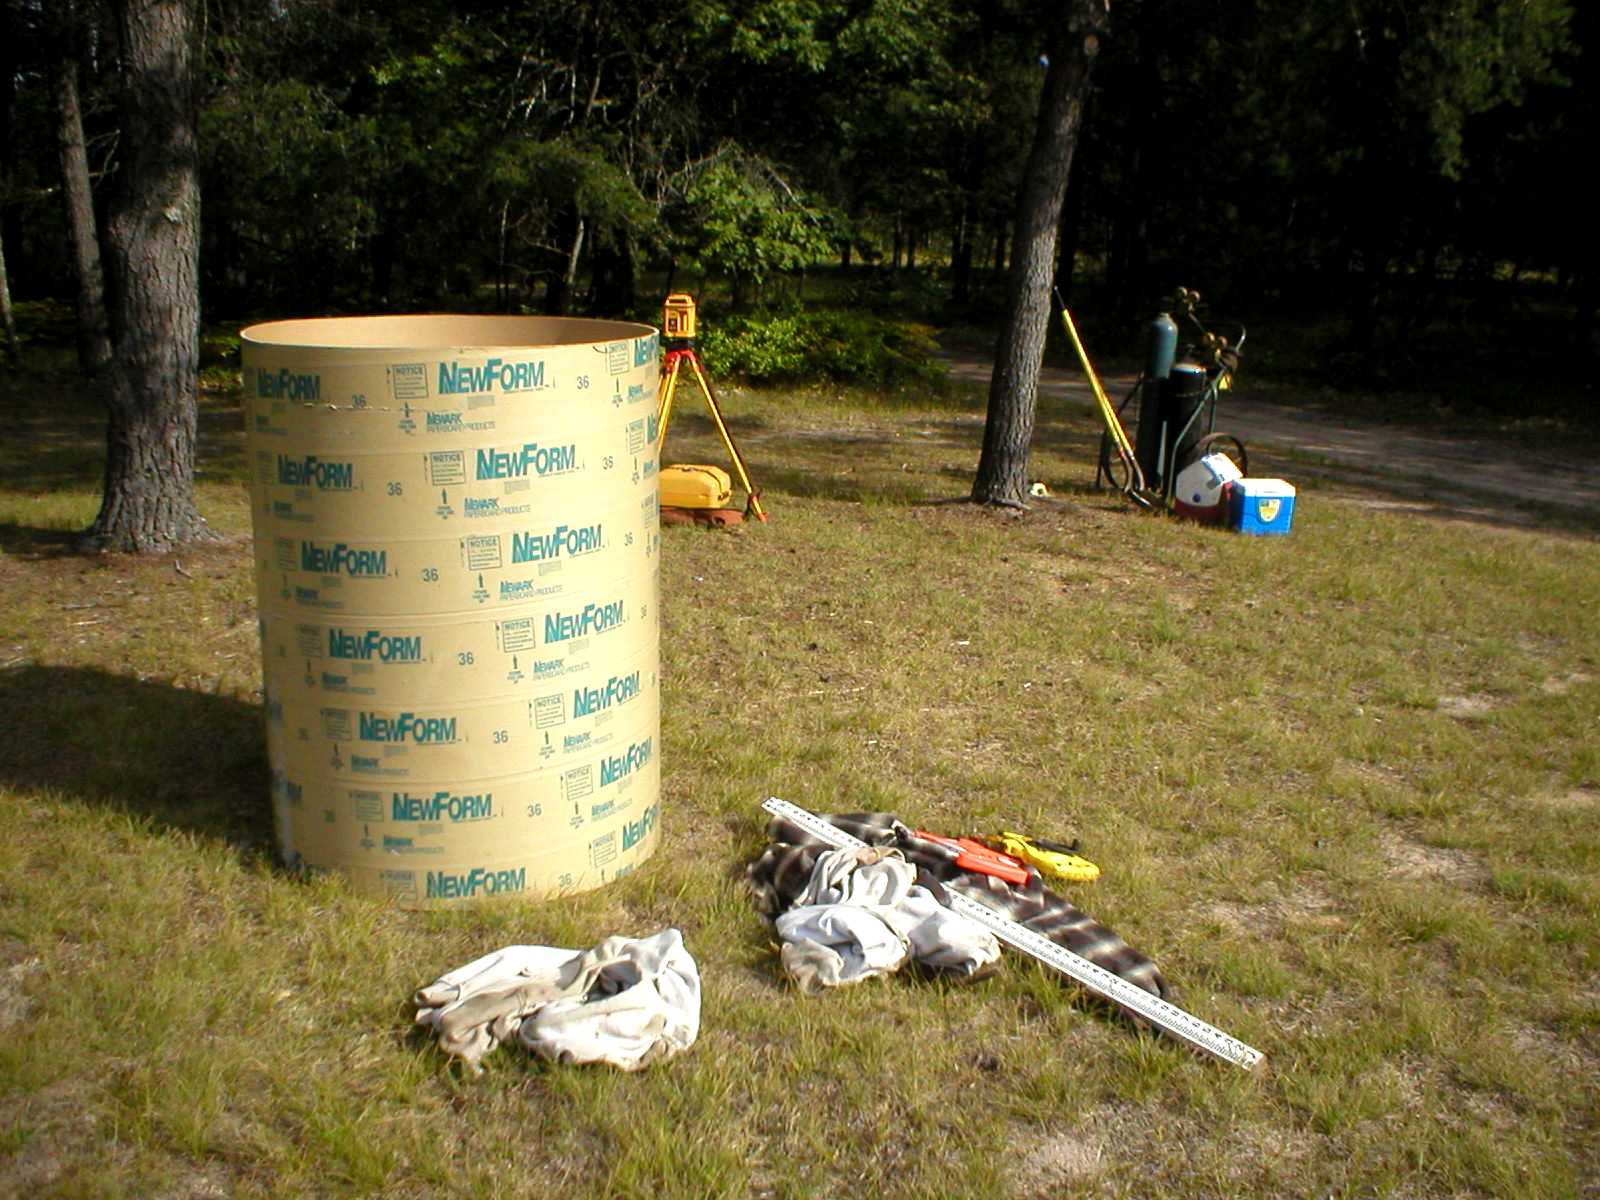
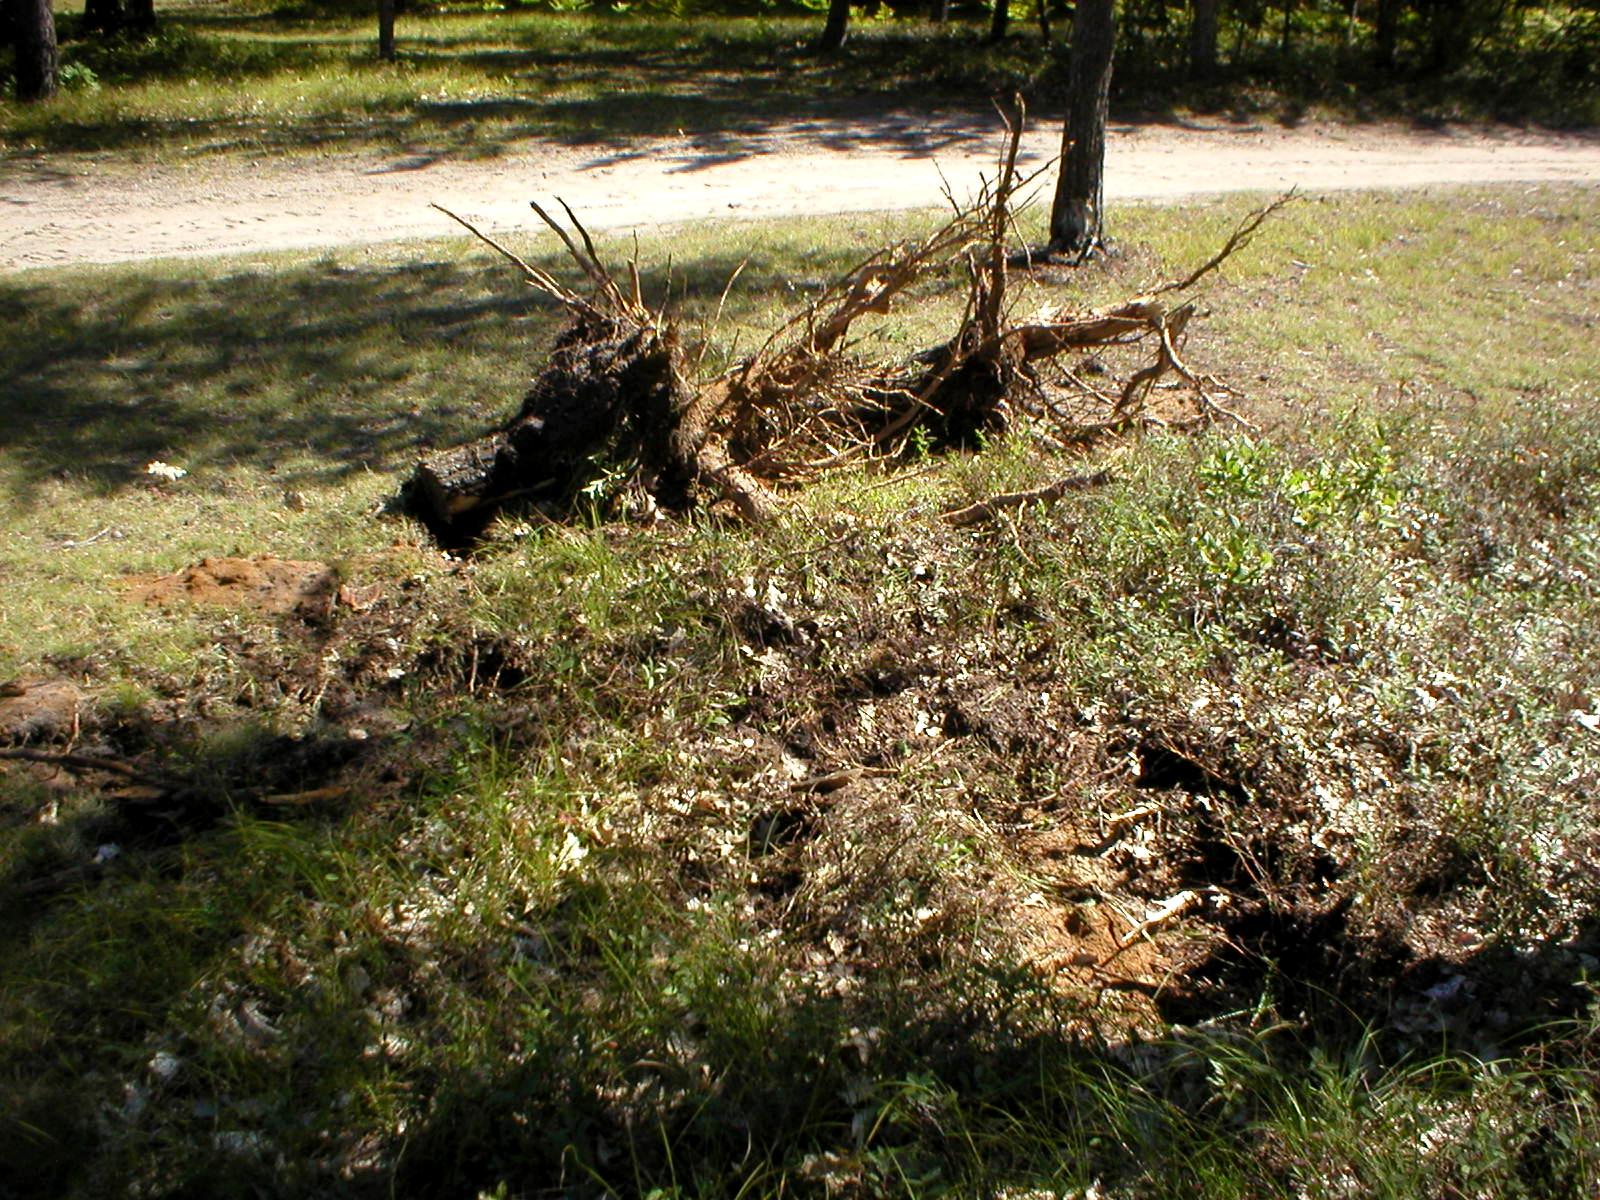
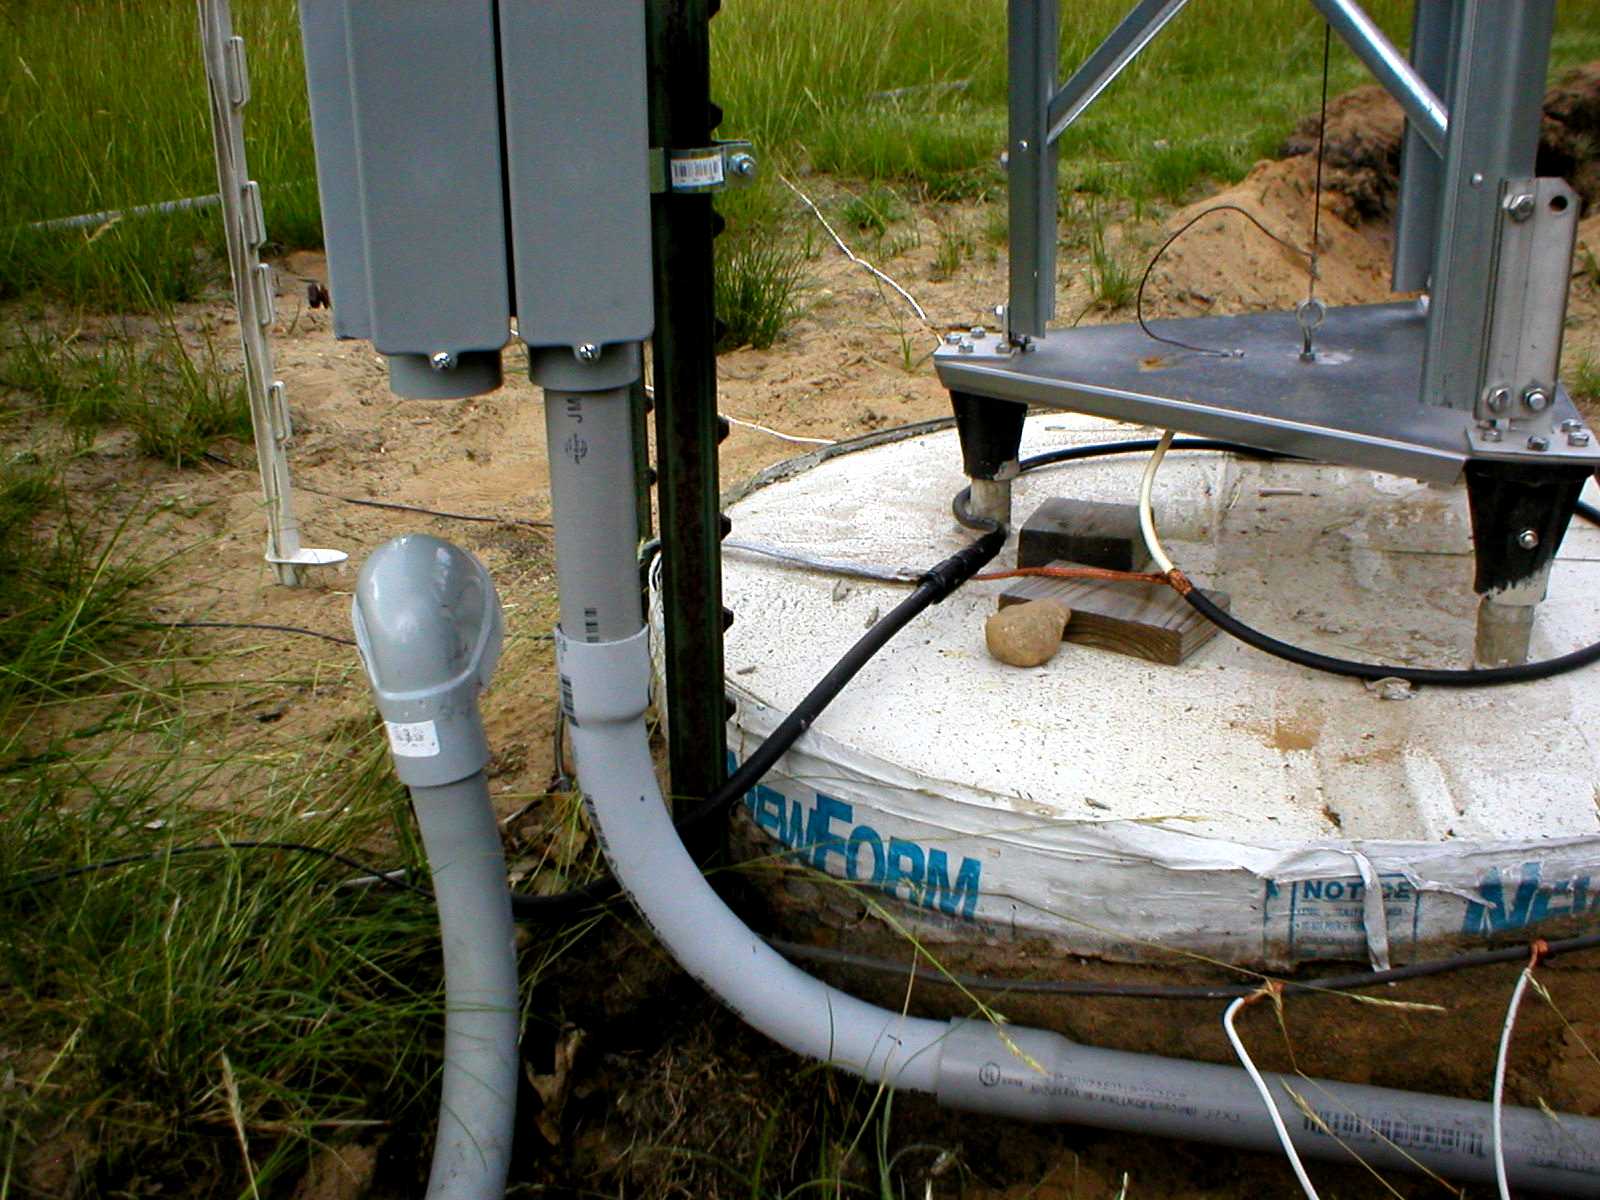
Sonotubes used for bases. They deteriorate in the soil.
N8JML / KX8D Triangle Array
Click on image to expand.
INITIAL CONSTRUCTION
Sonotubes used for bases. They deteriorate in the soil.
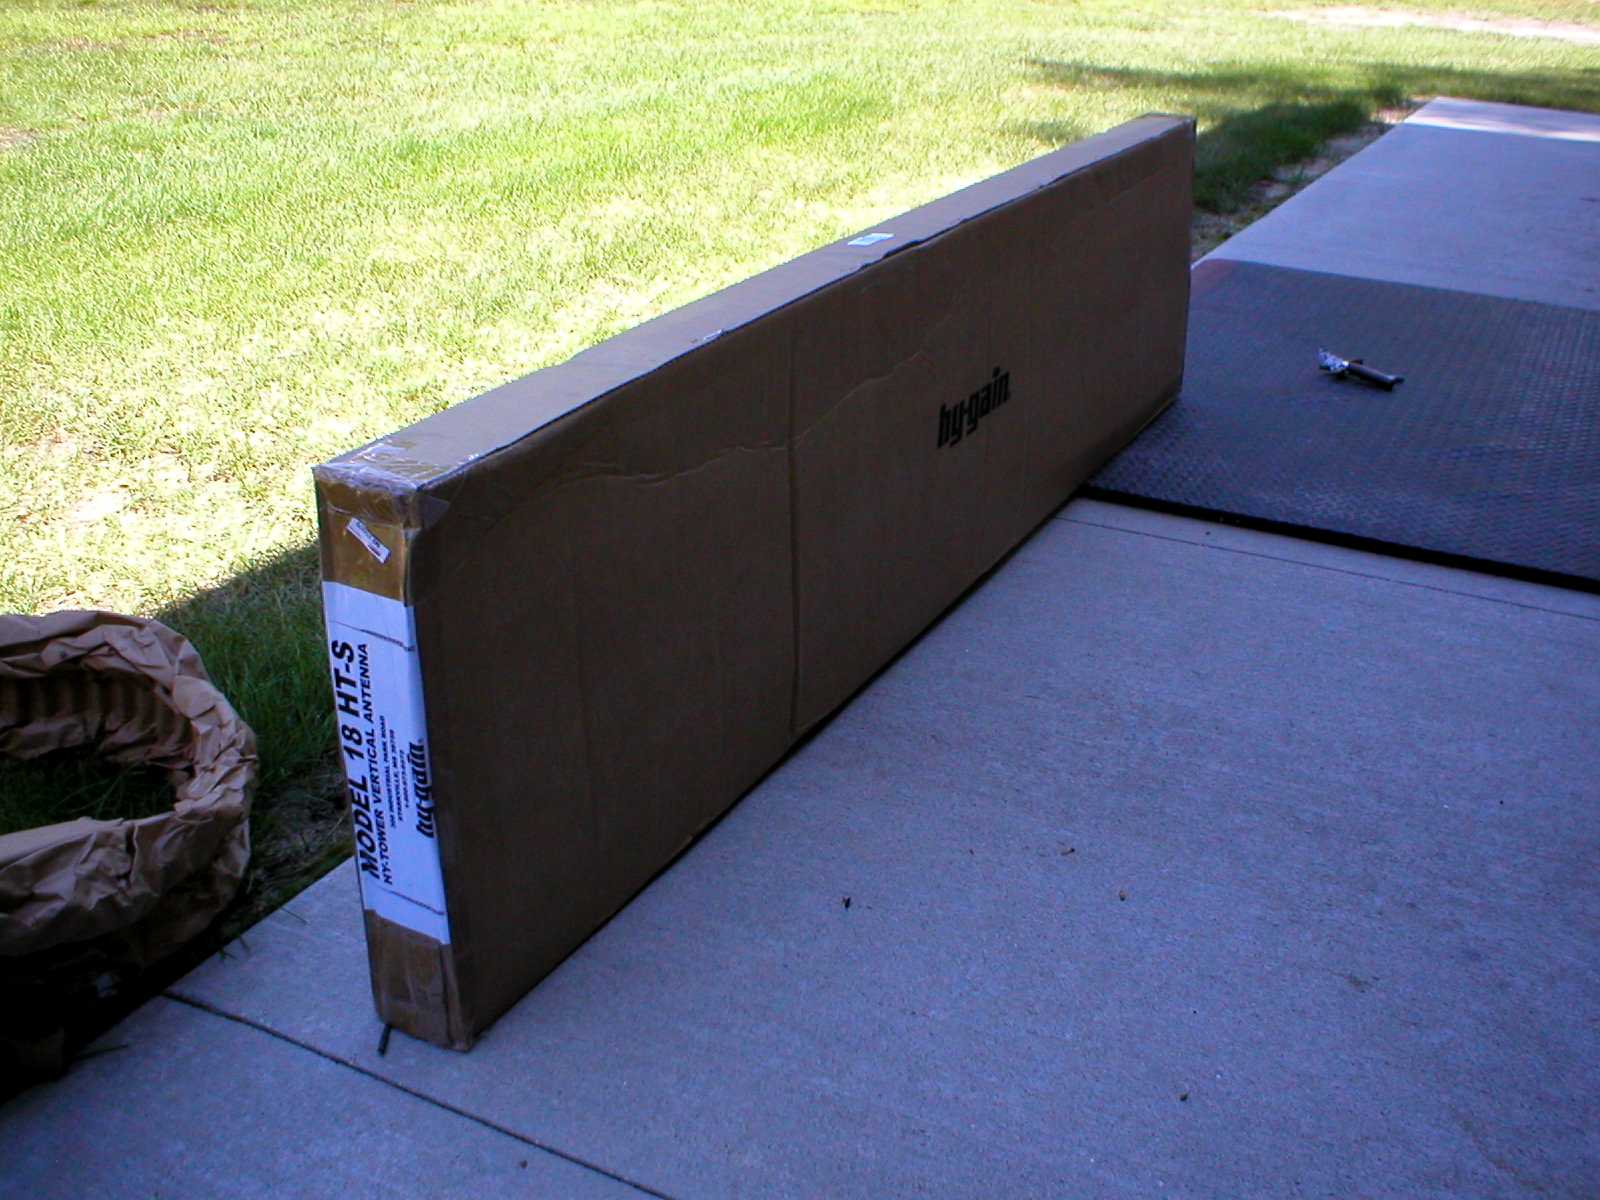
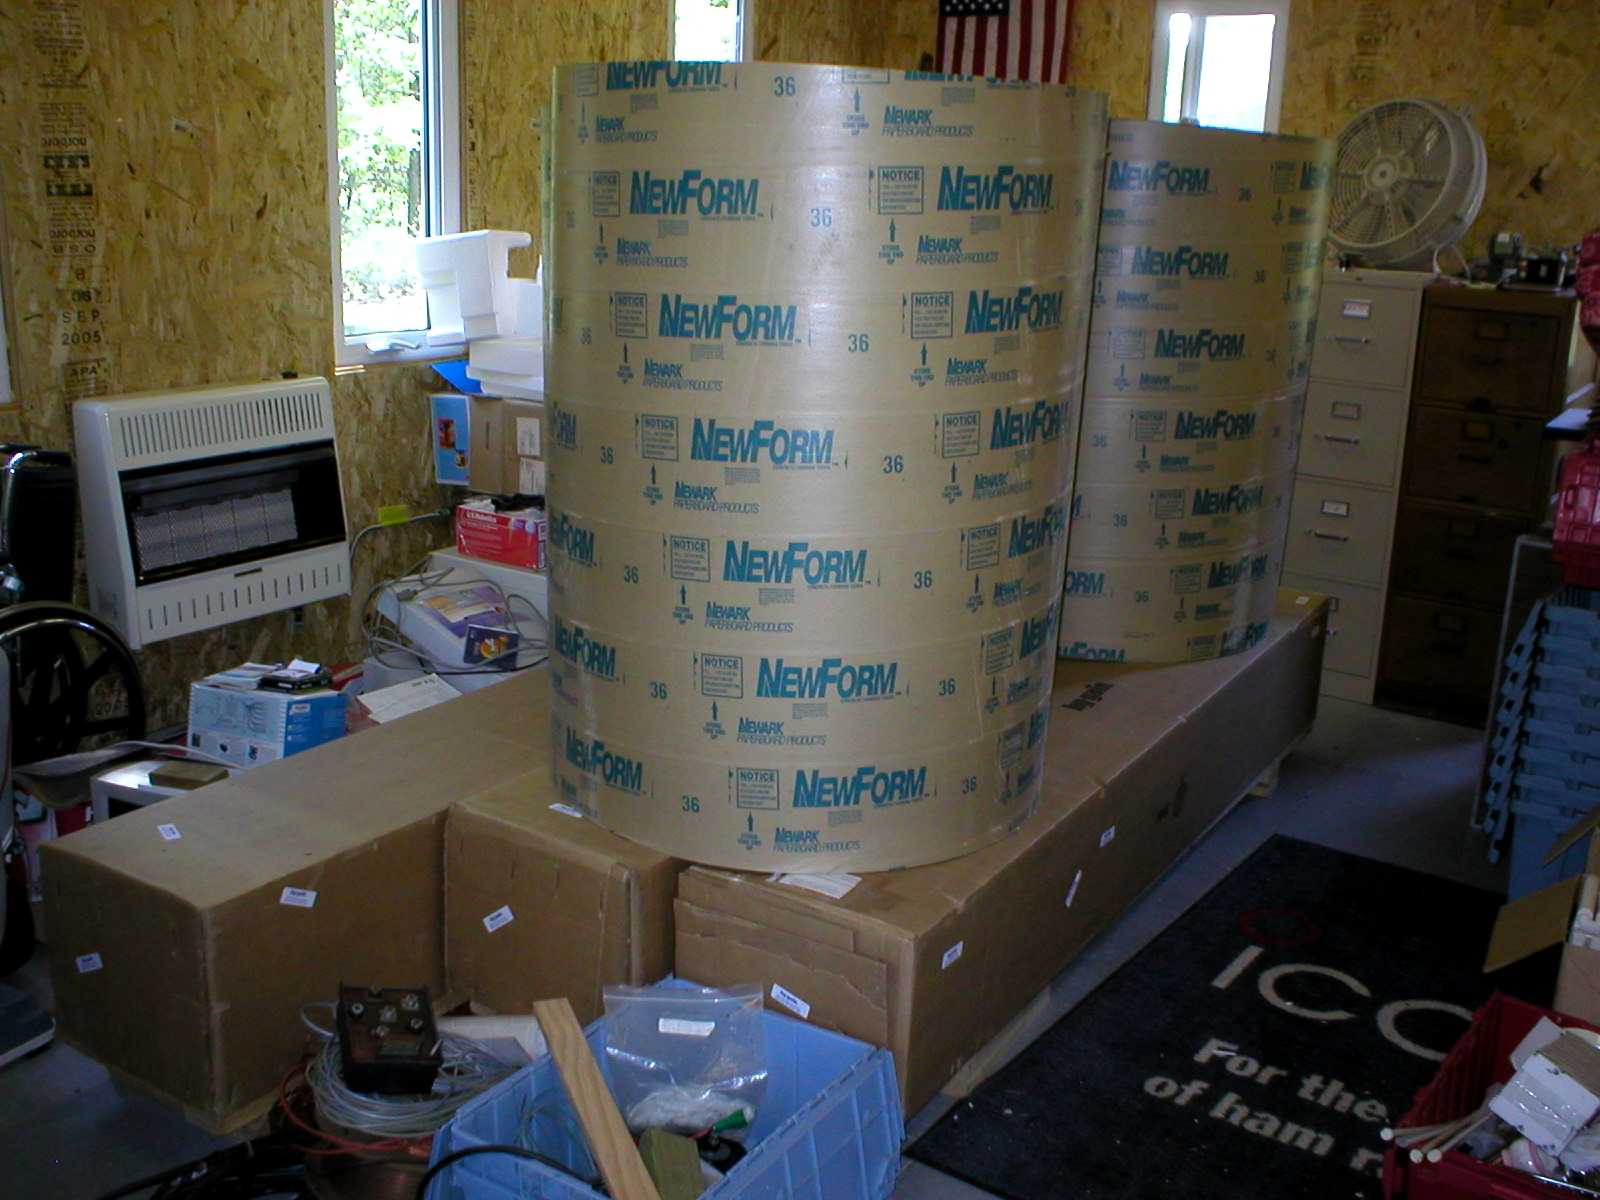
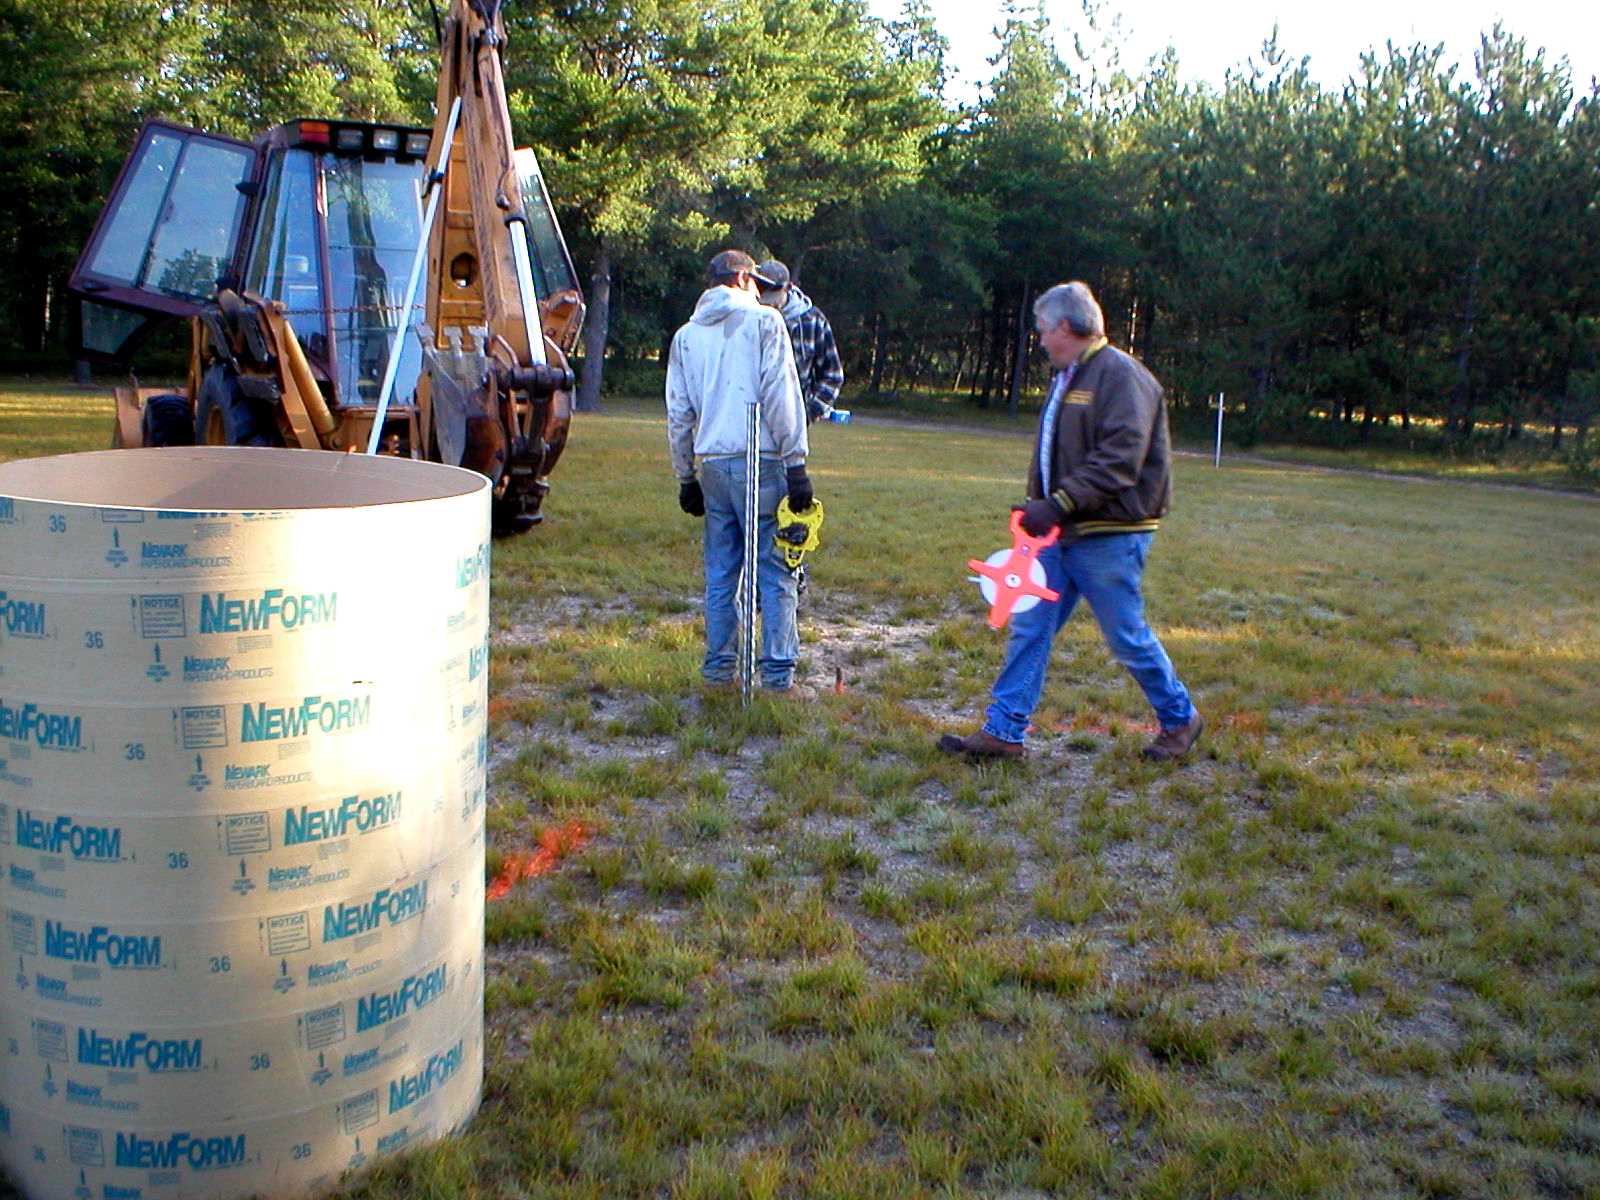
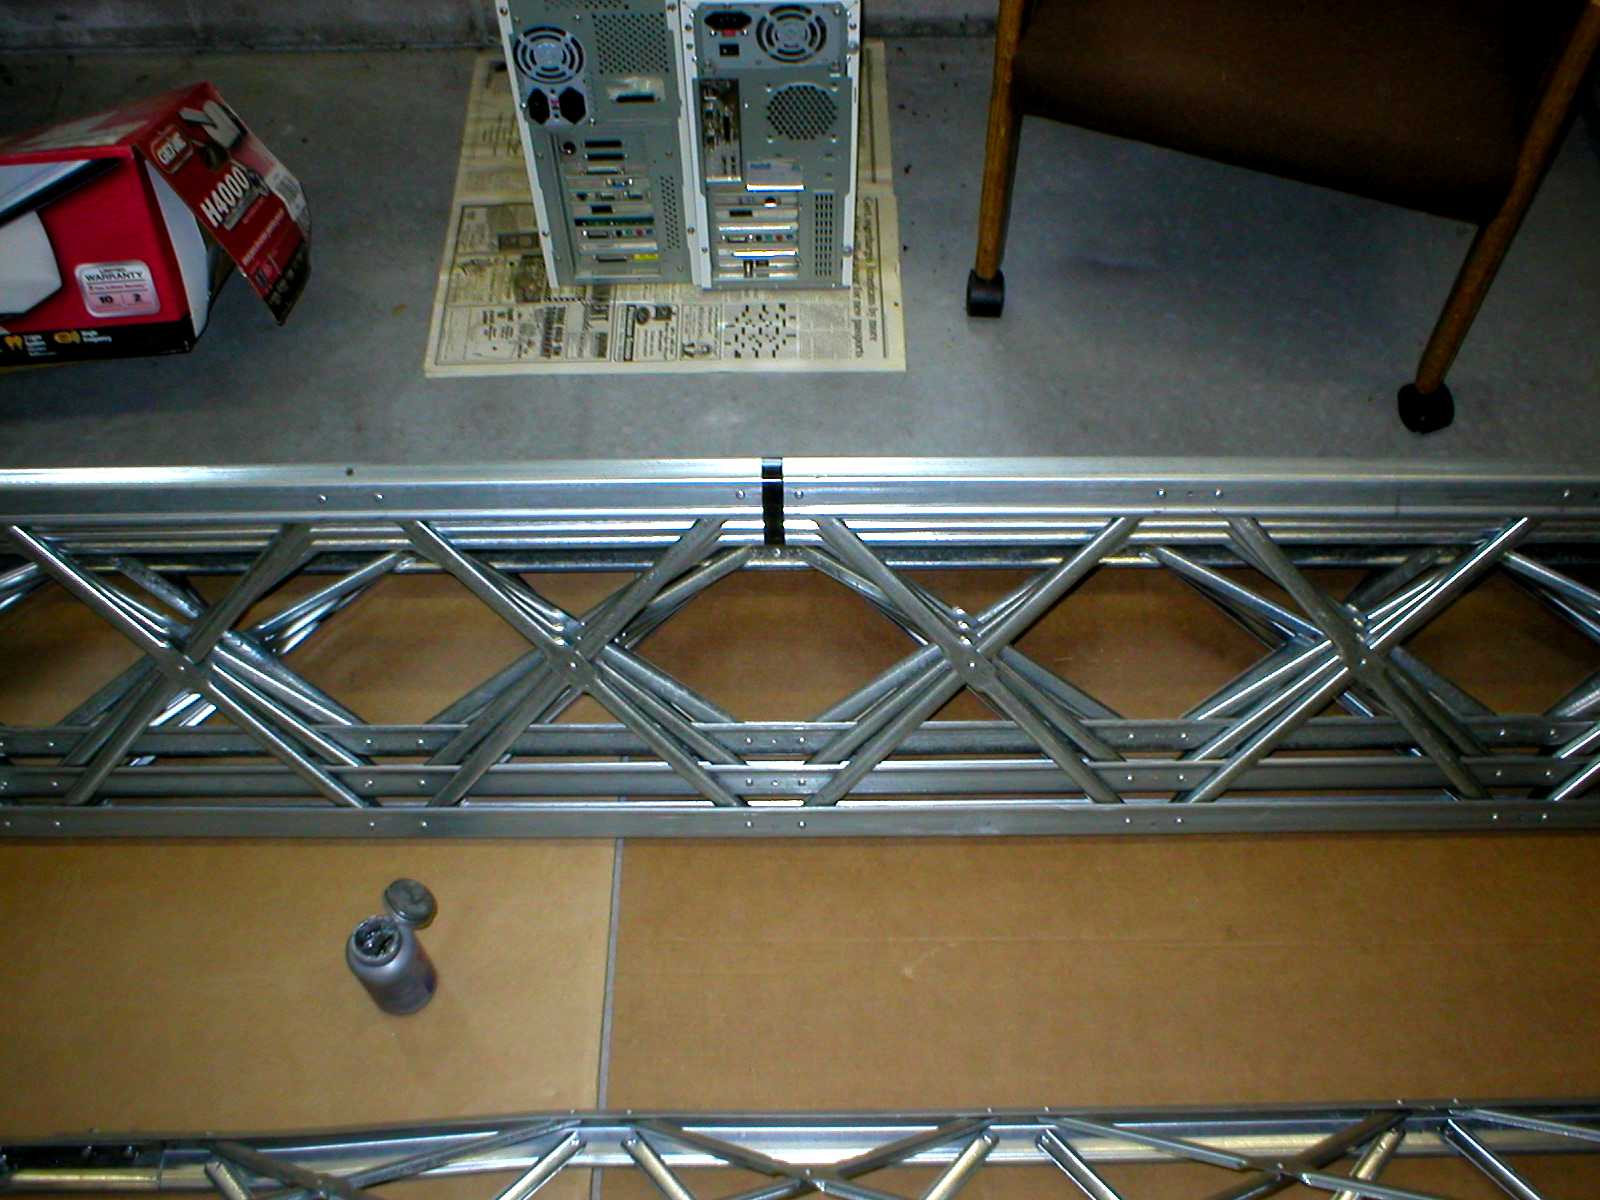
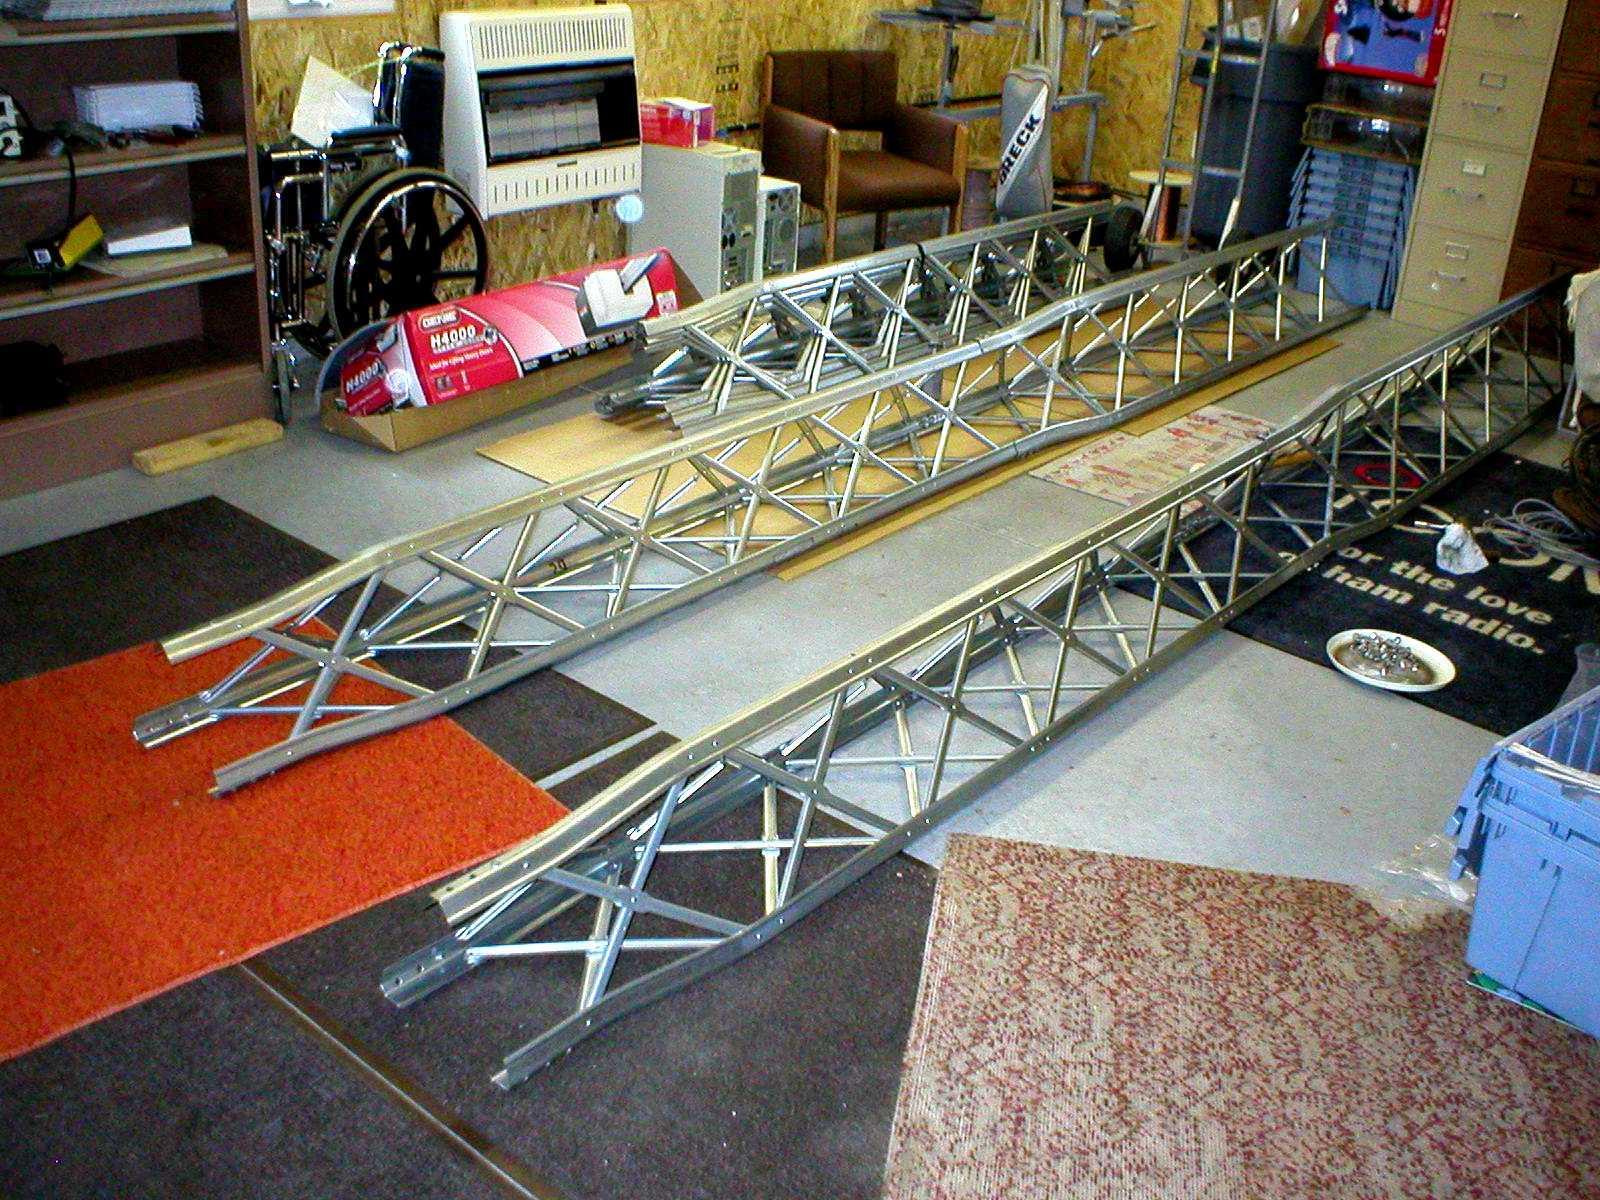
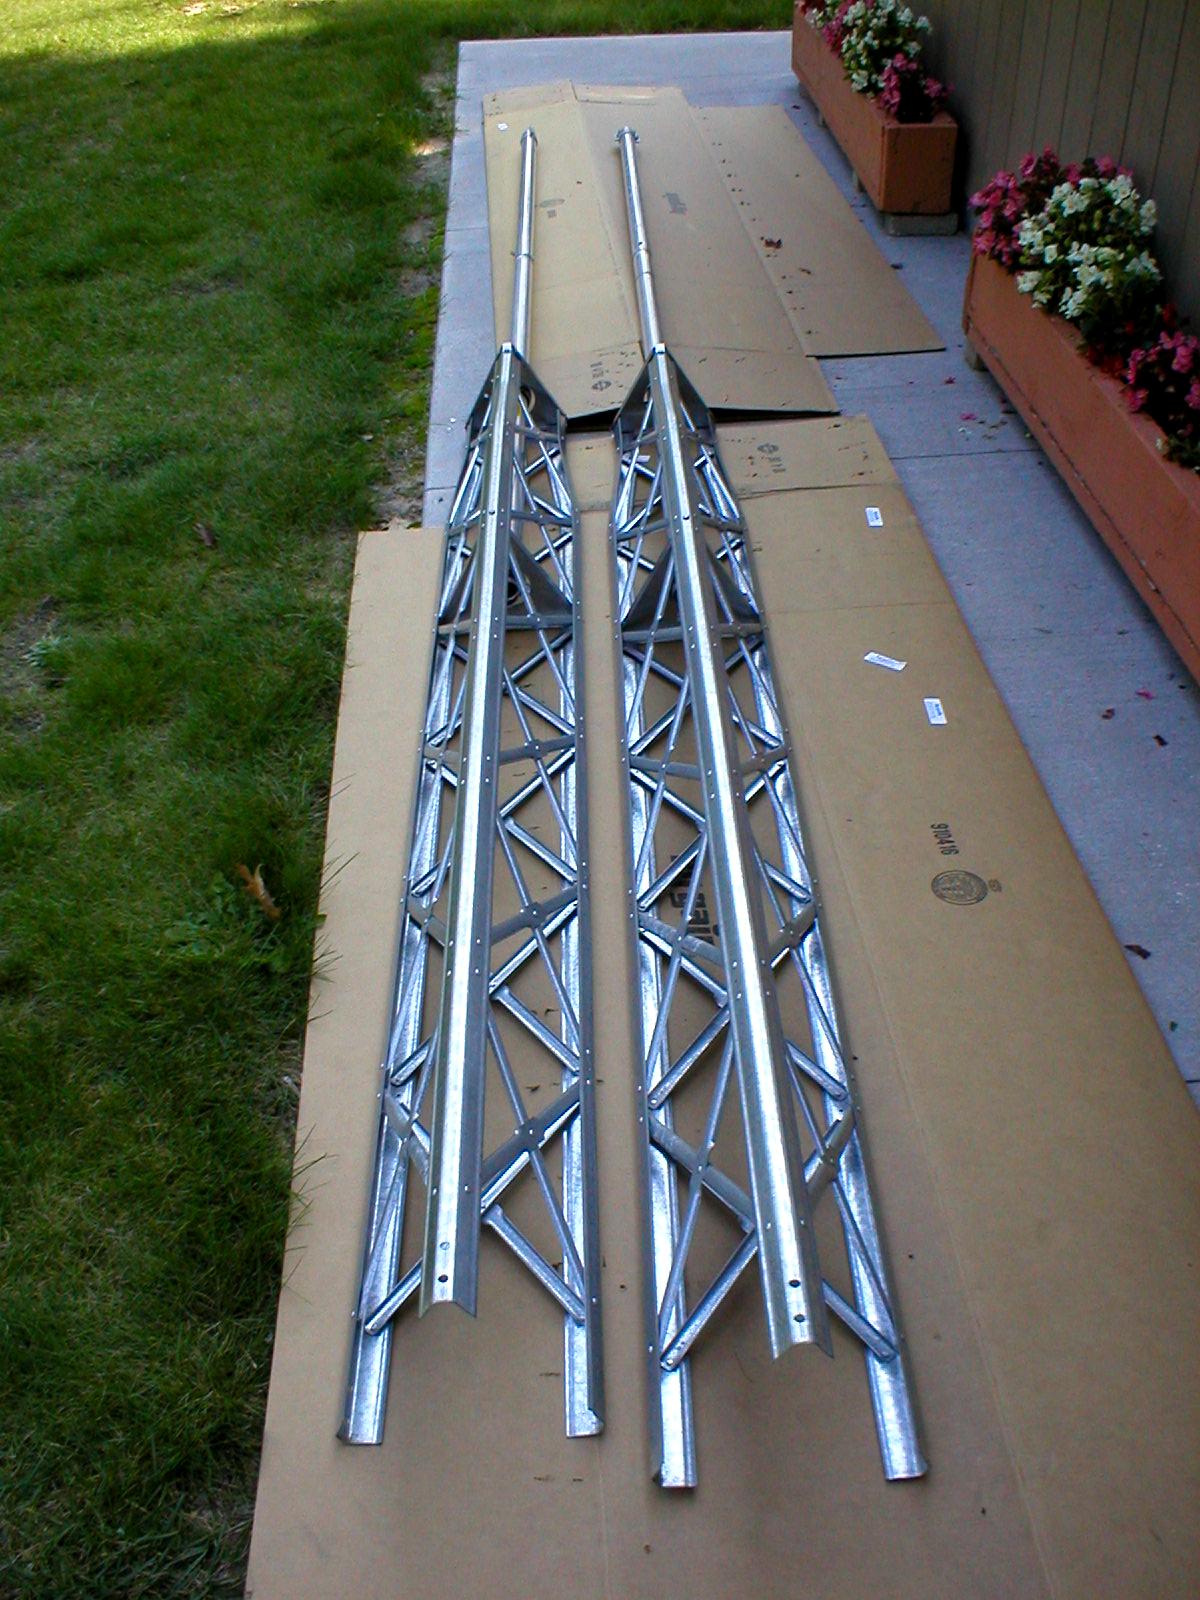
Nice new packaging from HyGain.
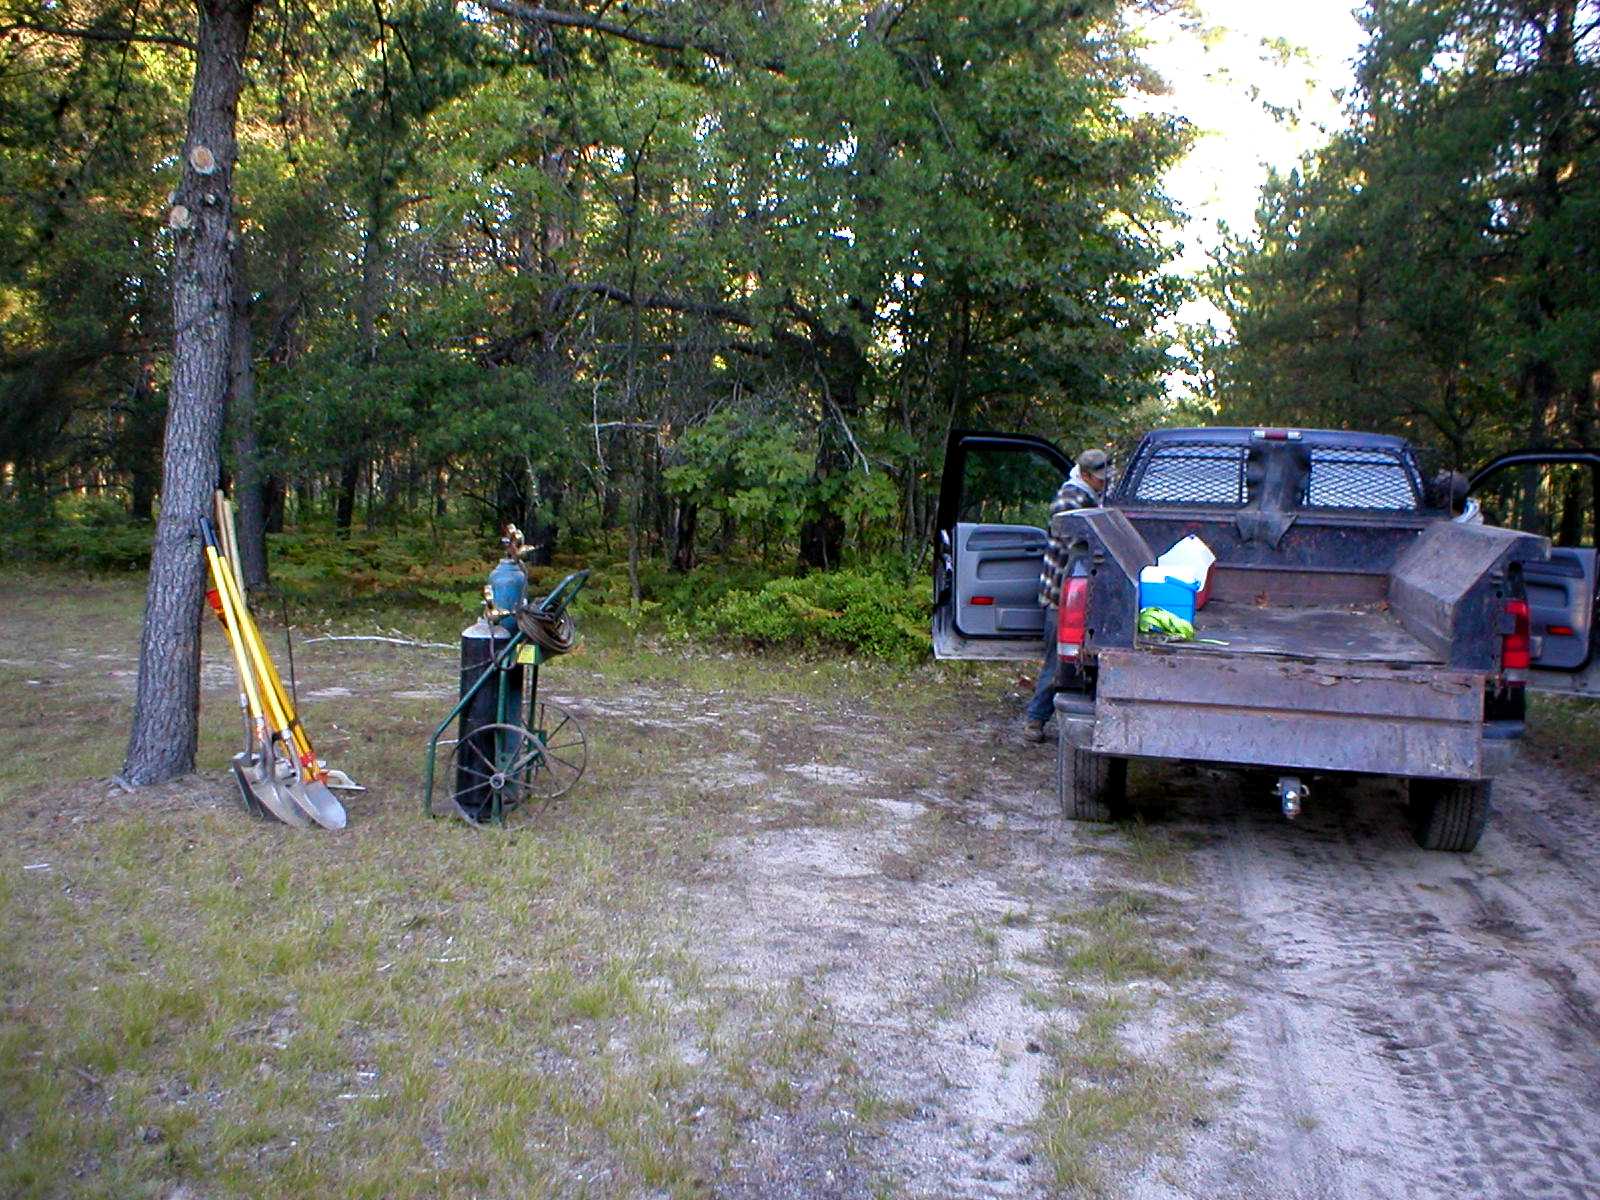
|Initial base construction.
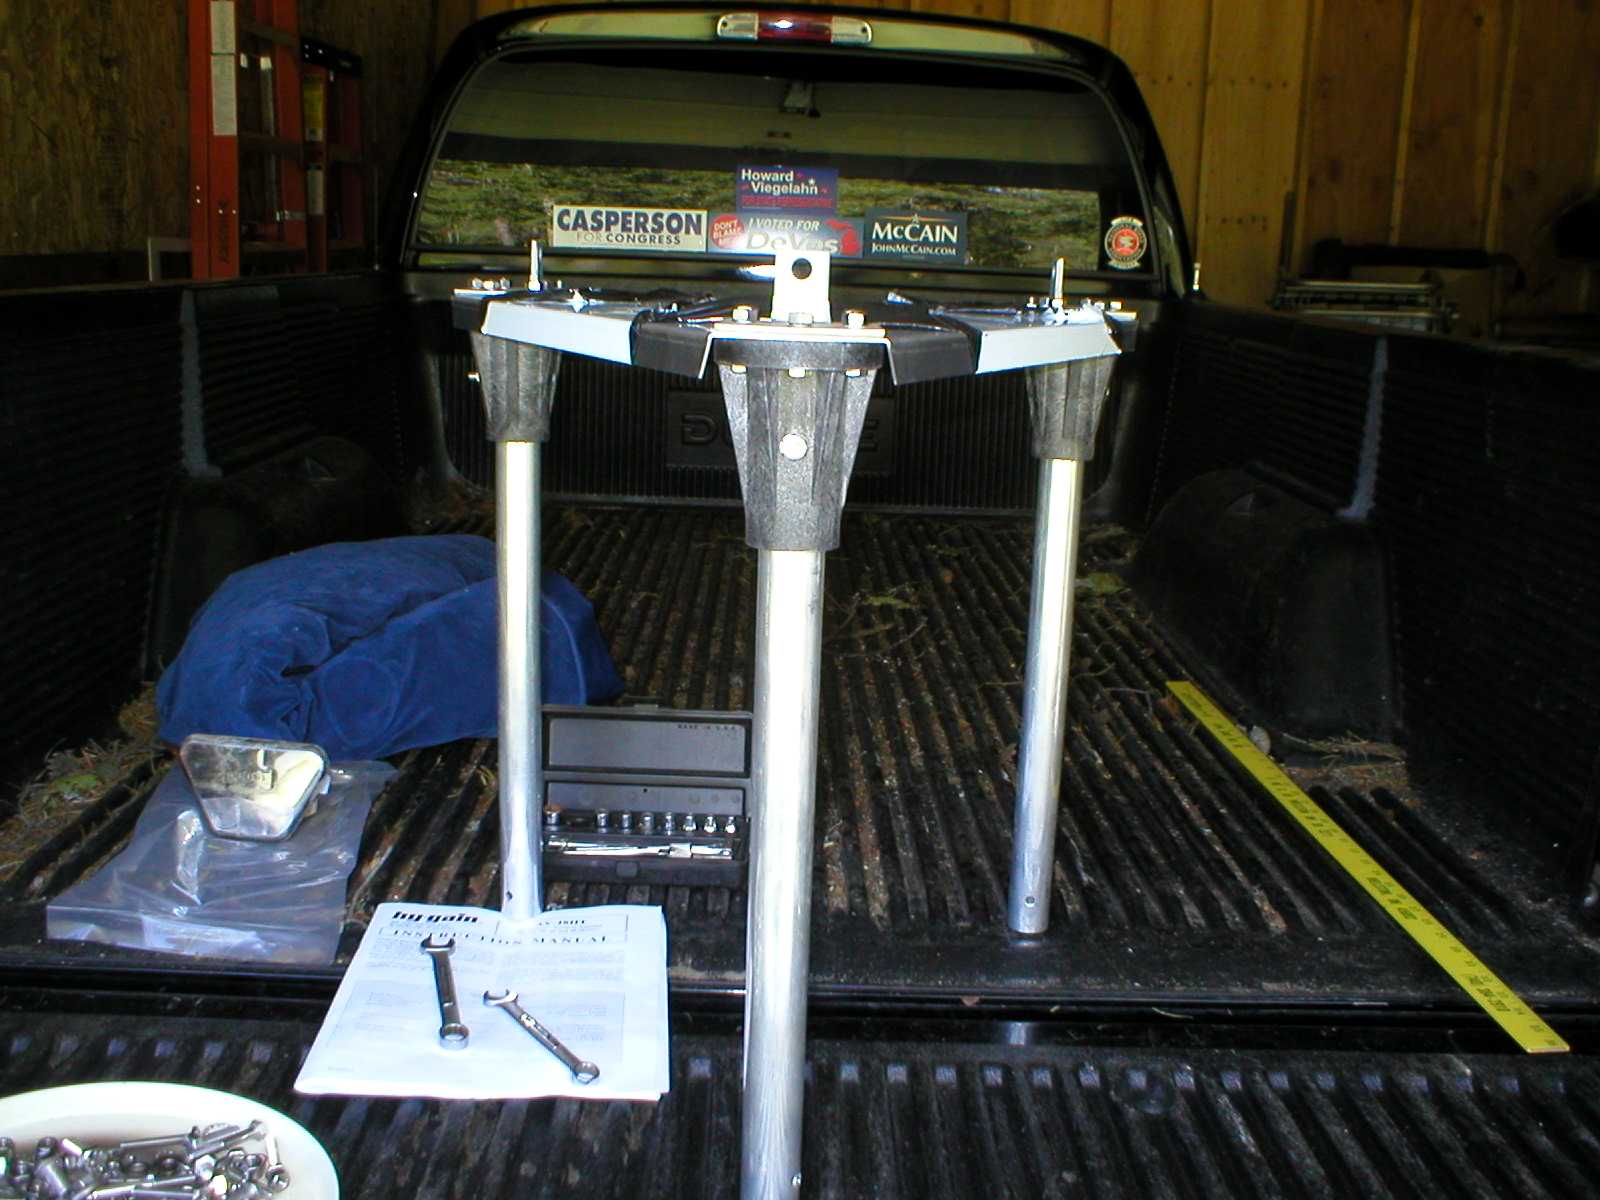
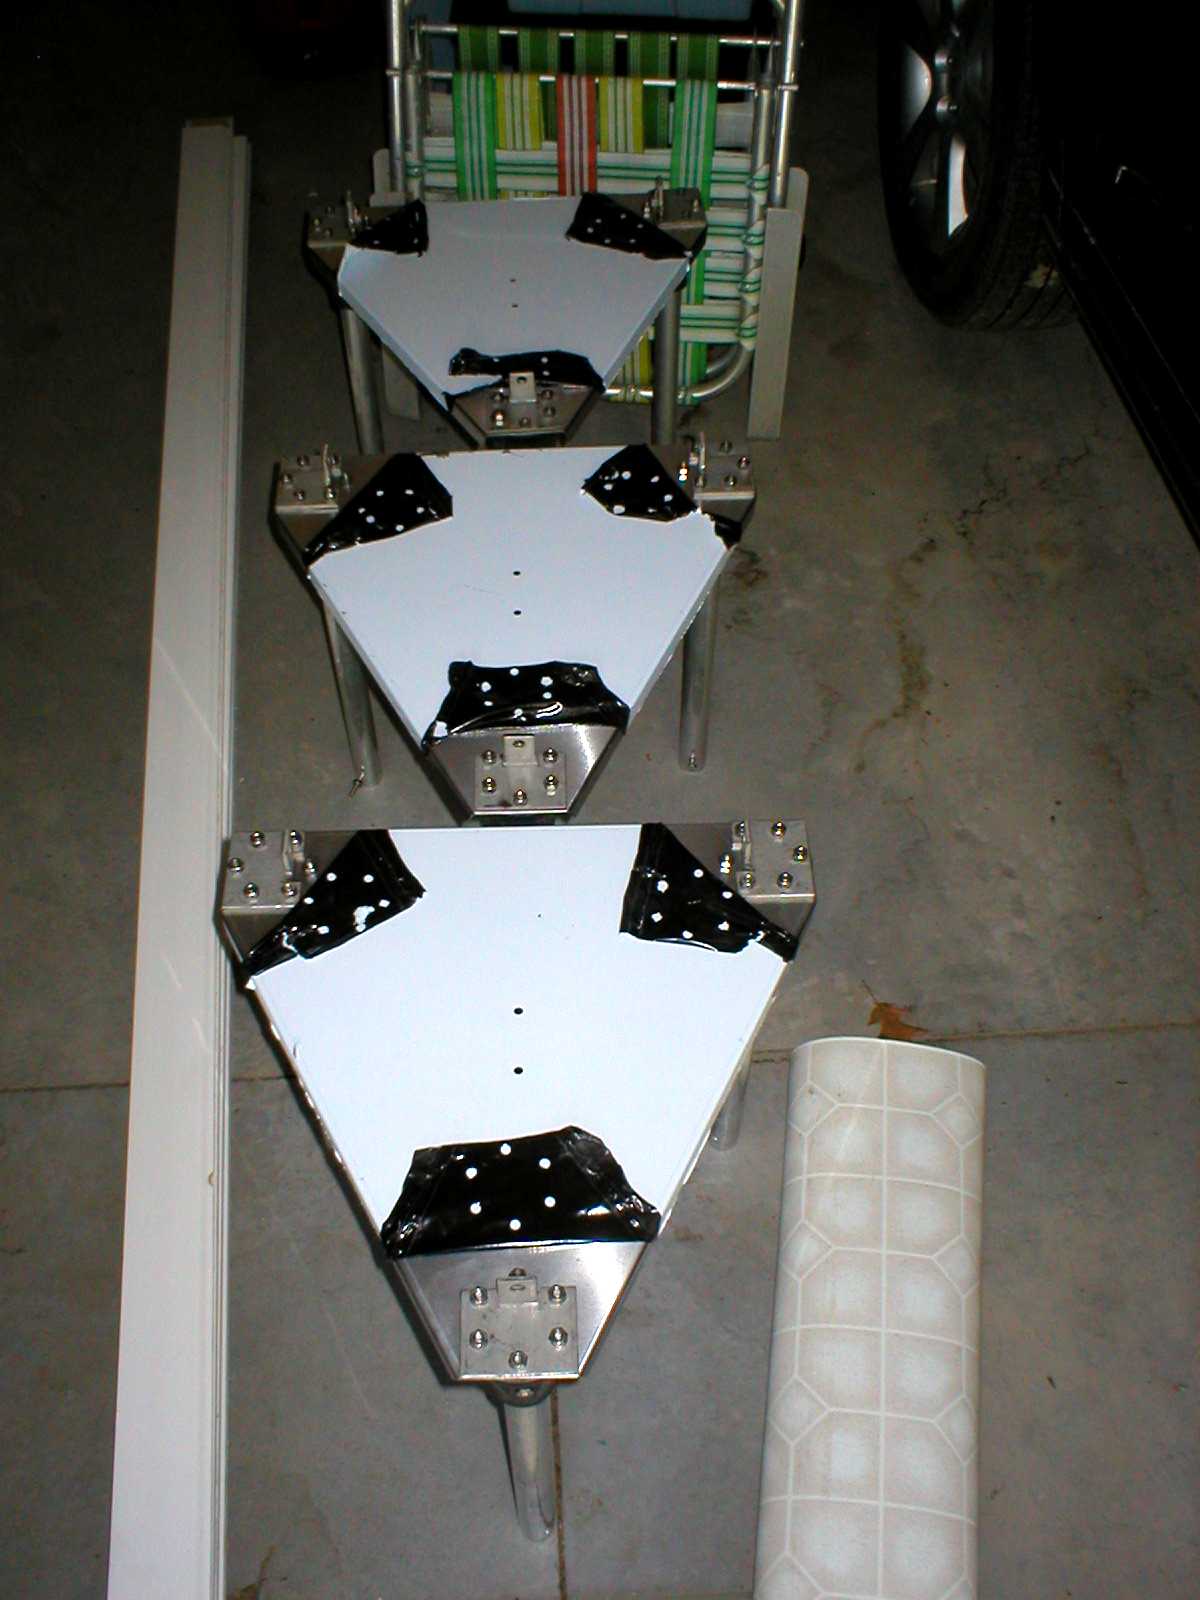
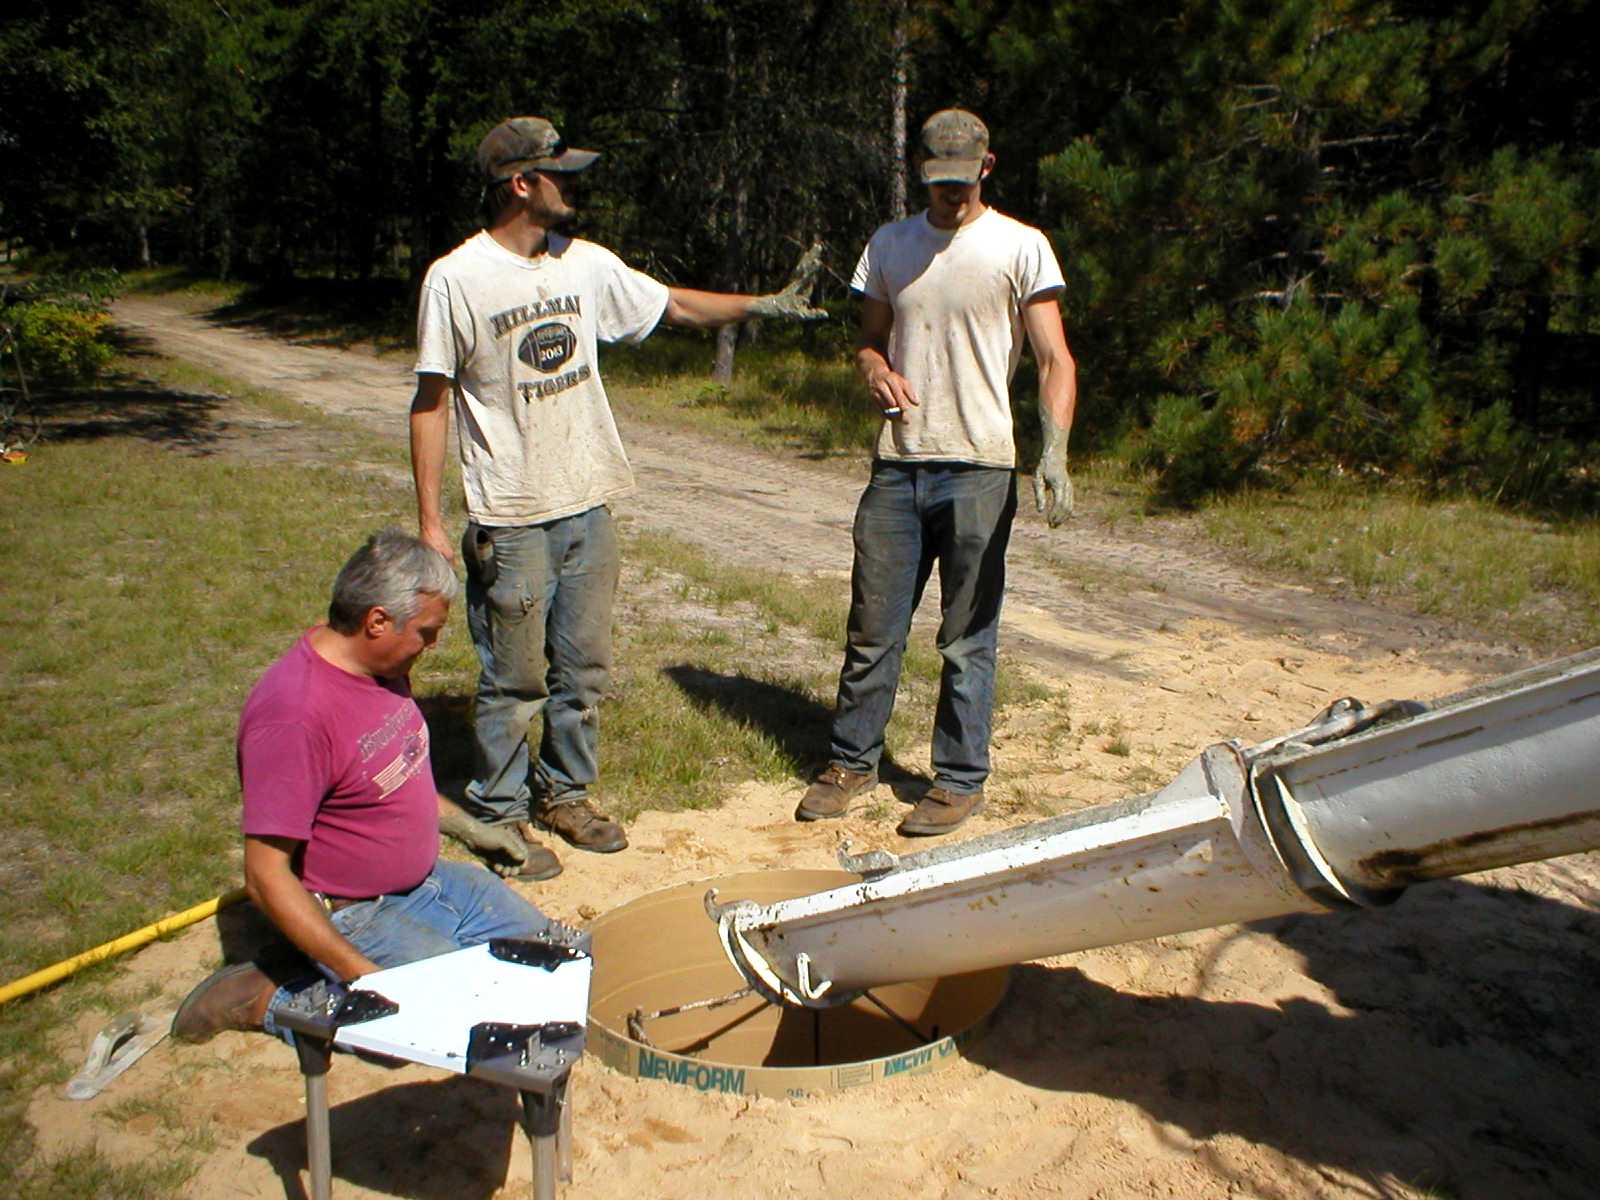
Bases constructed first for sinking into concrete.
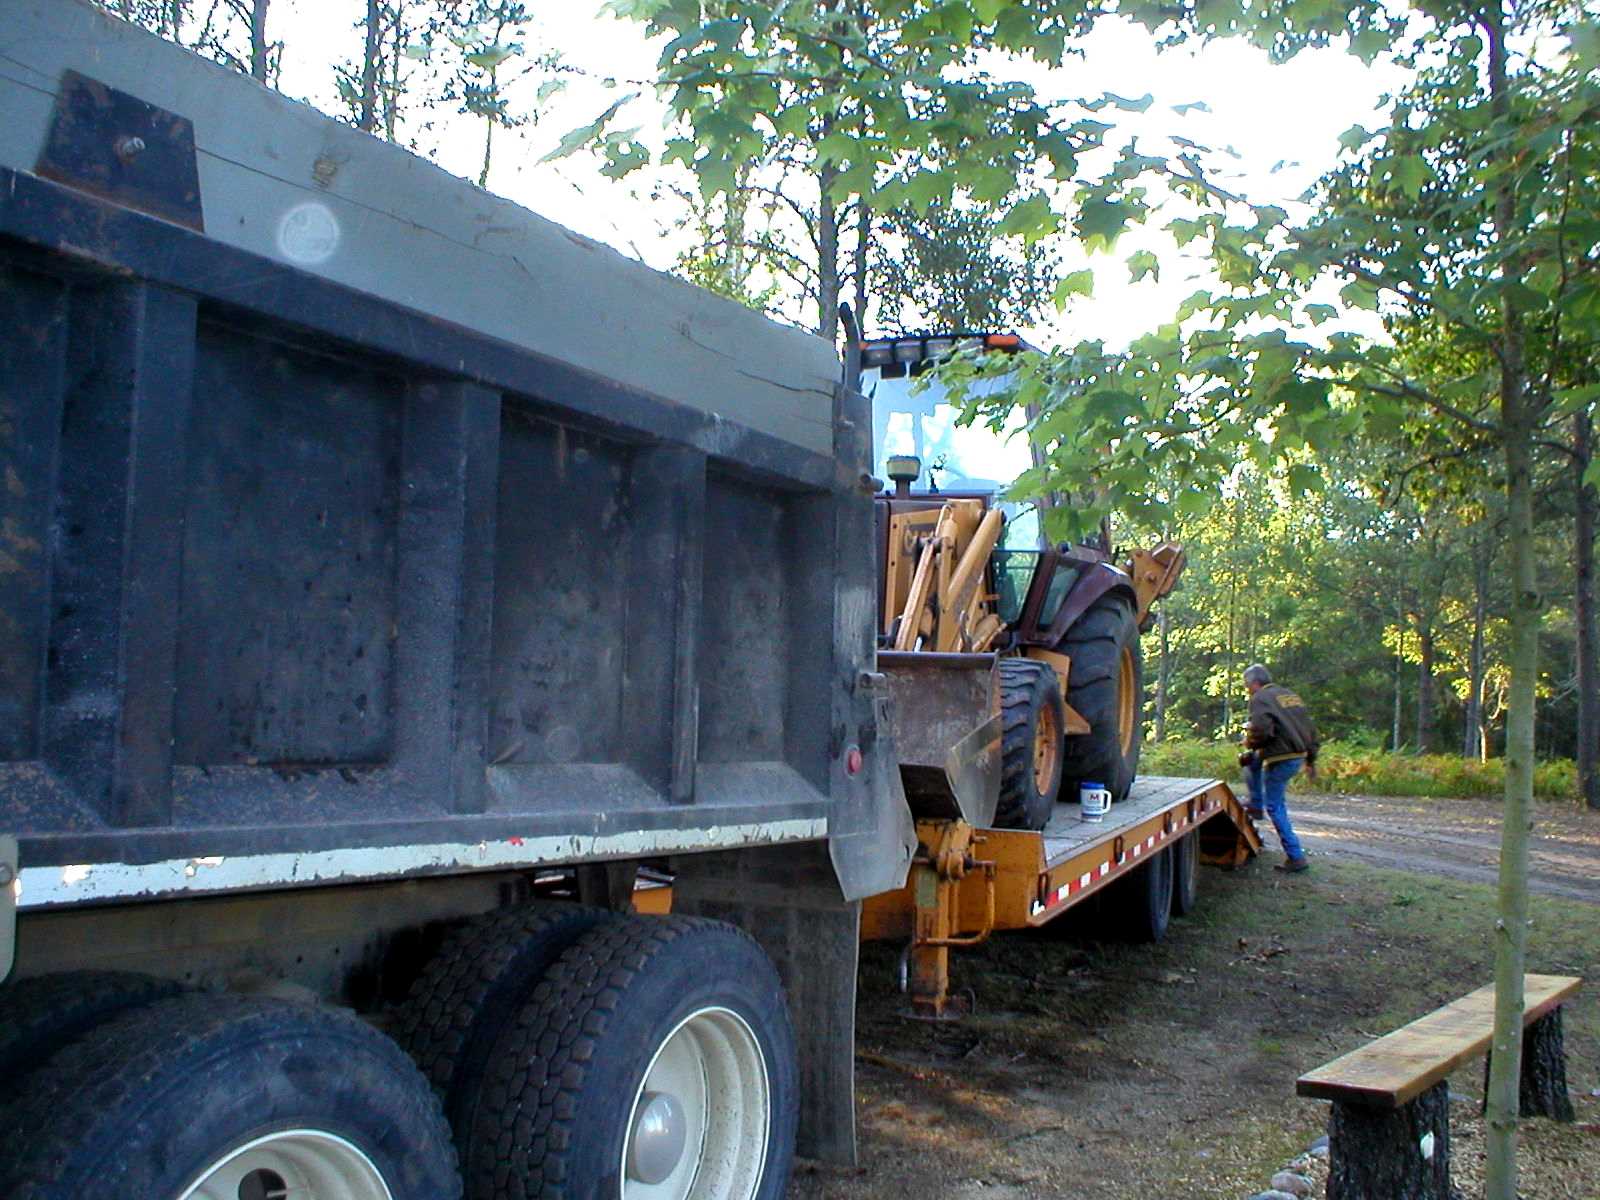
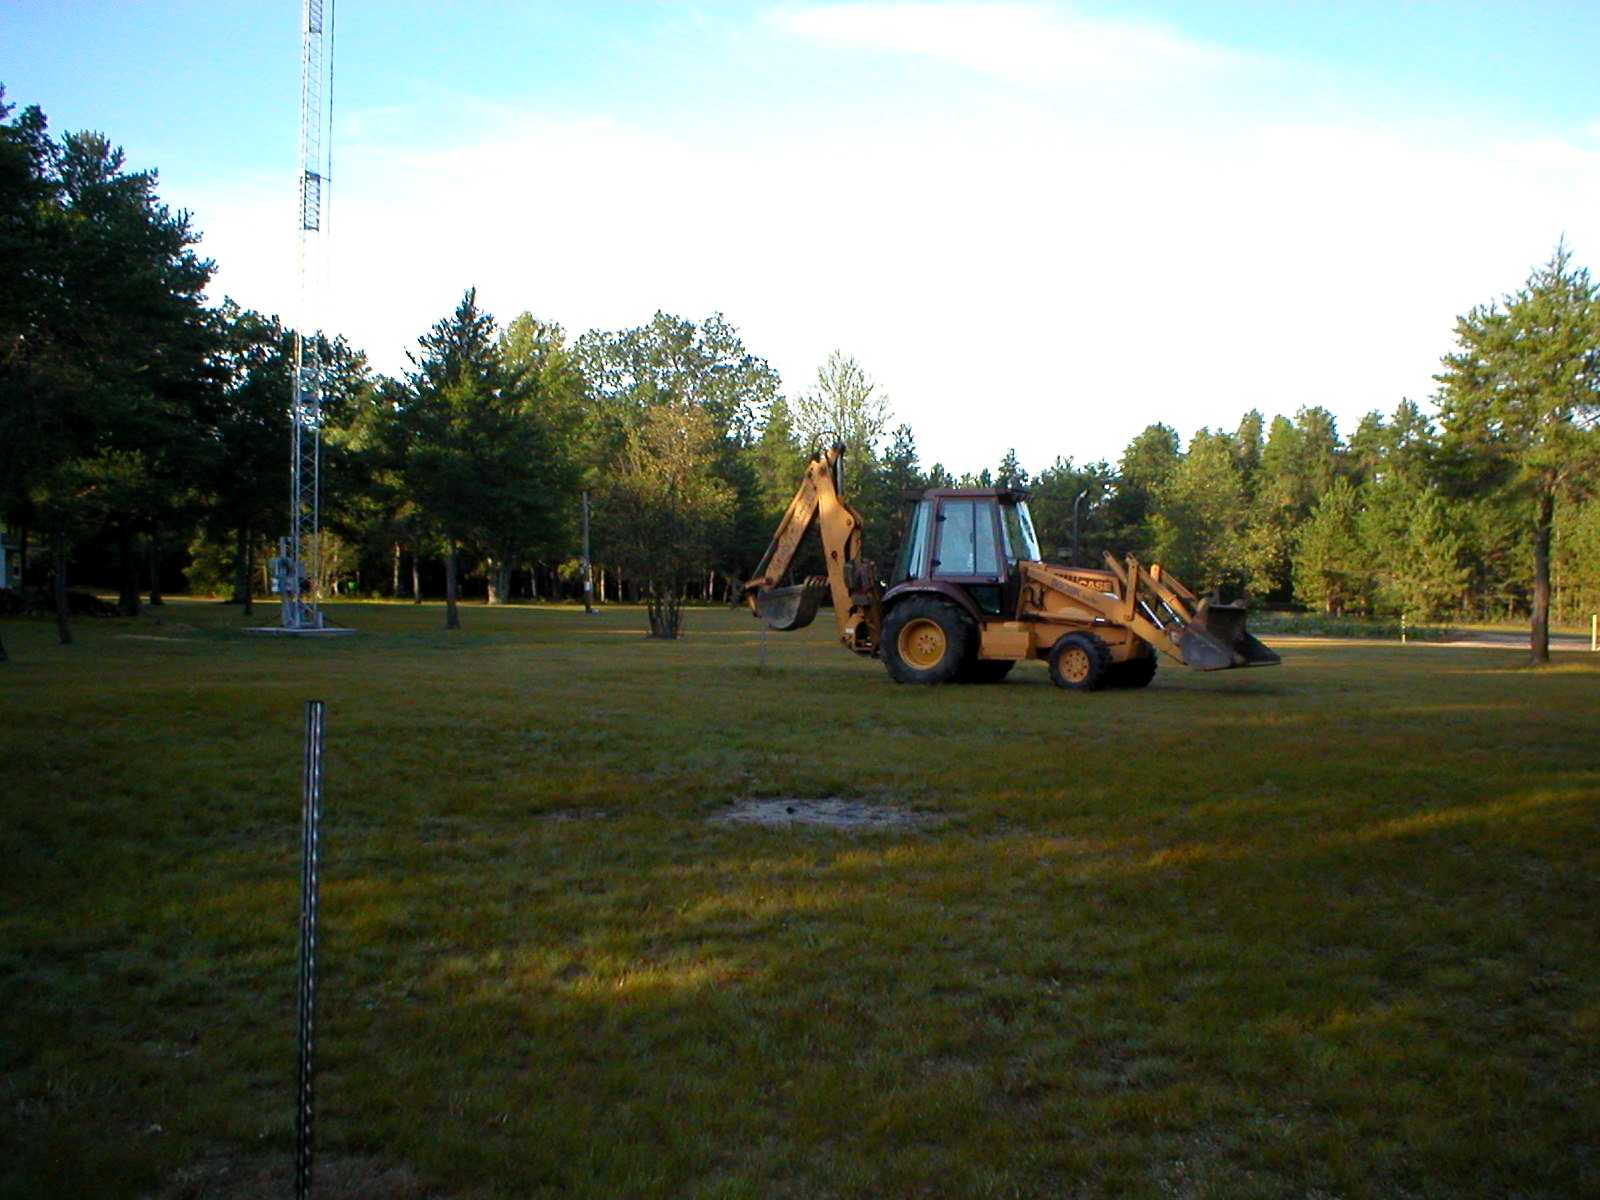
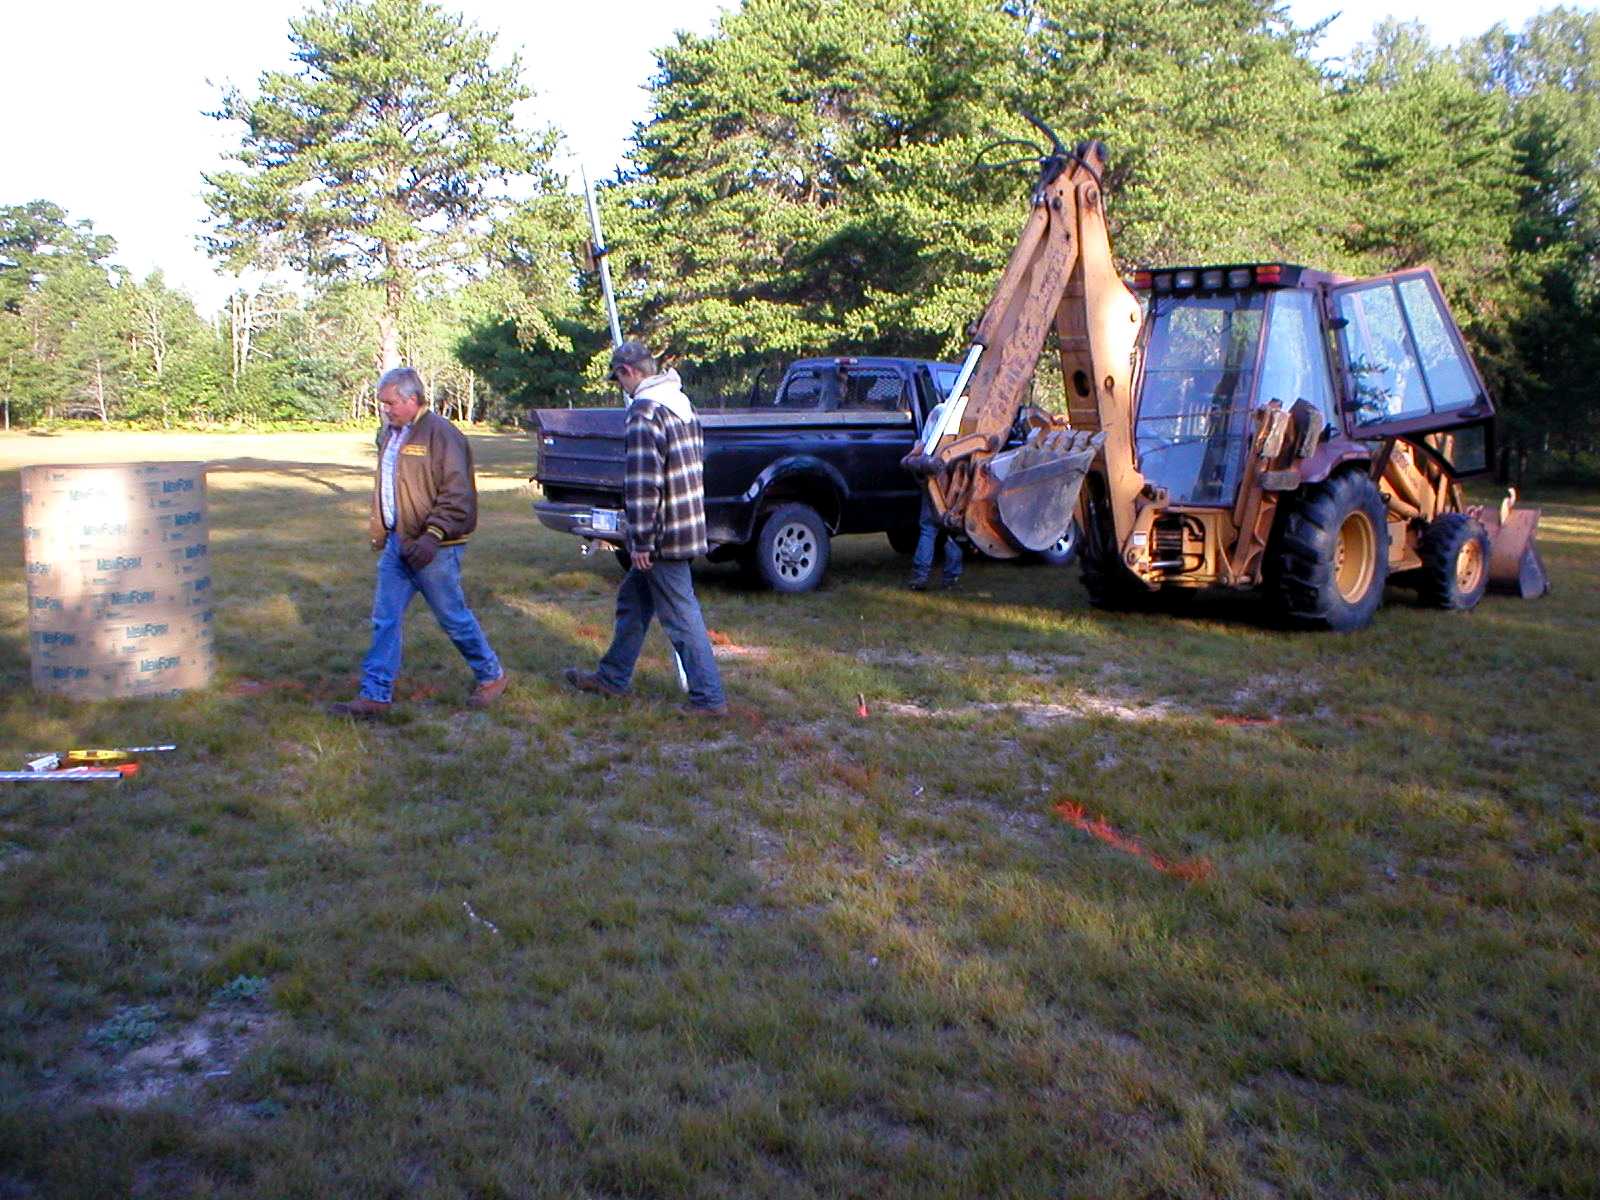
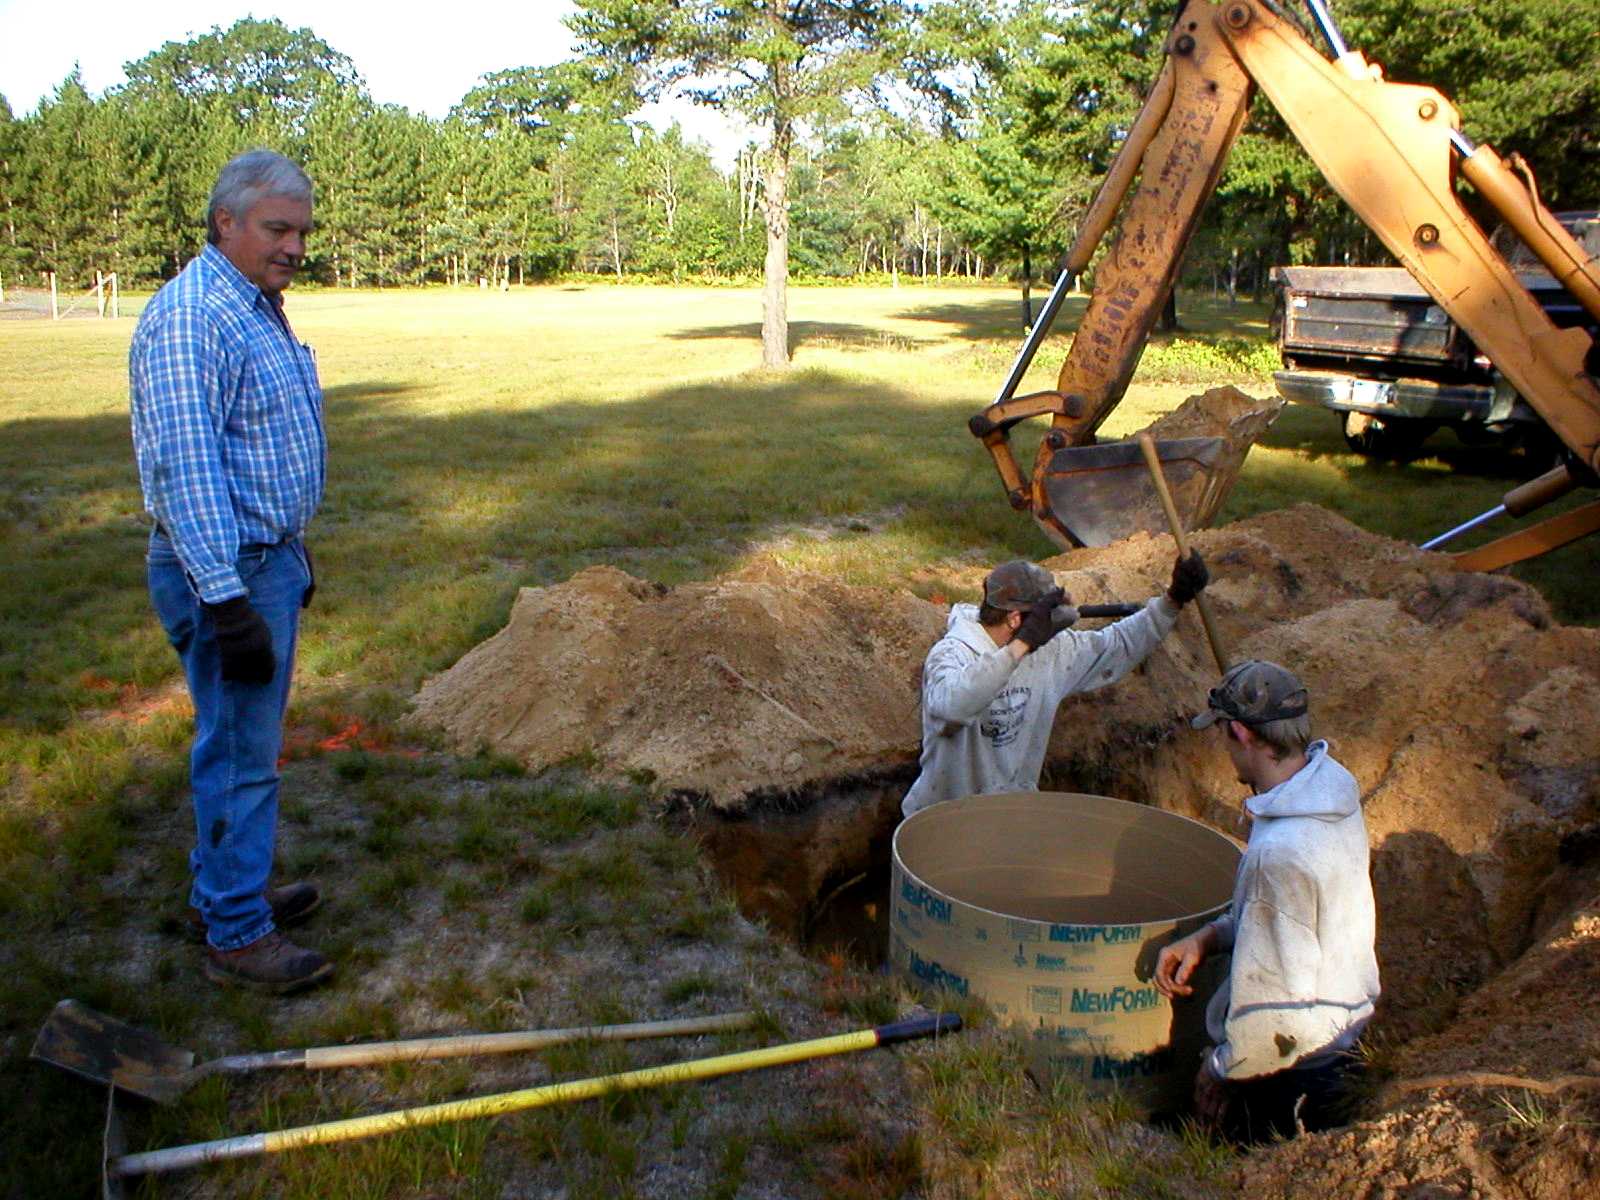
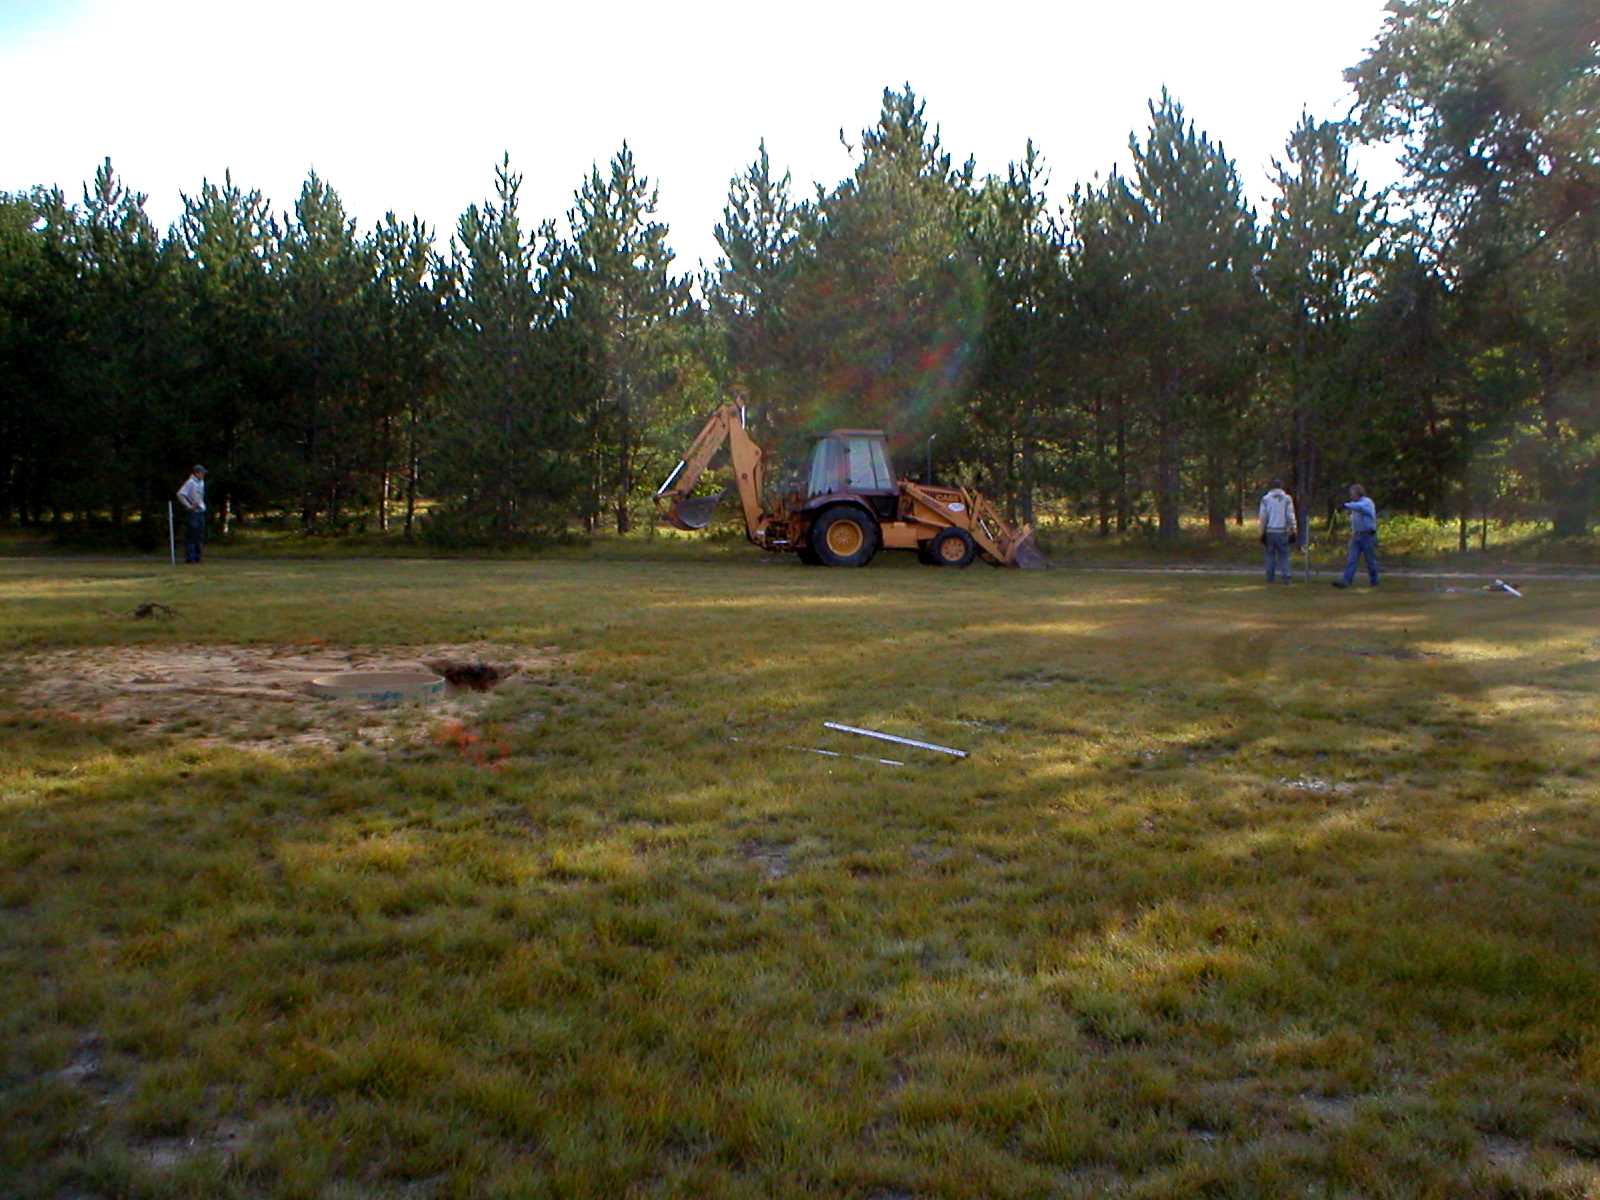
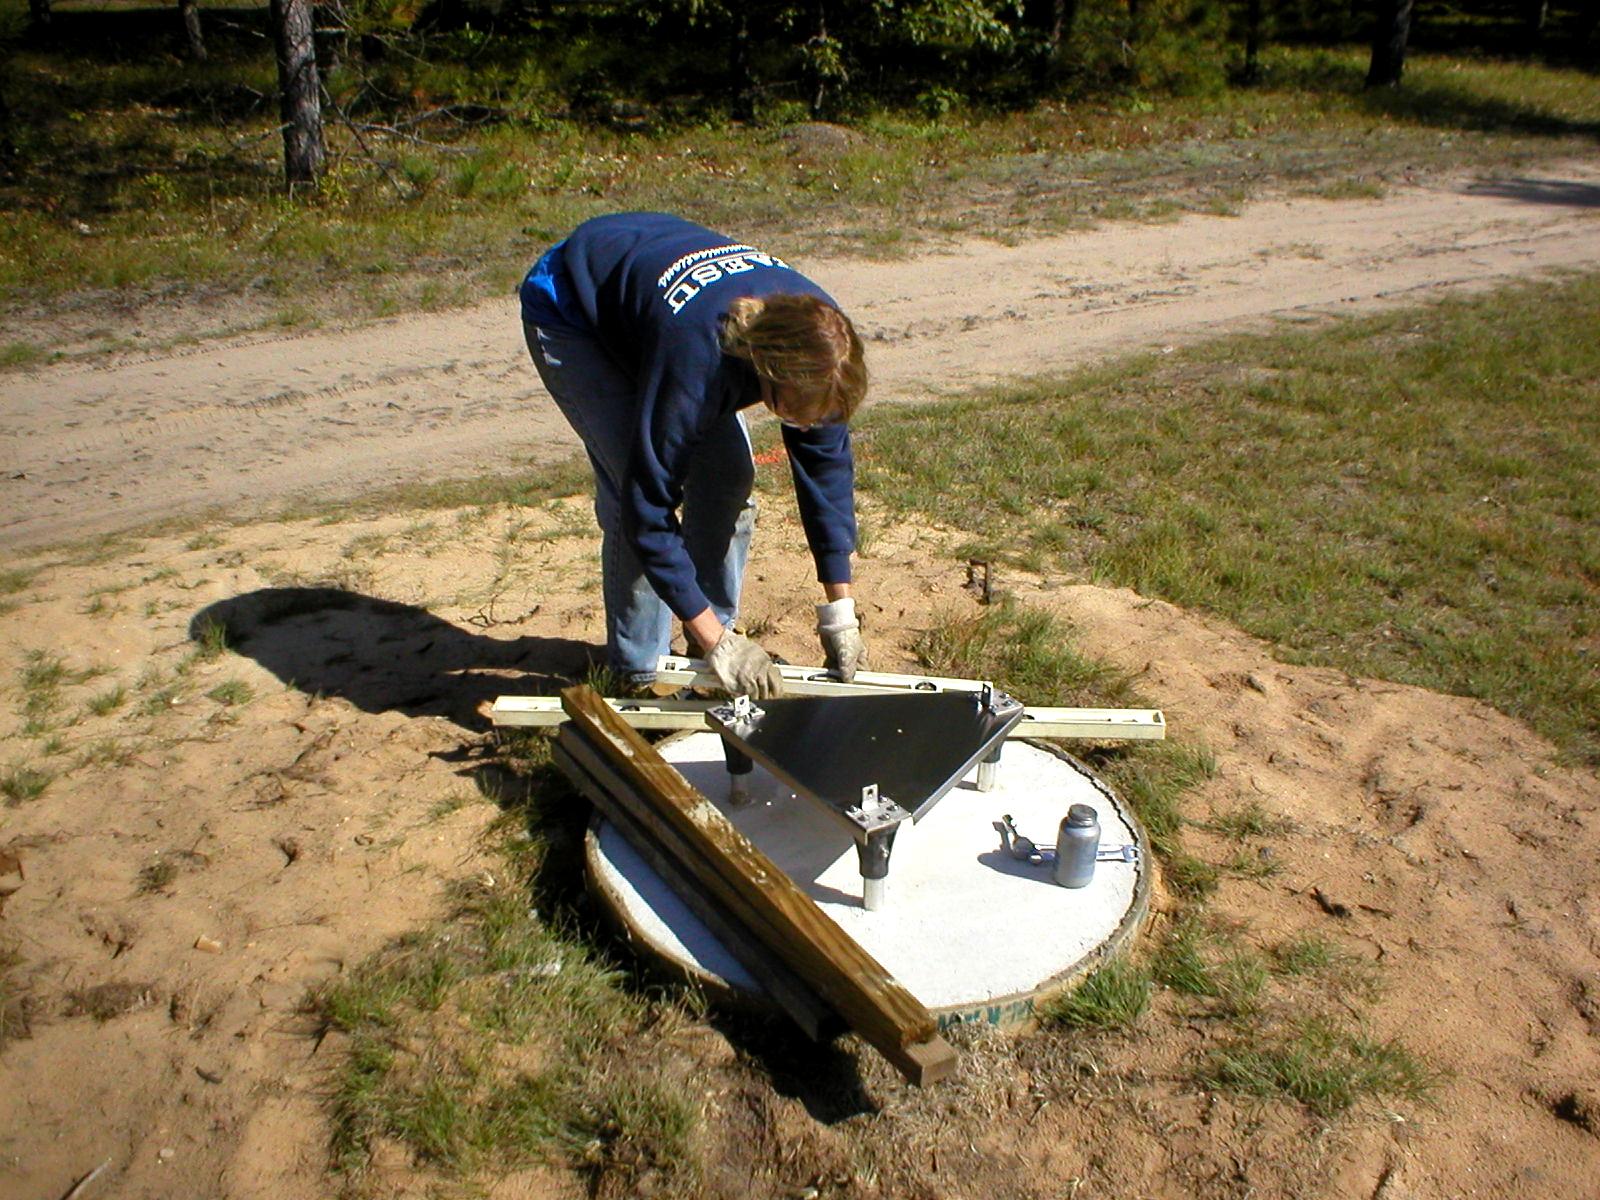
START OF BASE INSTALLATION.
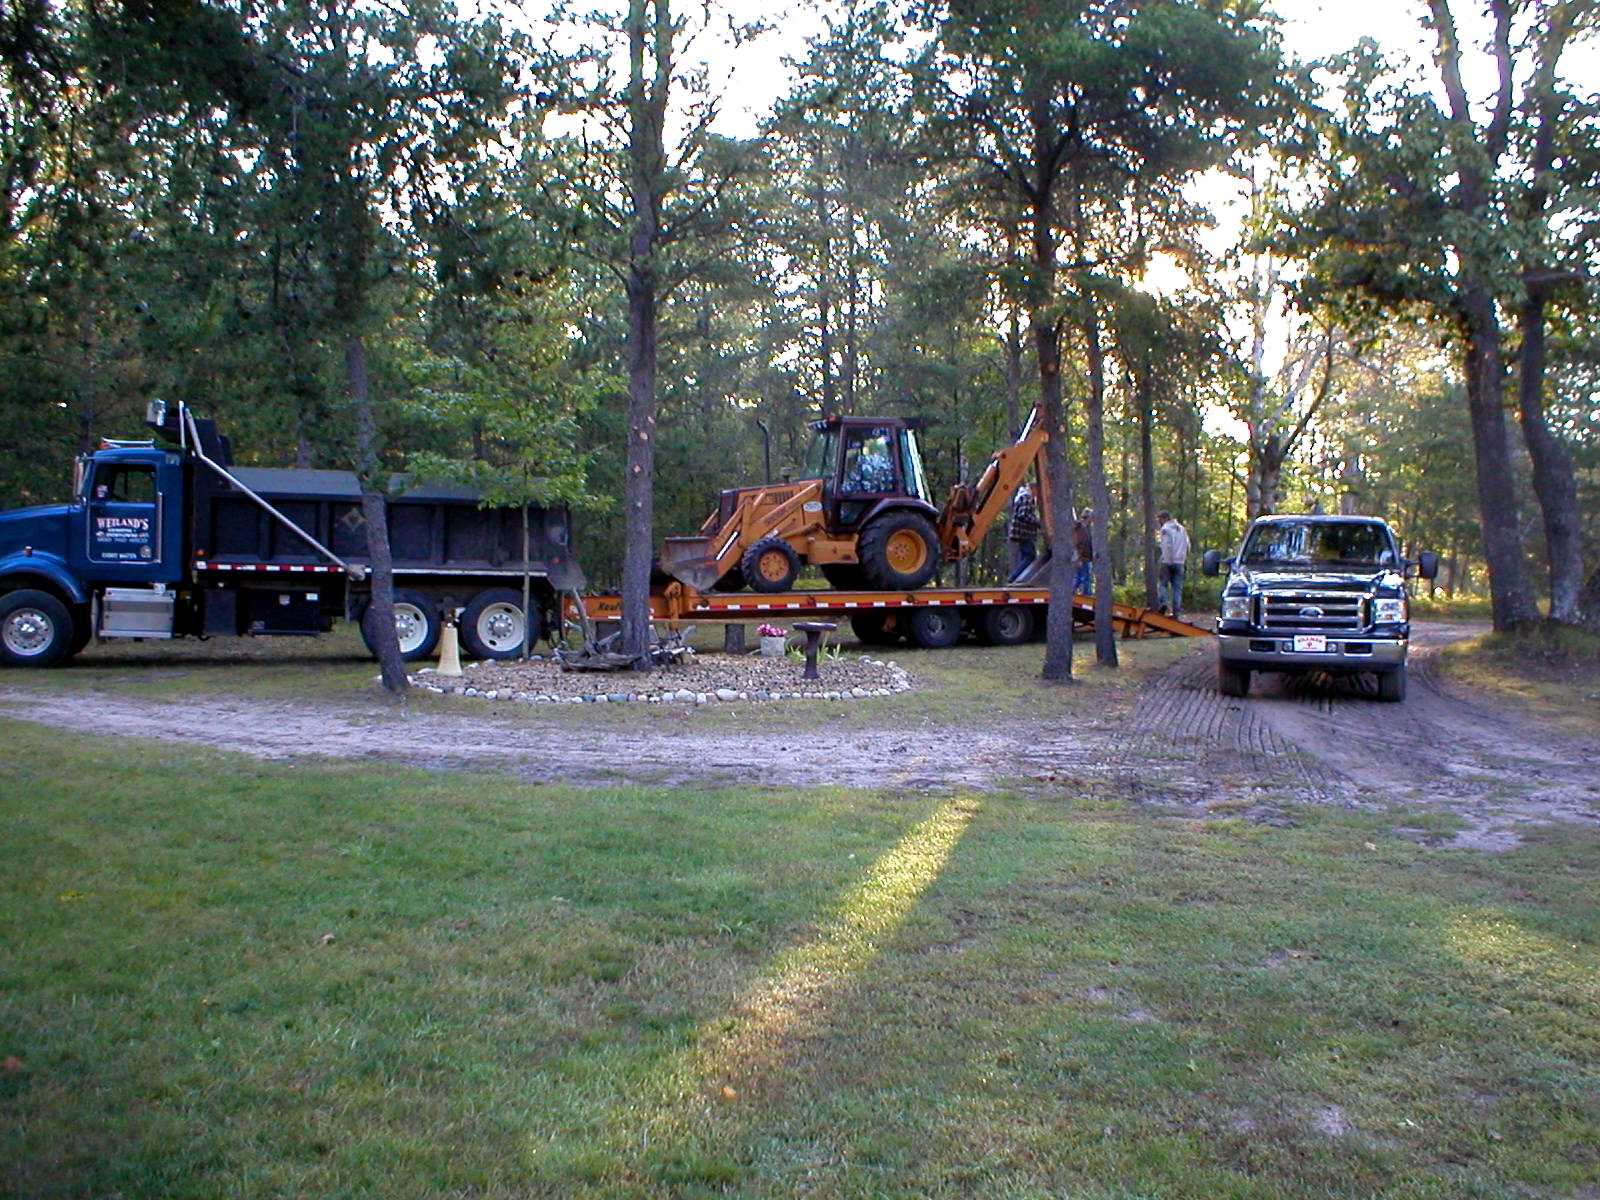
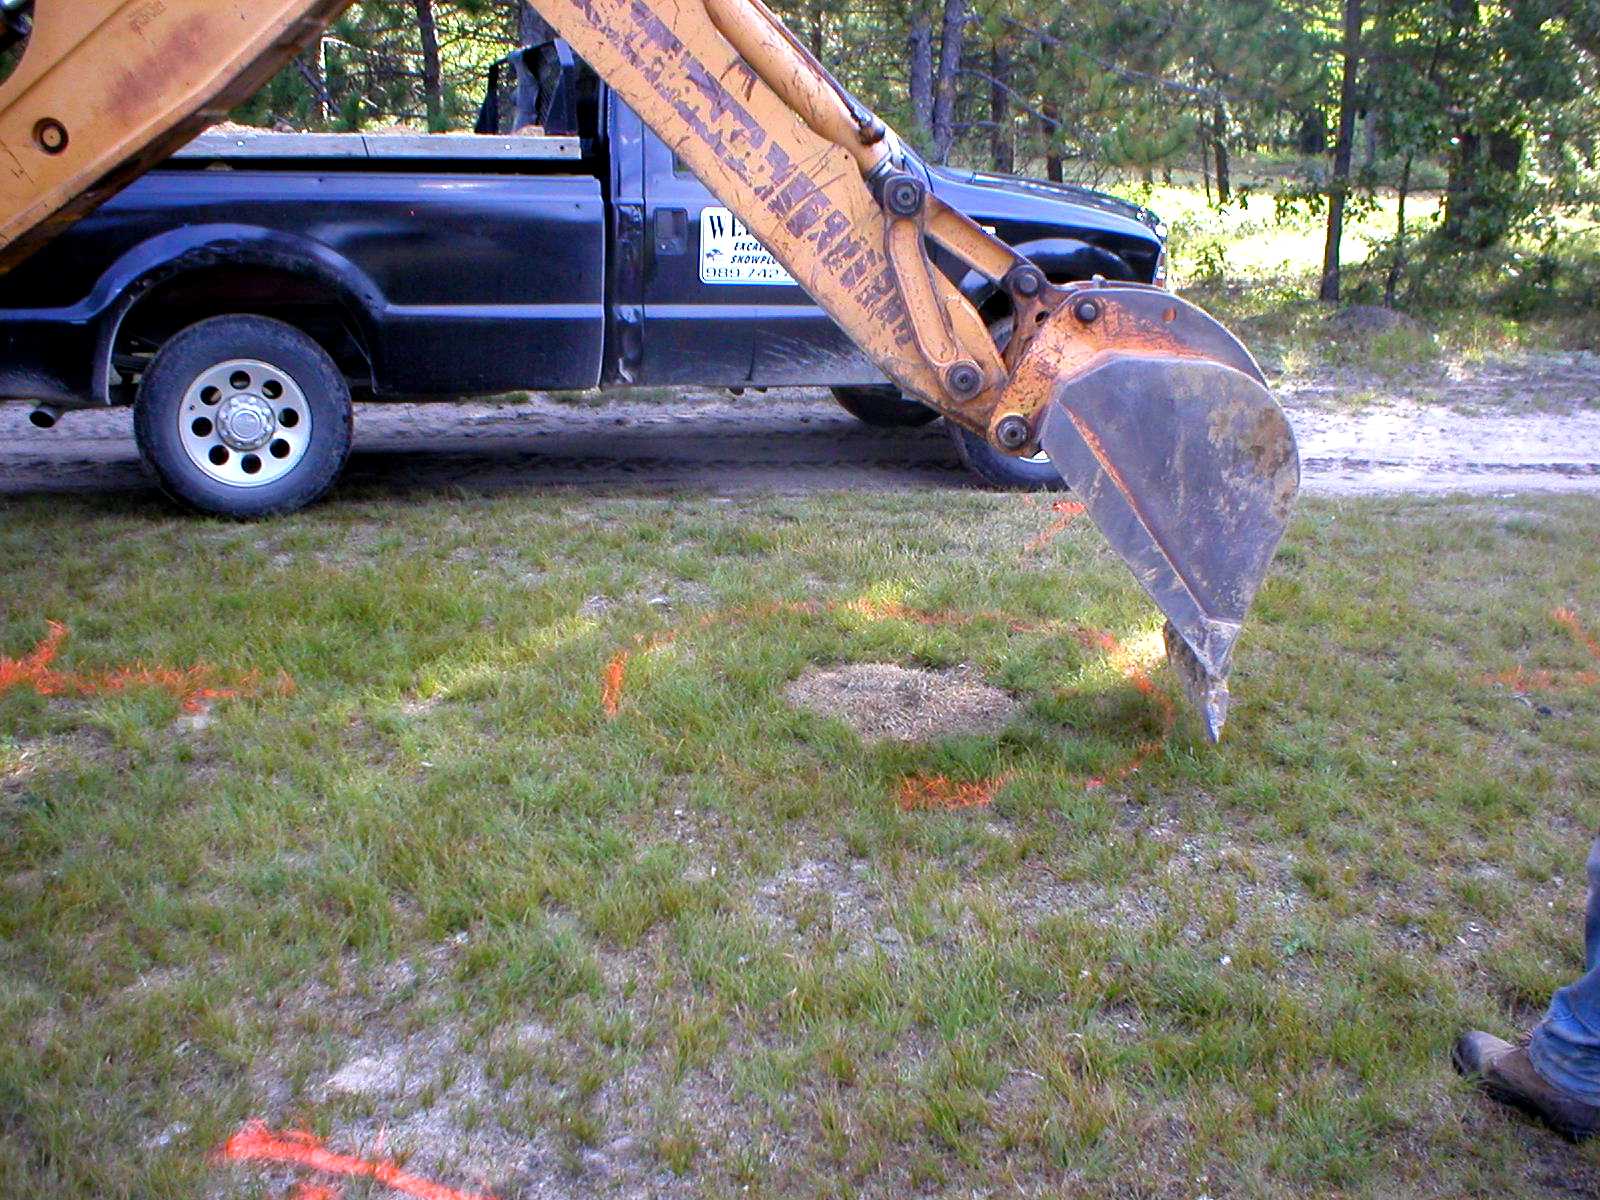
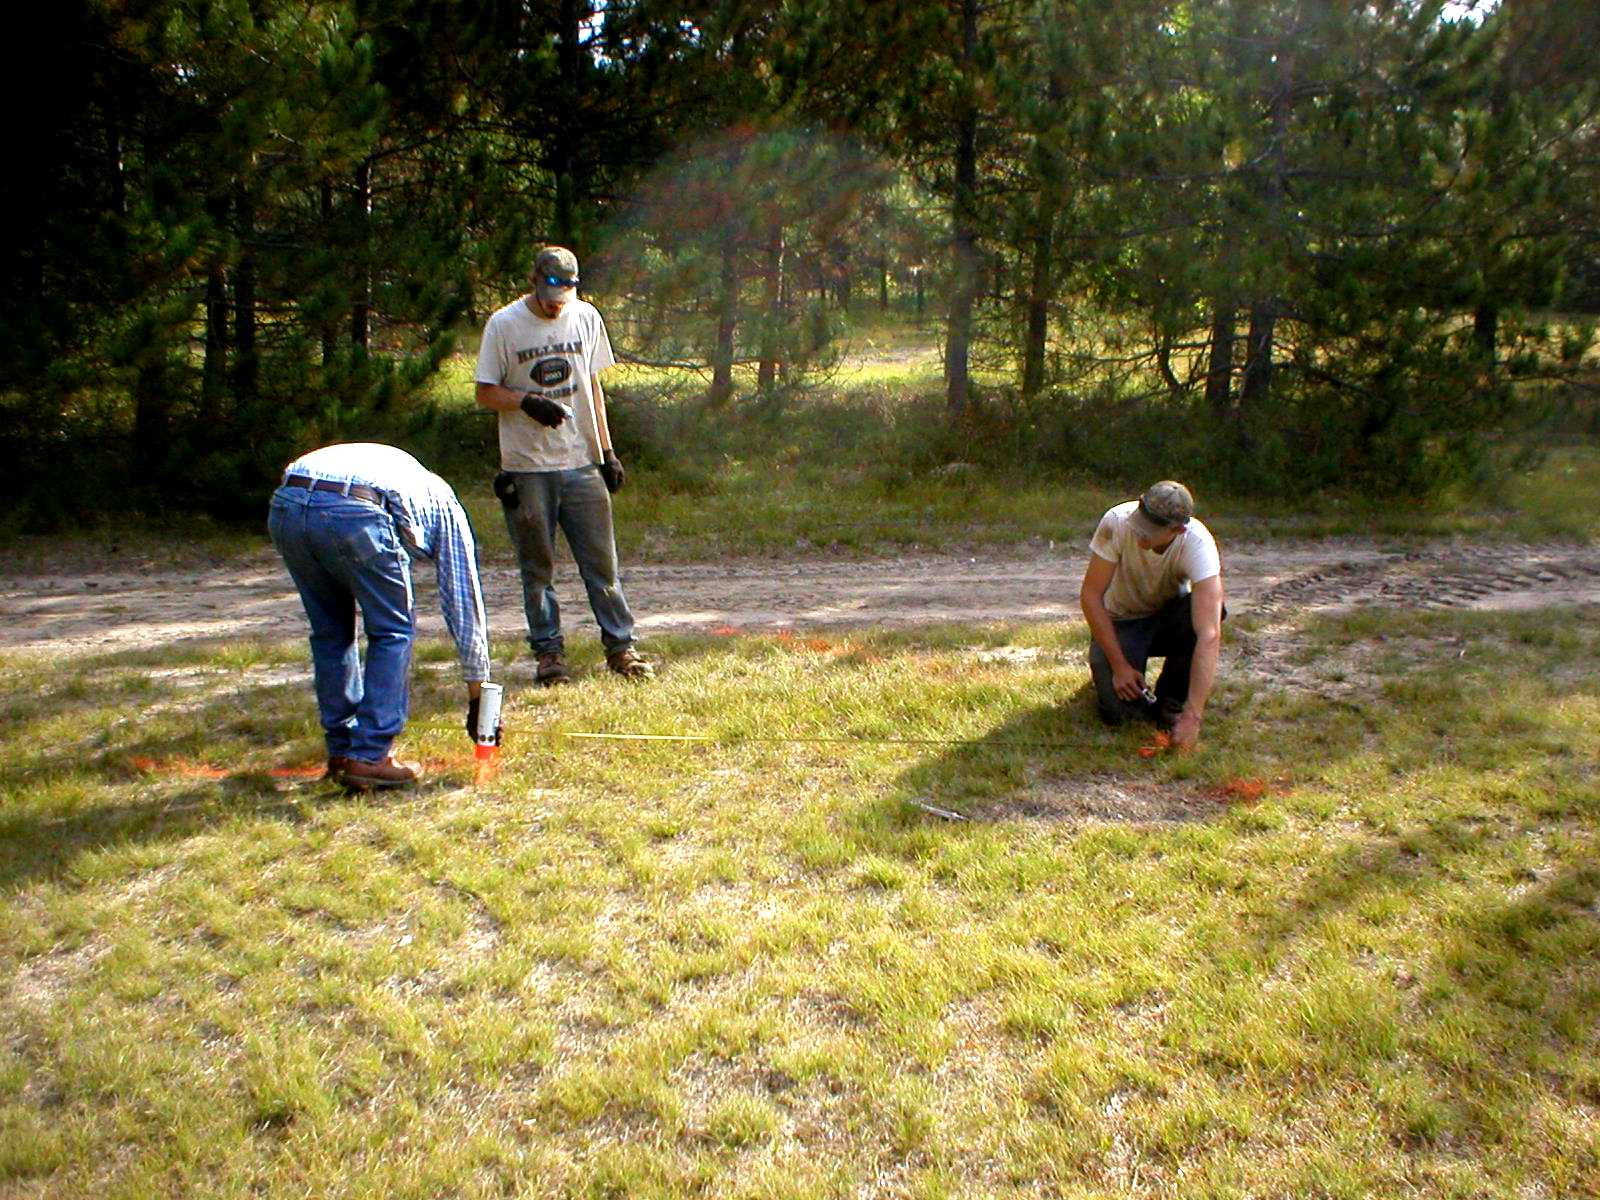
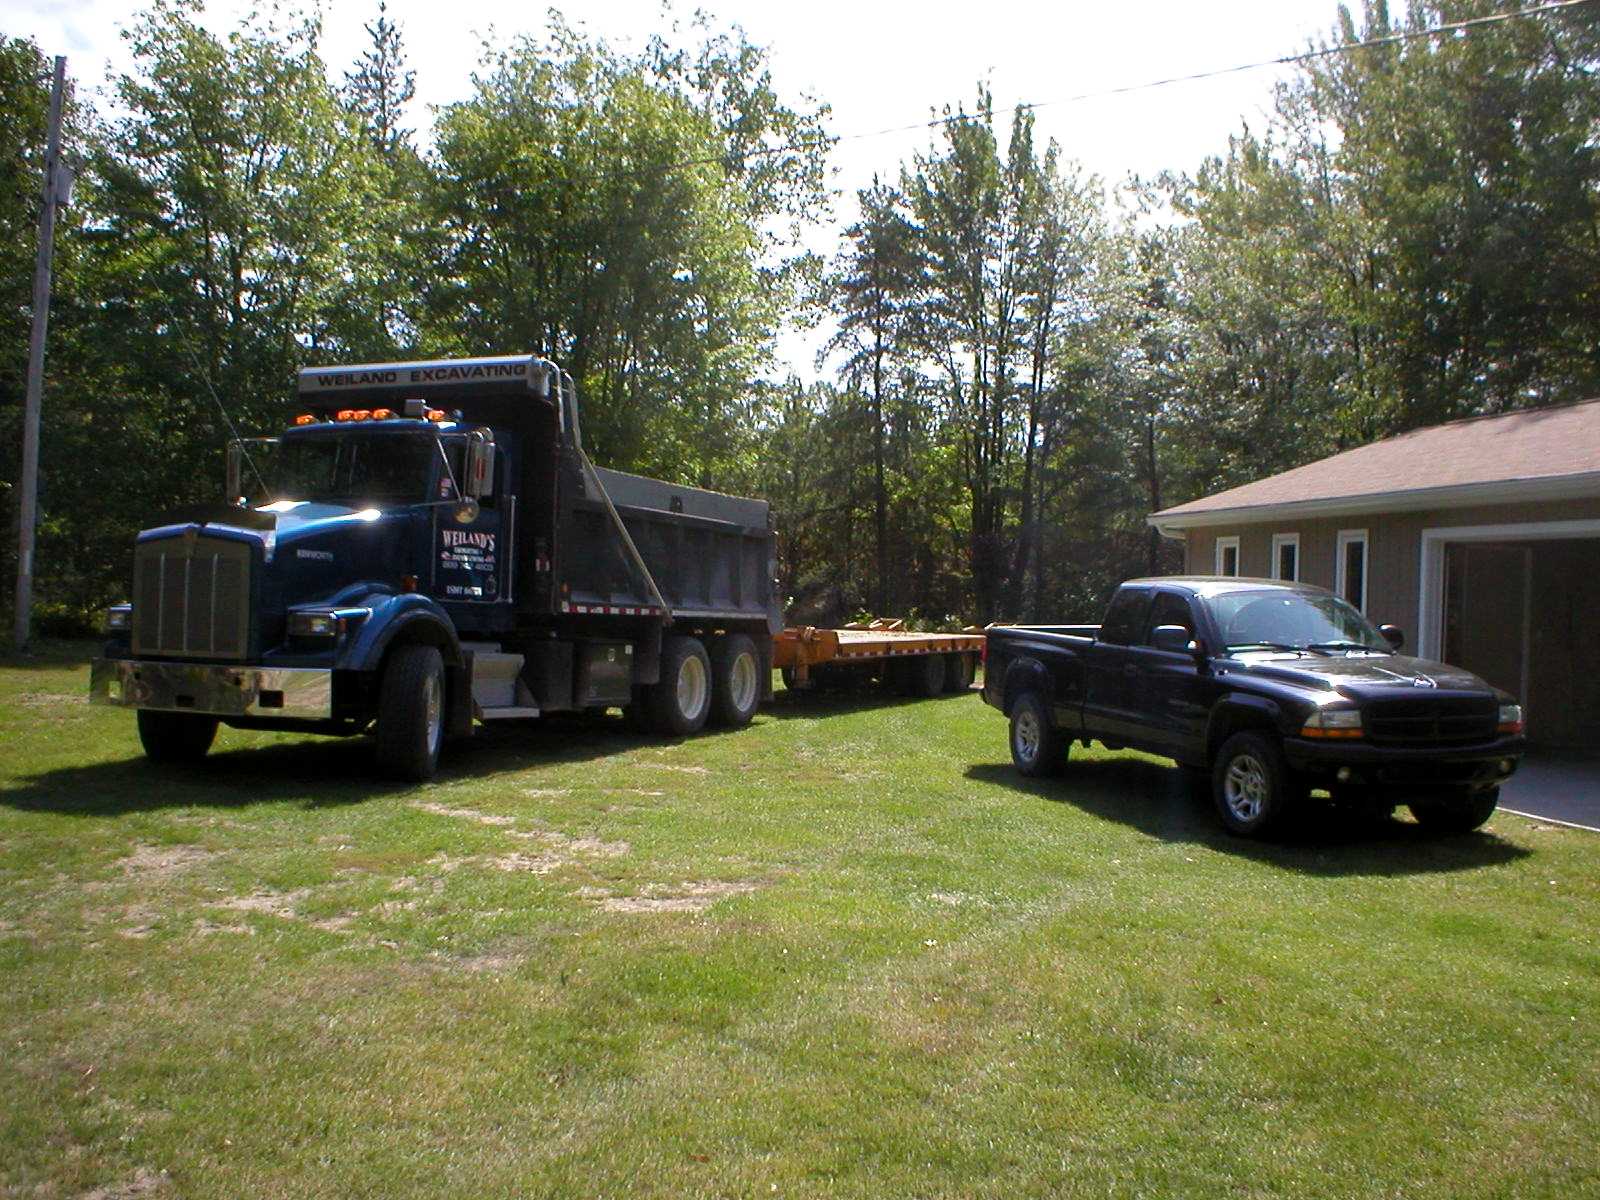
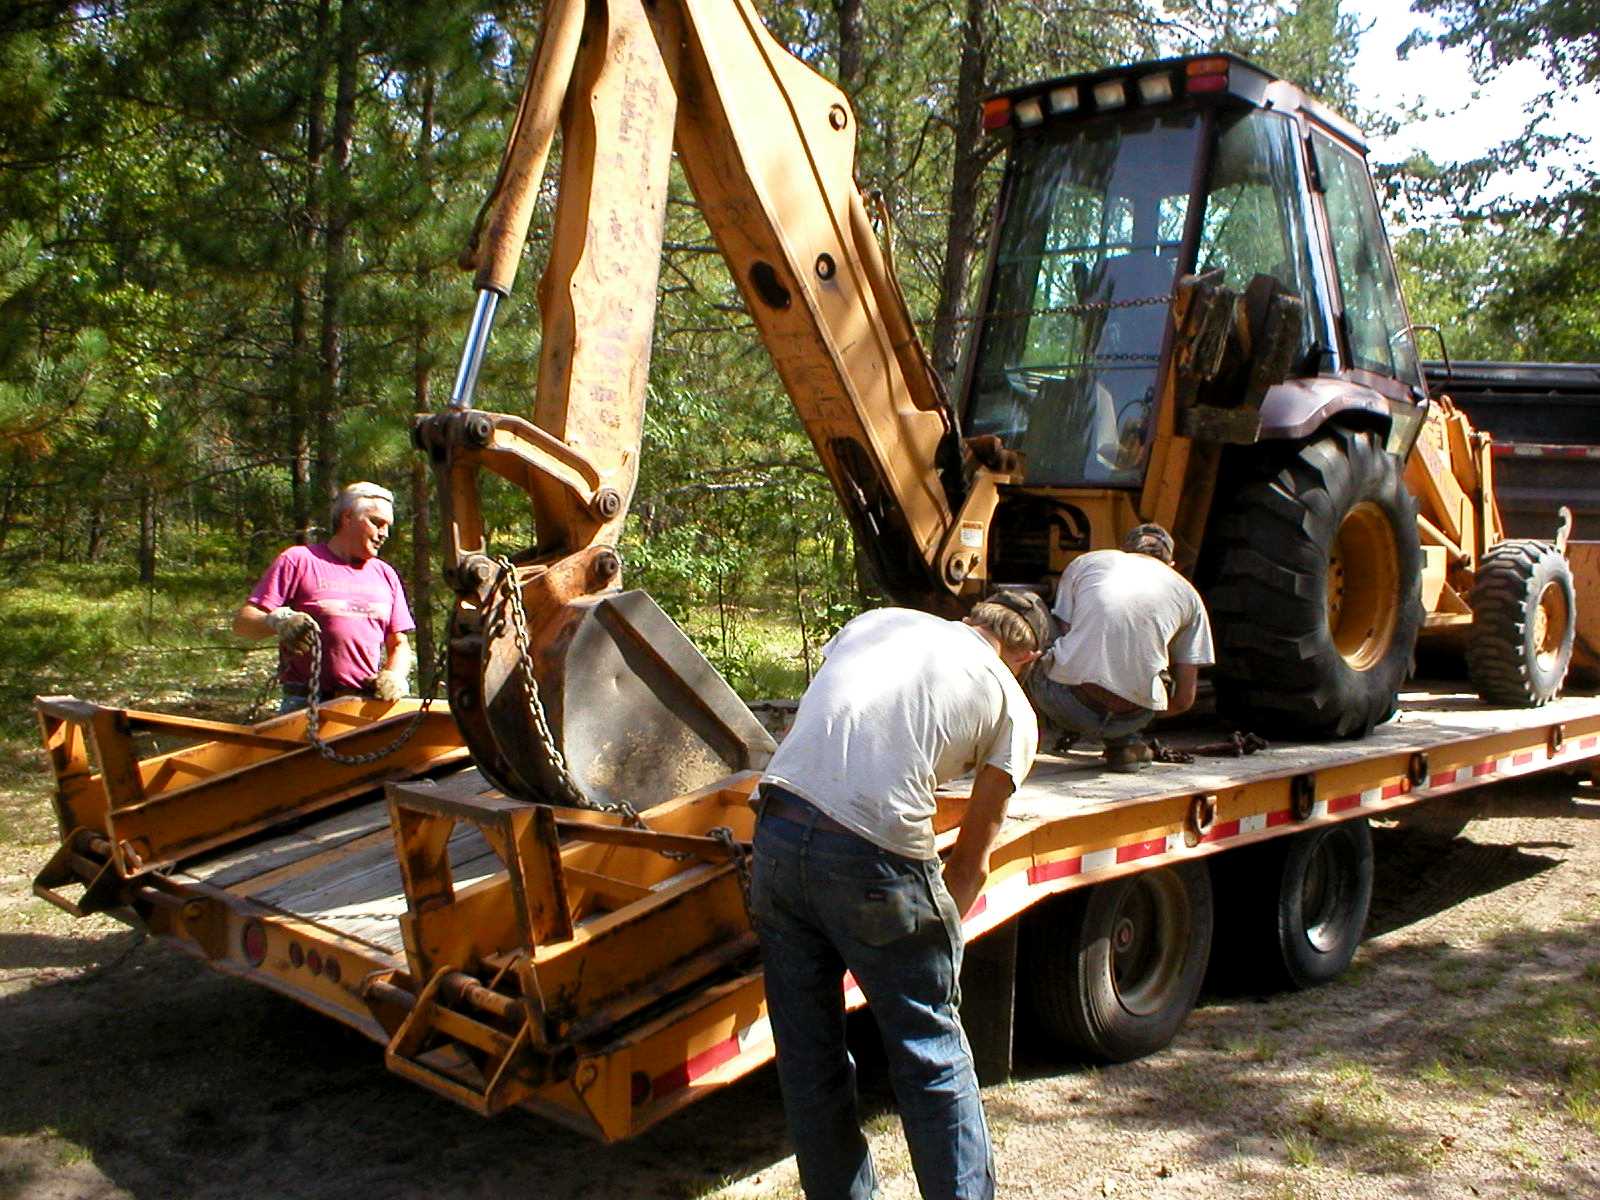
Weiland Excavating (Gary Weiland), Hillman, MI. (989-742-4603) completed
triangle bases.
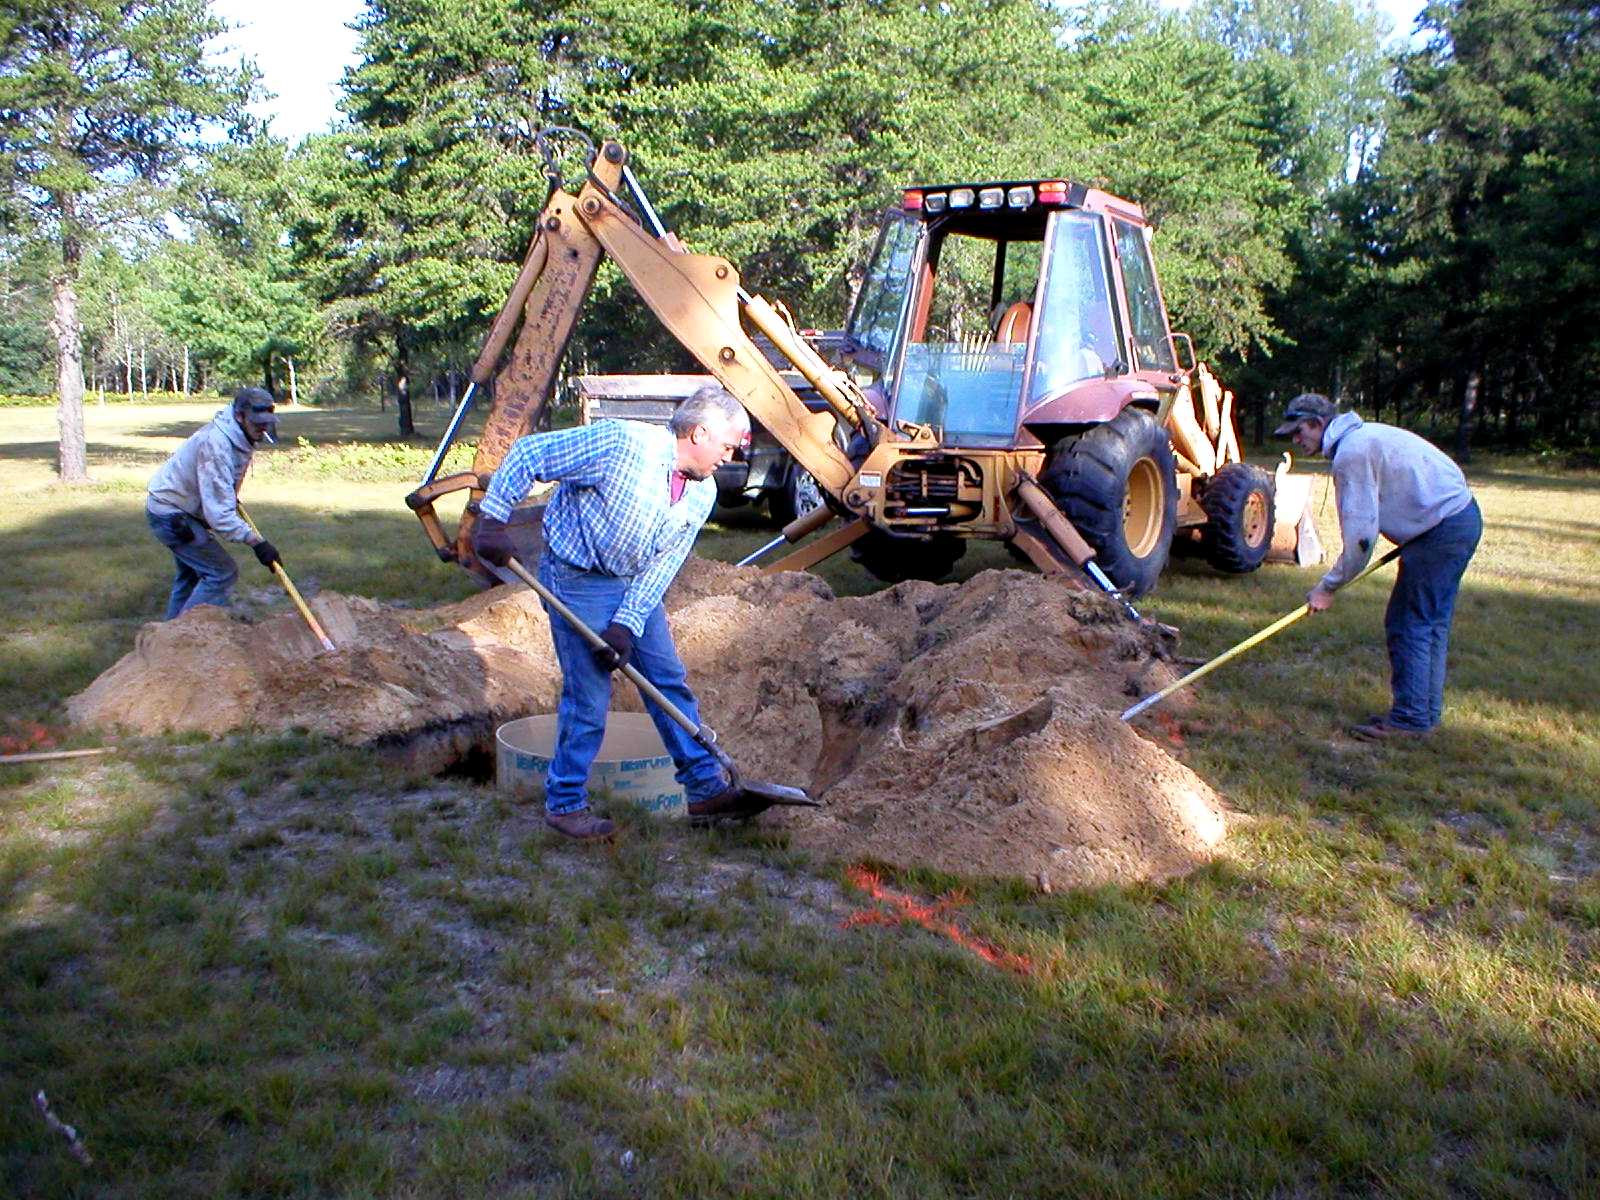
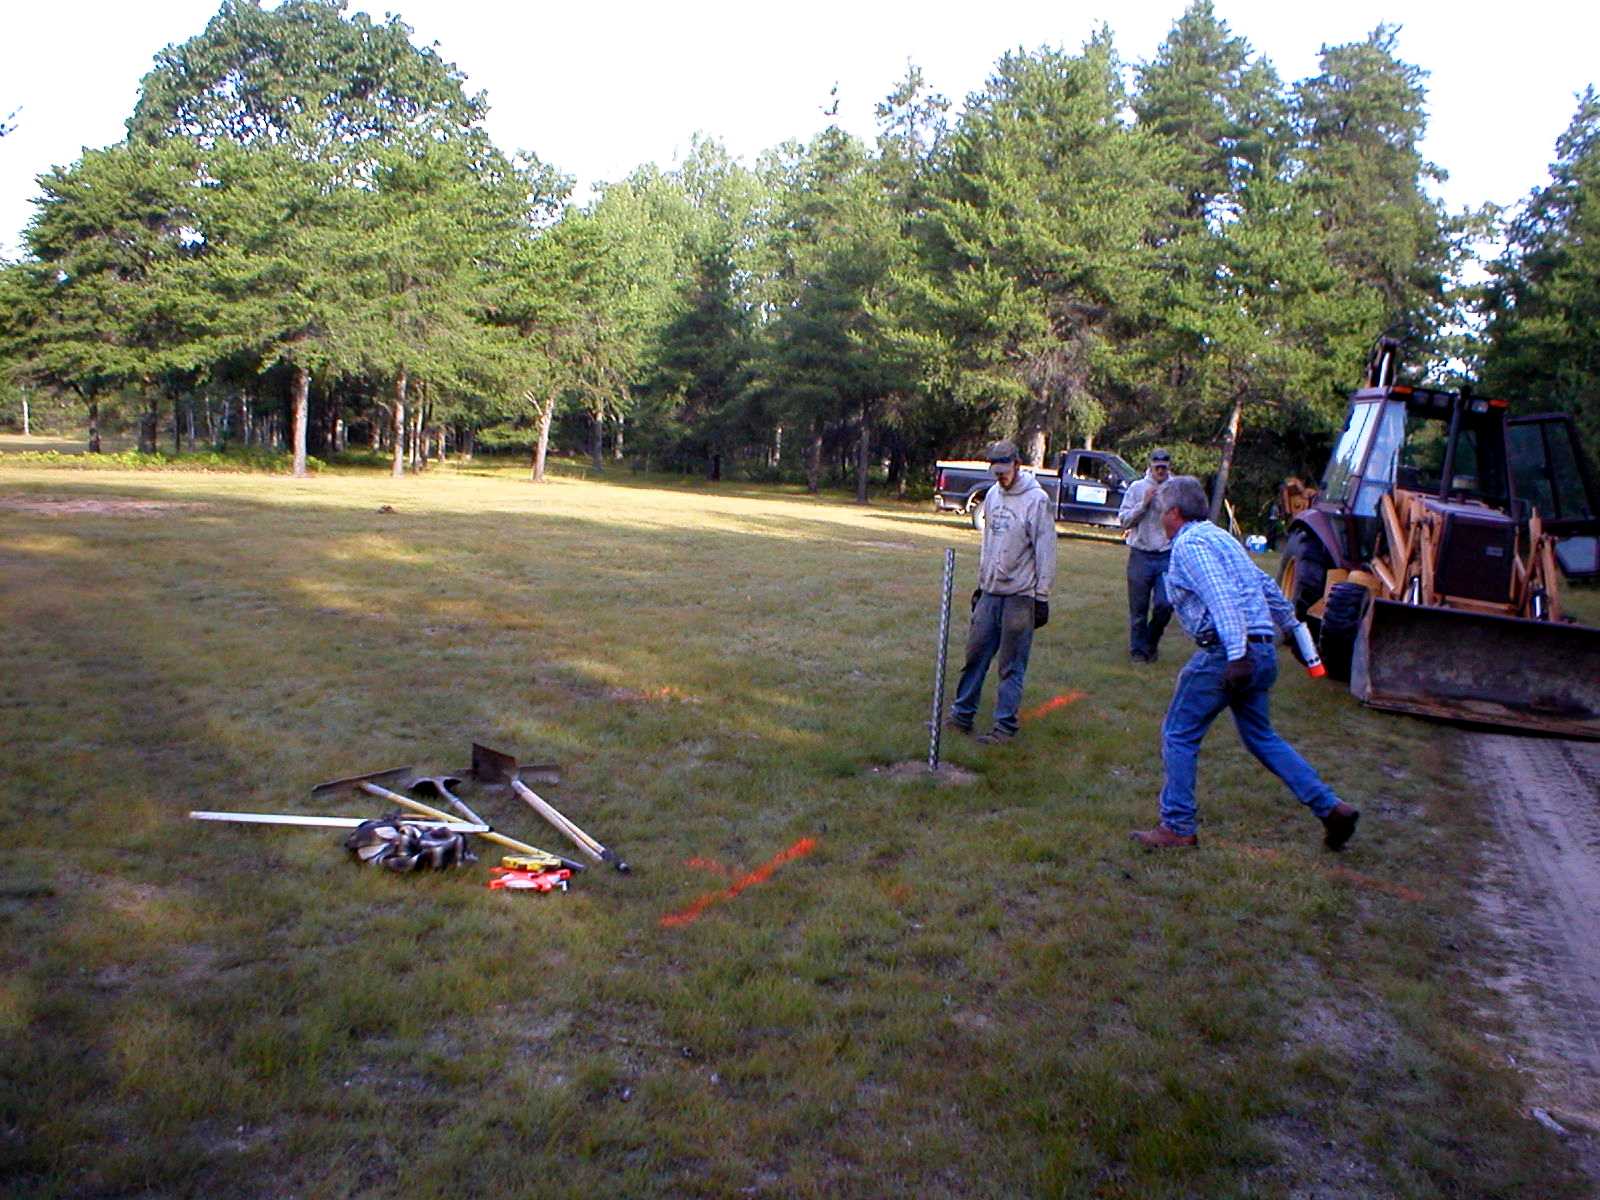
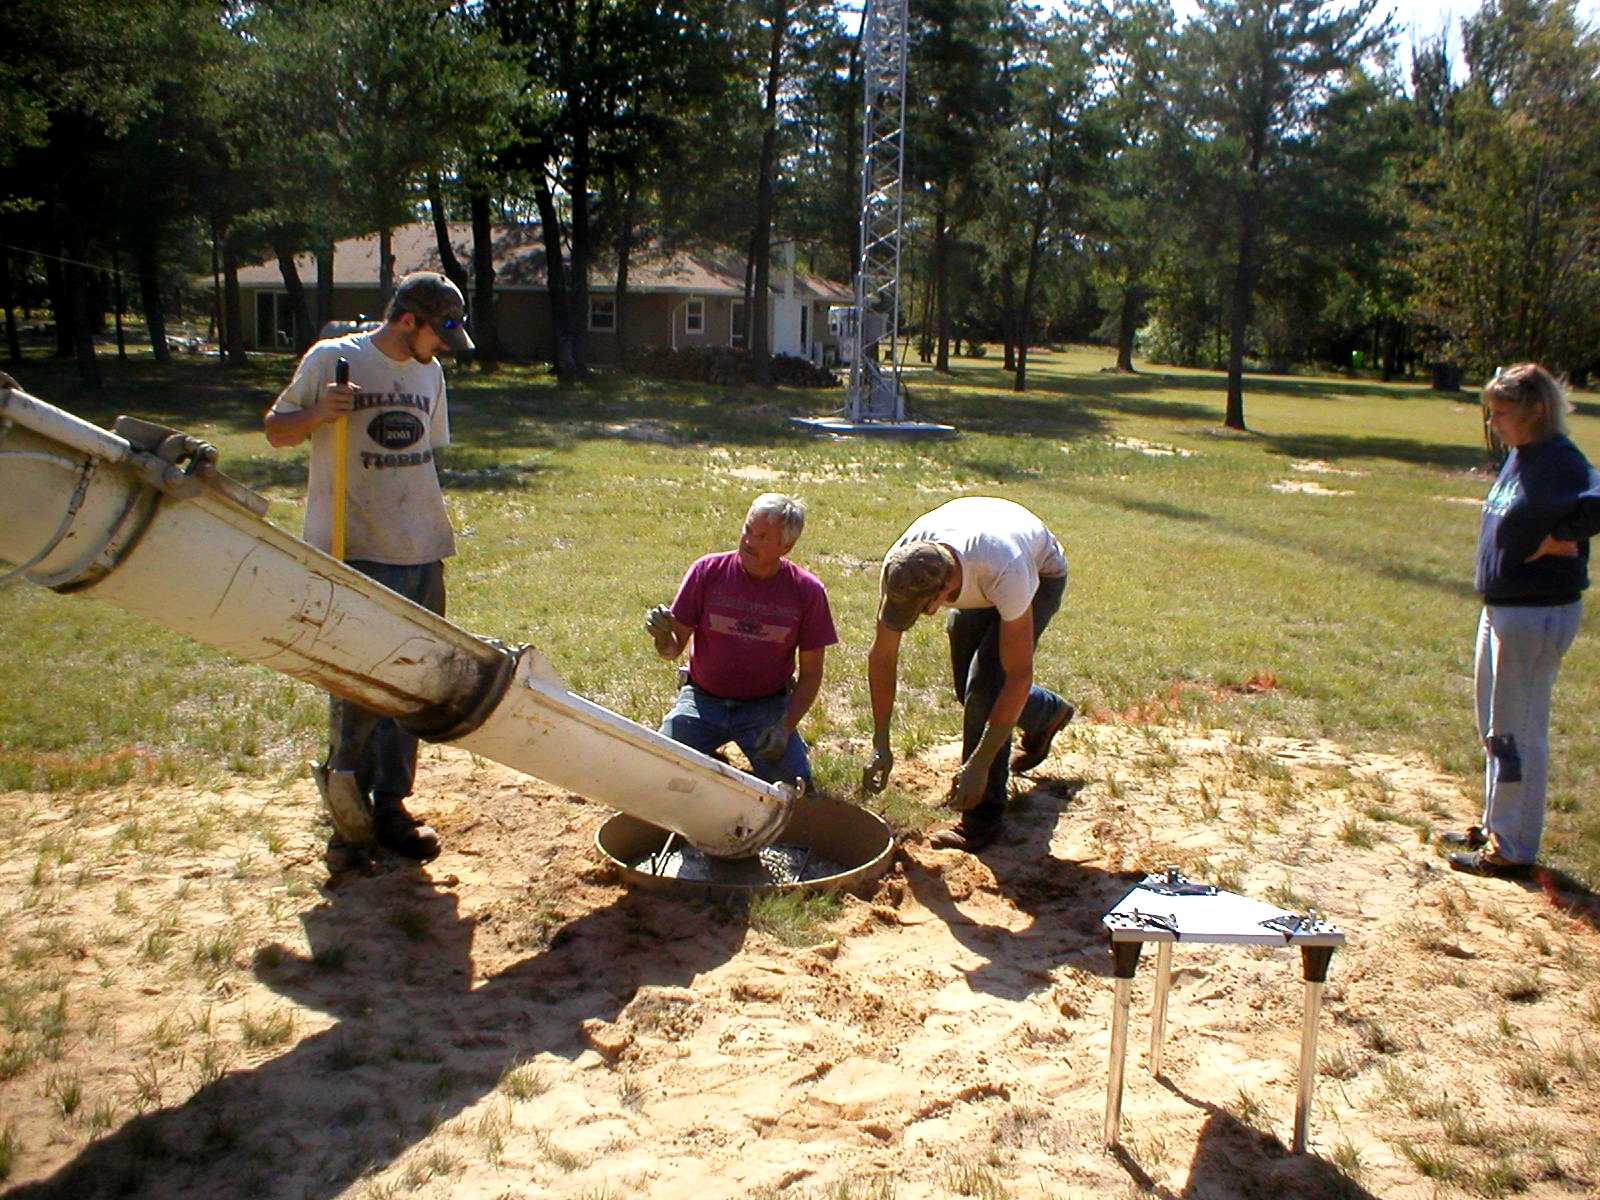
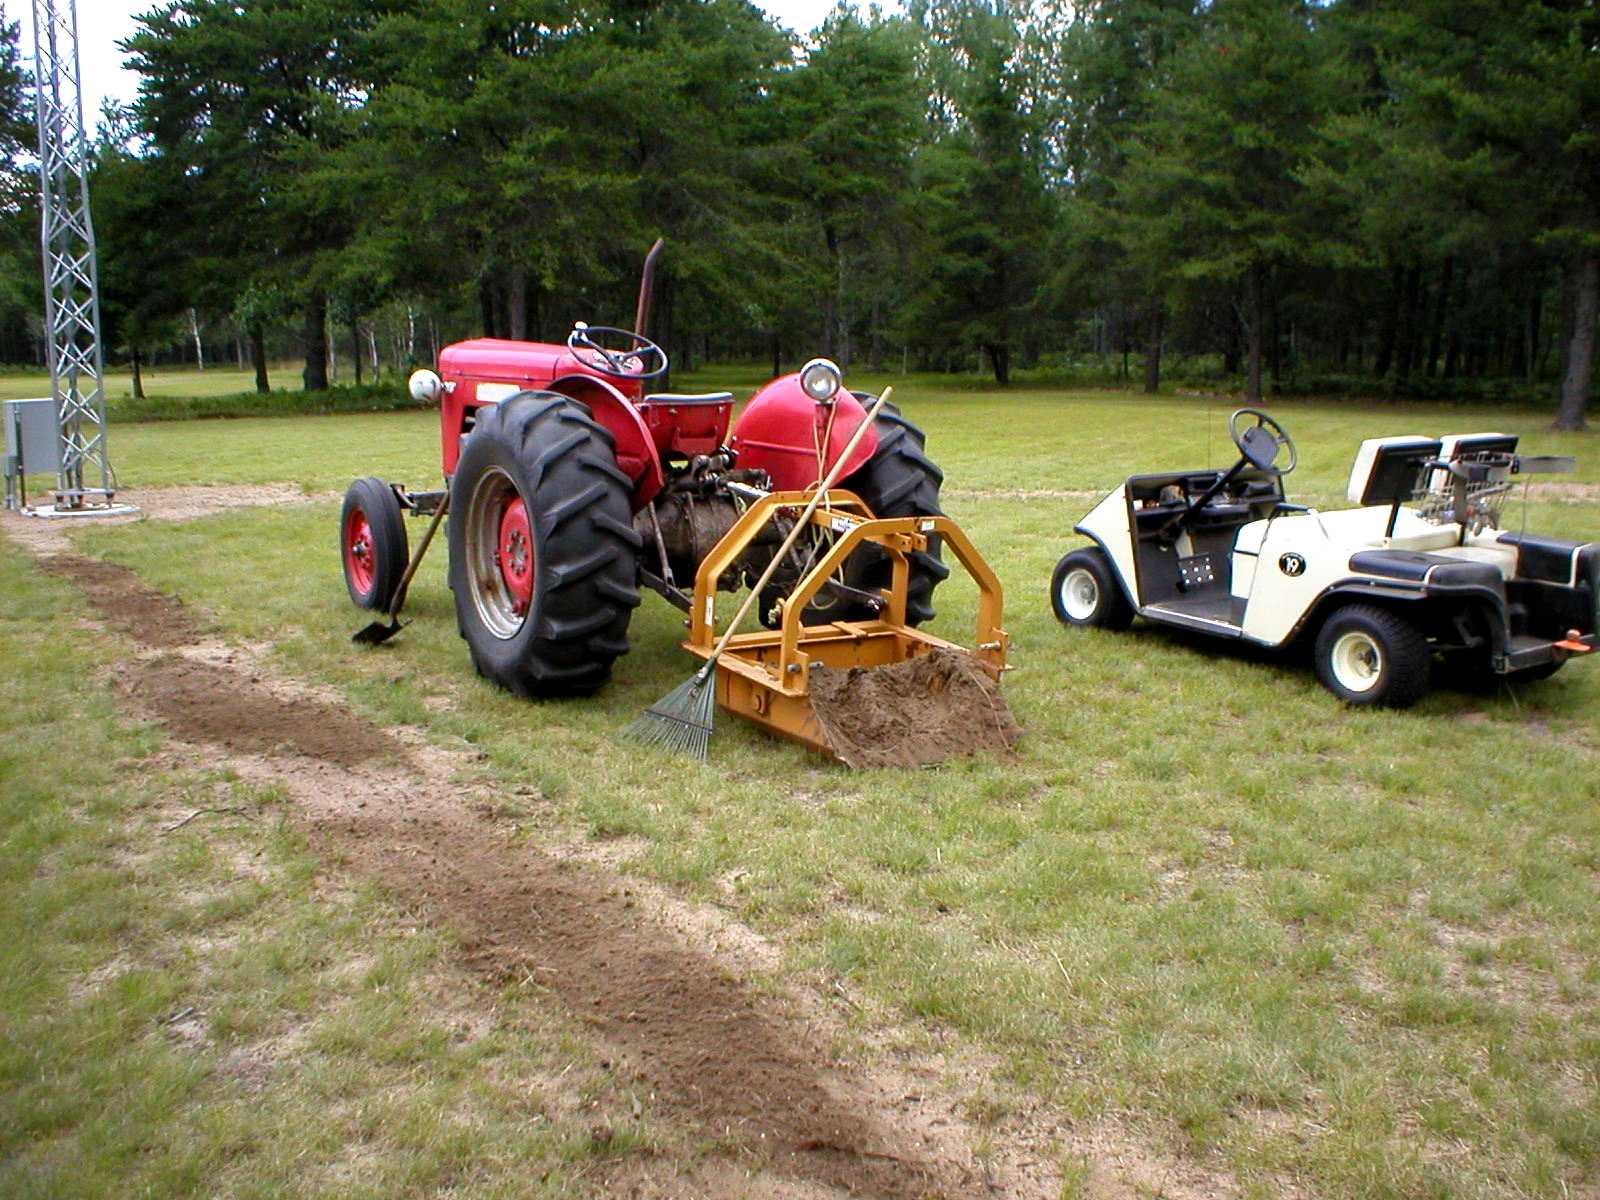
This thing shovels faster than I can.

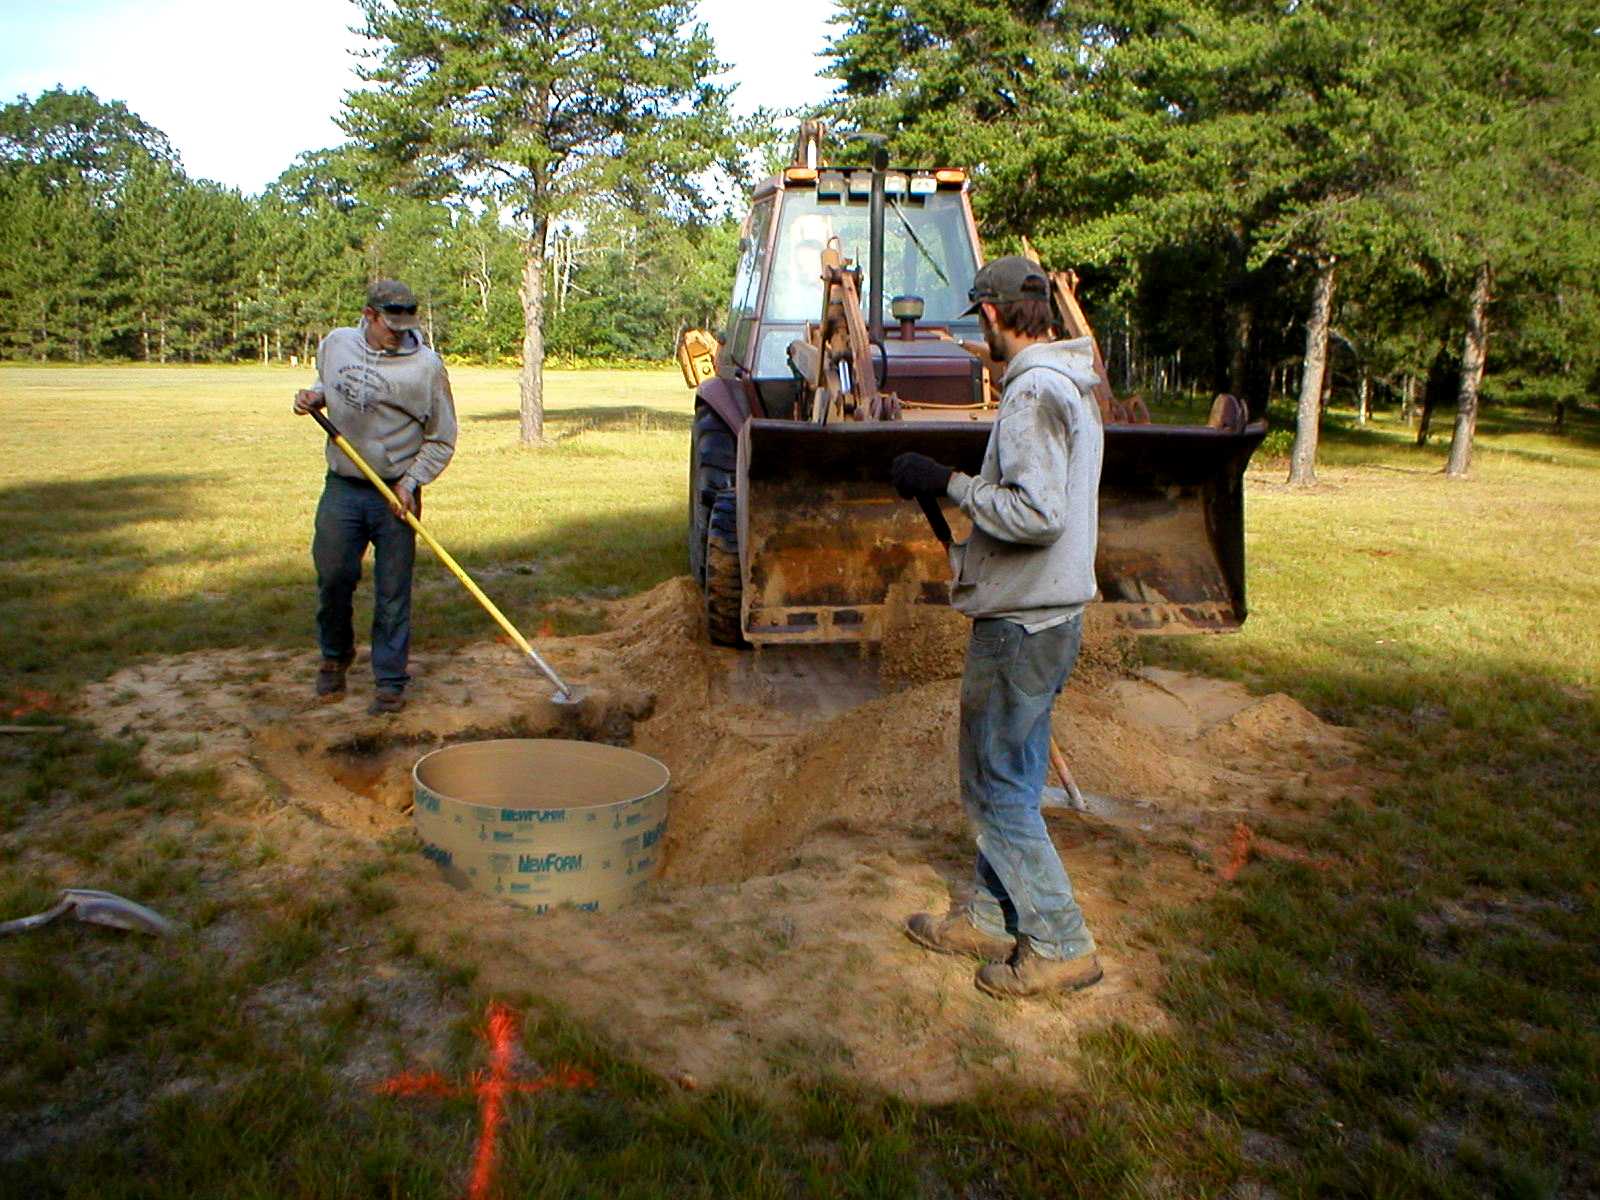
Laser used for 1/16" accuracy.
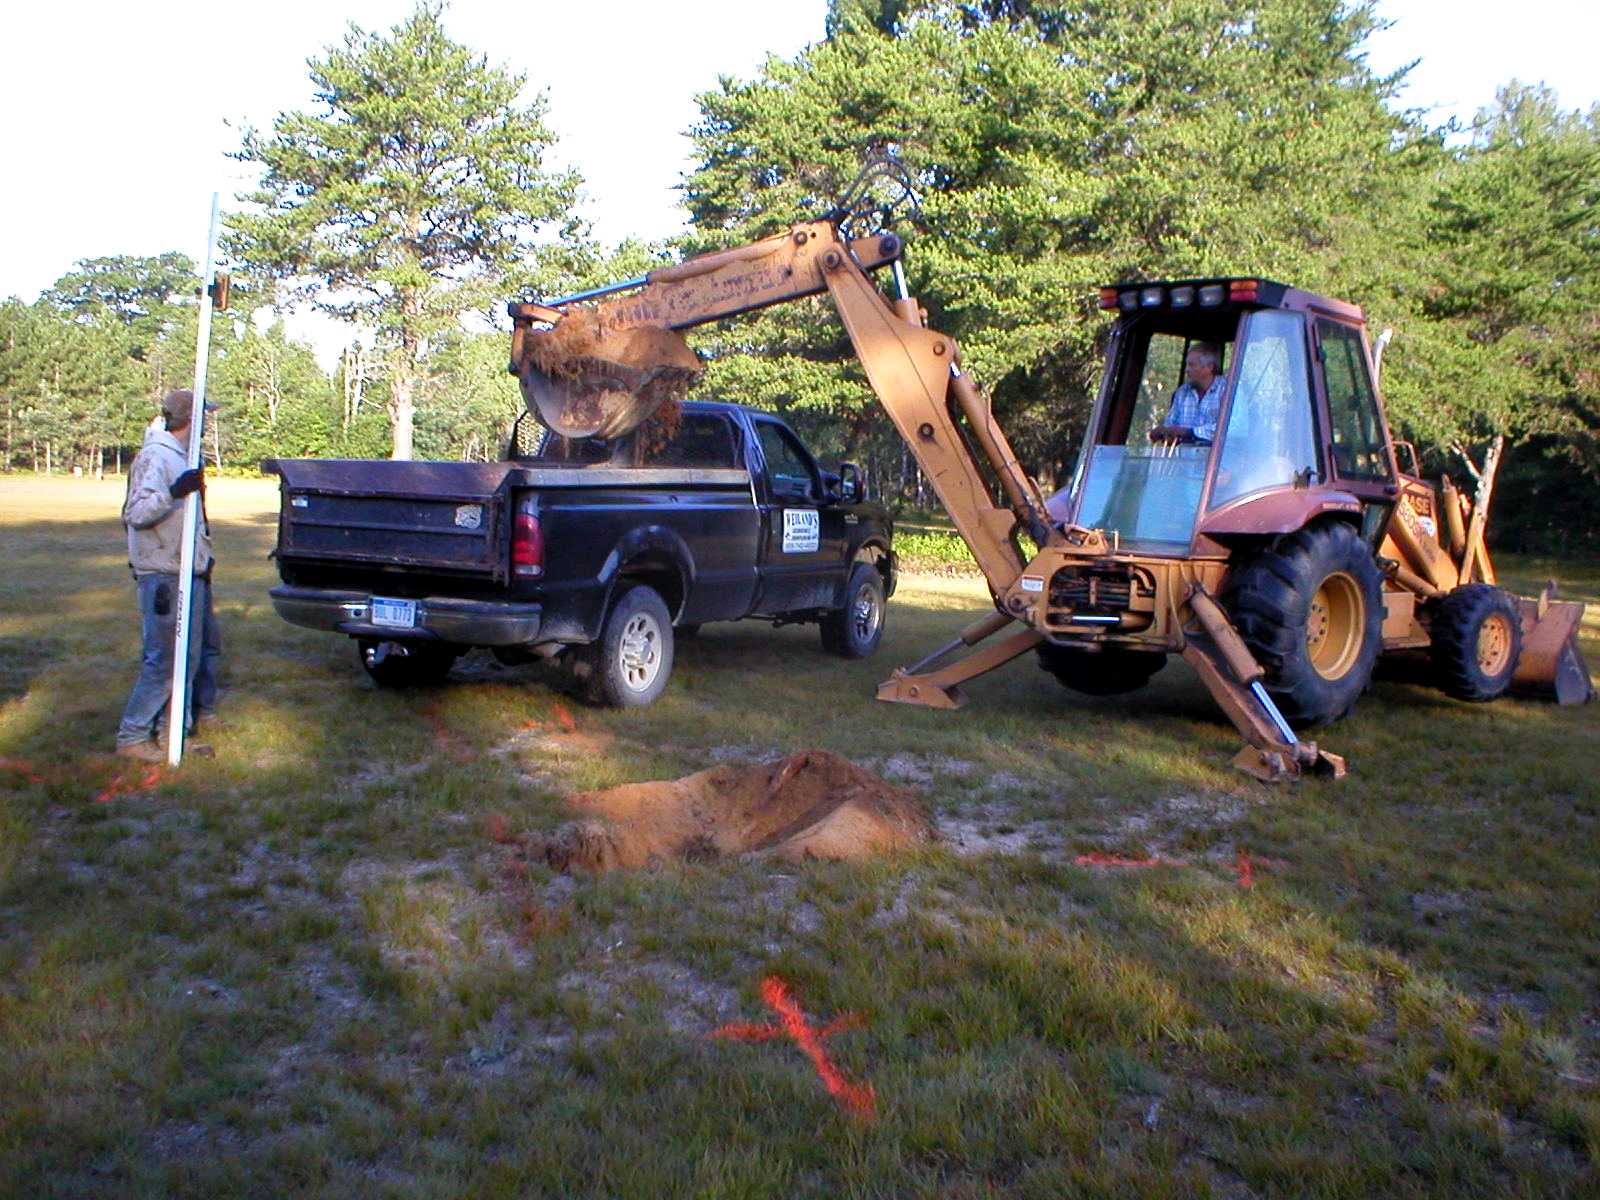
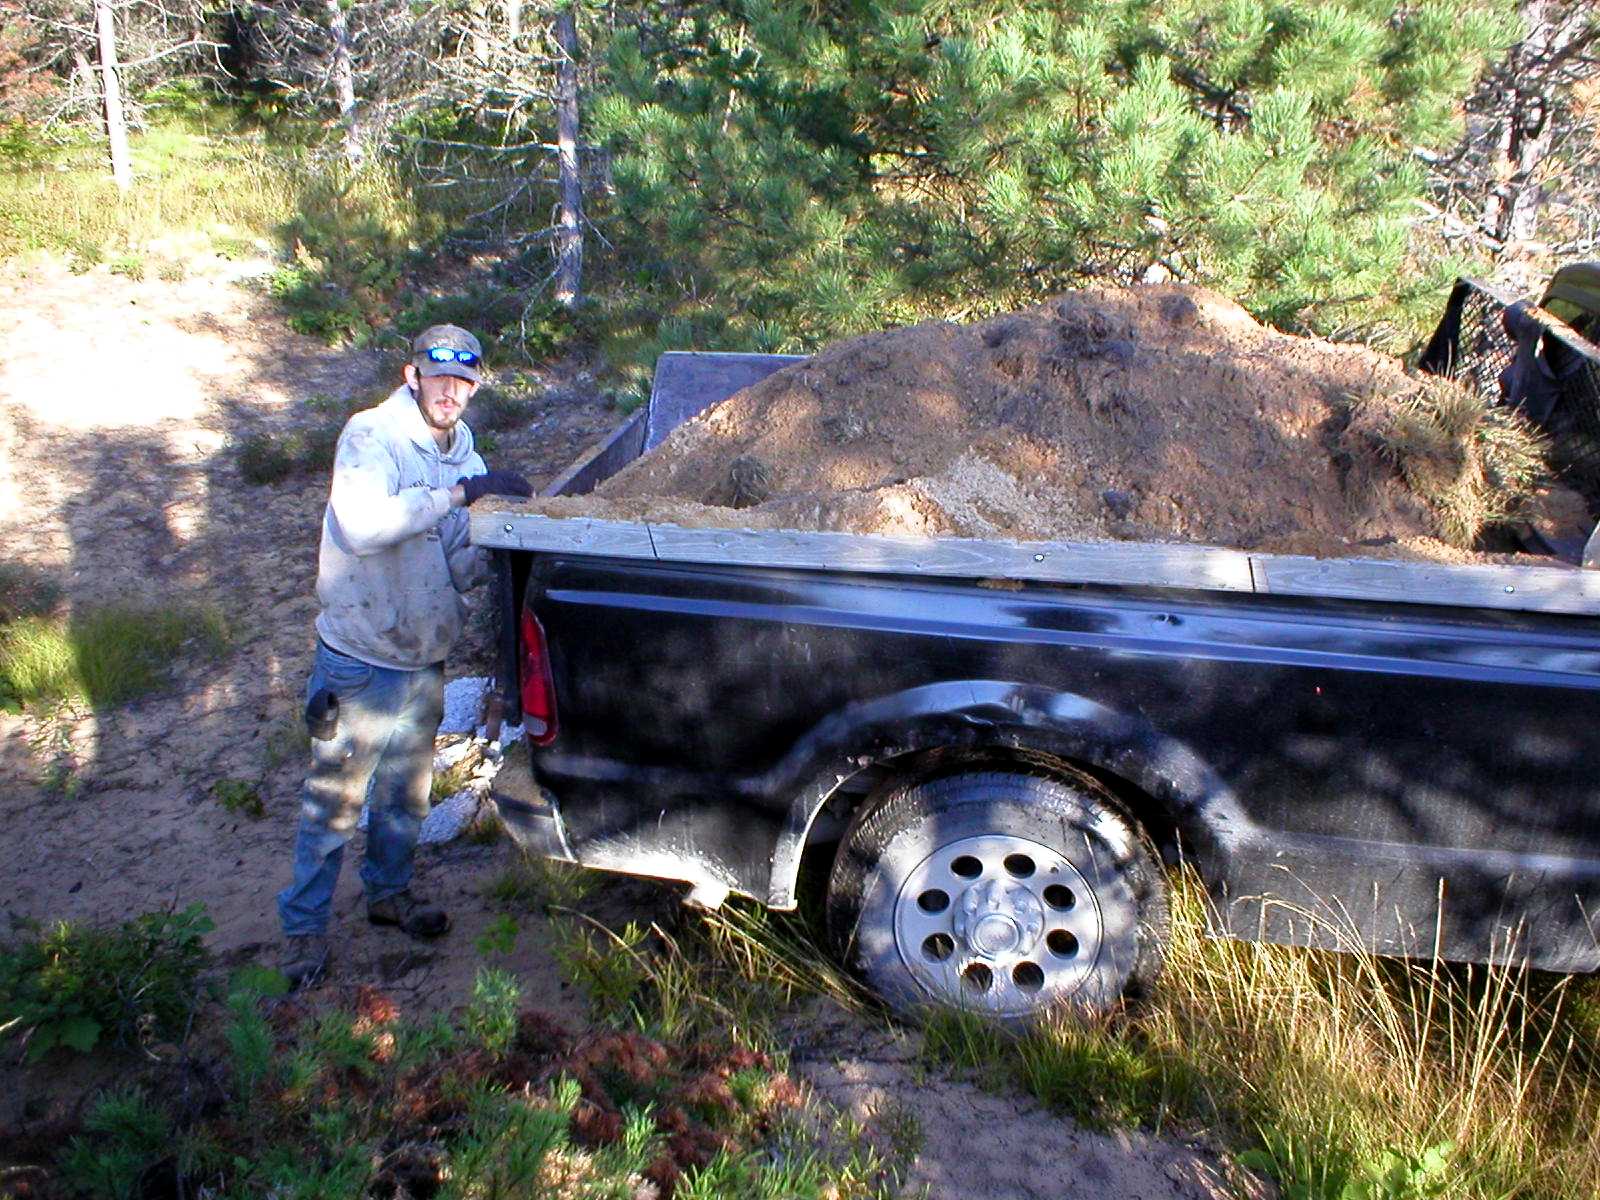
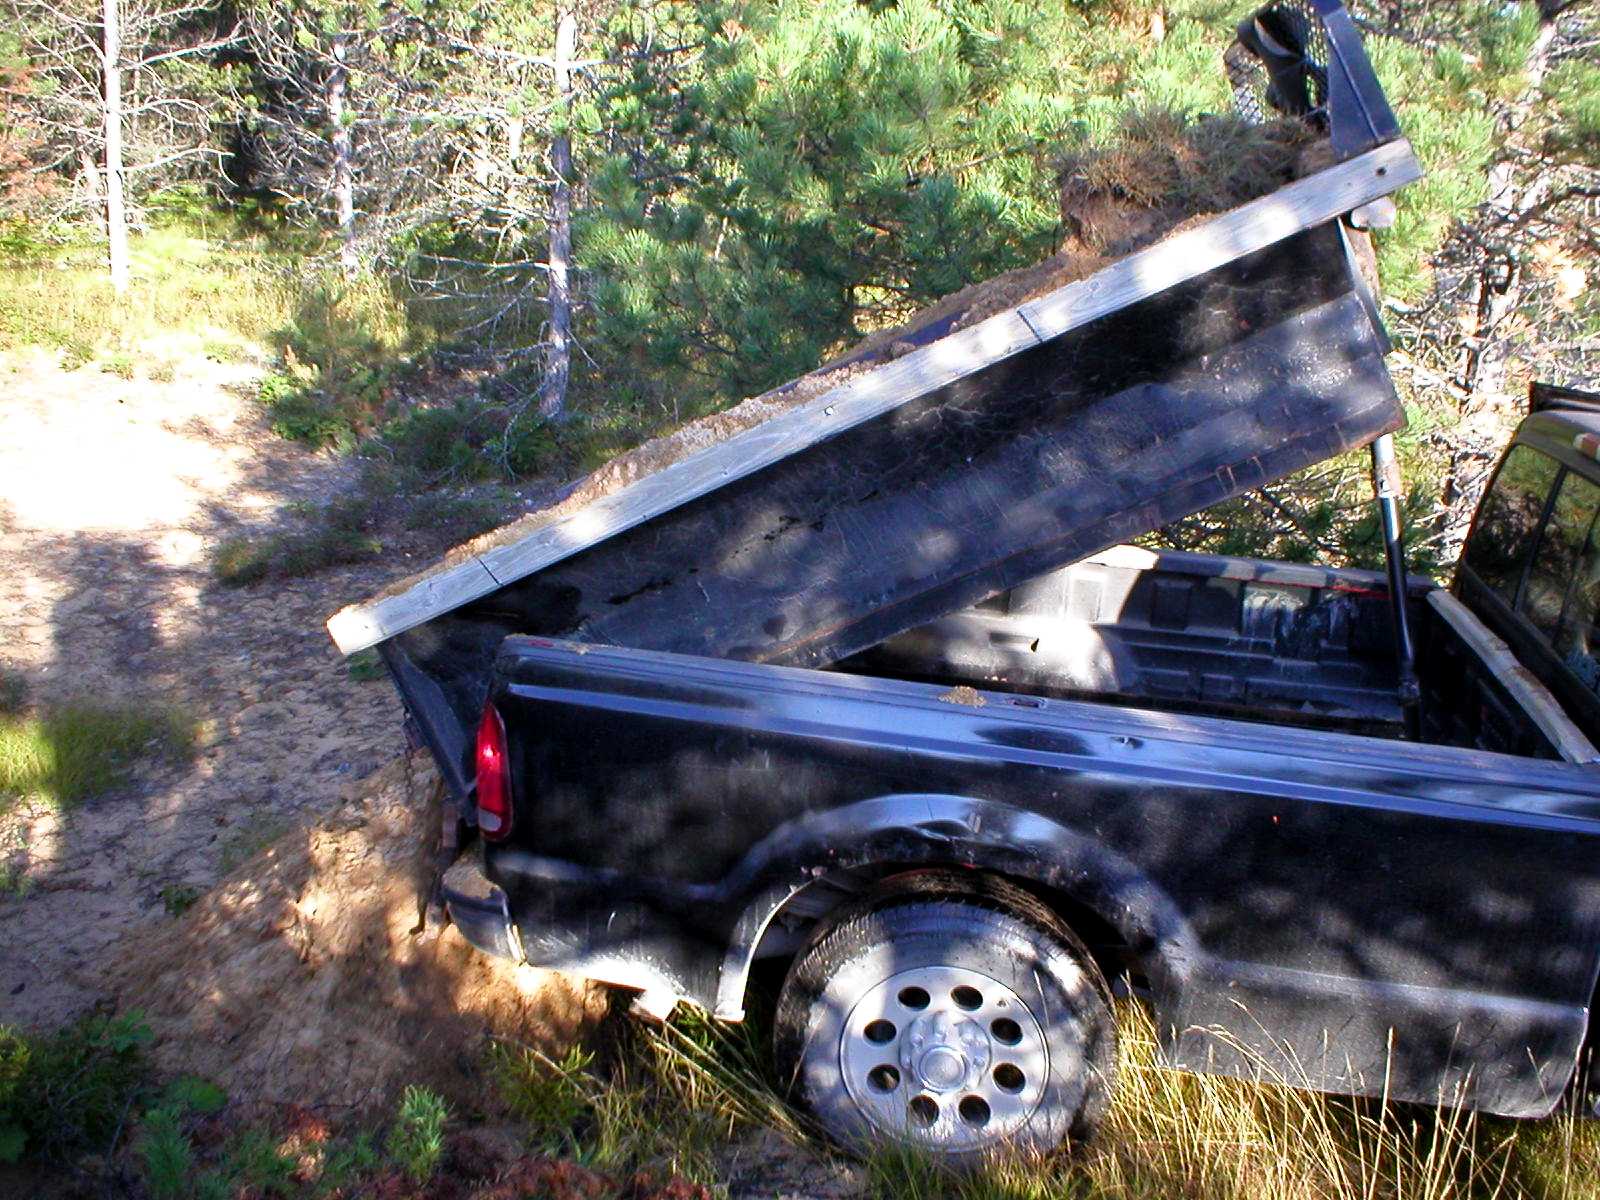
Getting rid of excess dirt.

Last work done by hand.

Ensuring correct elevation.
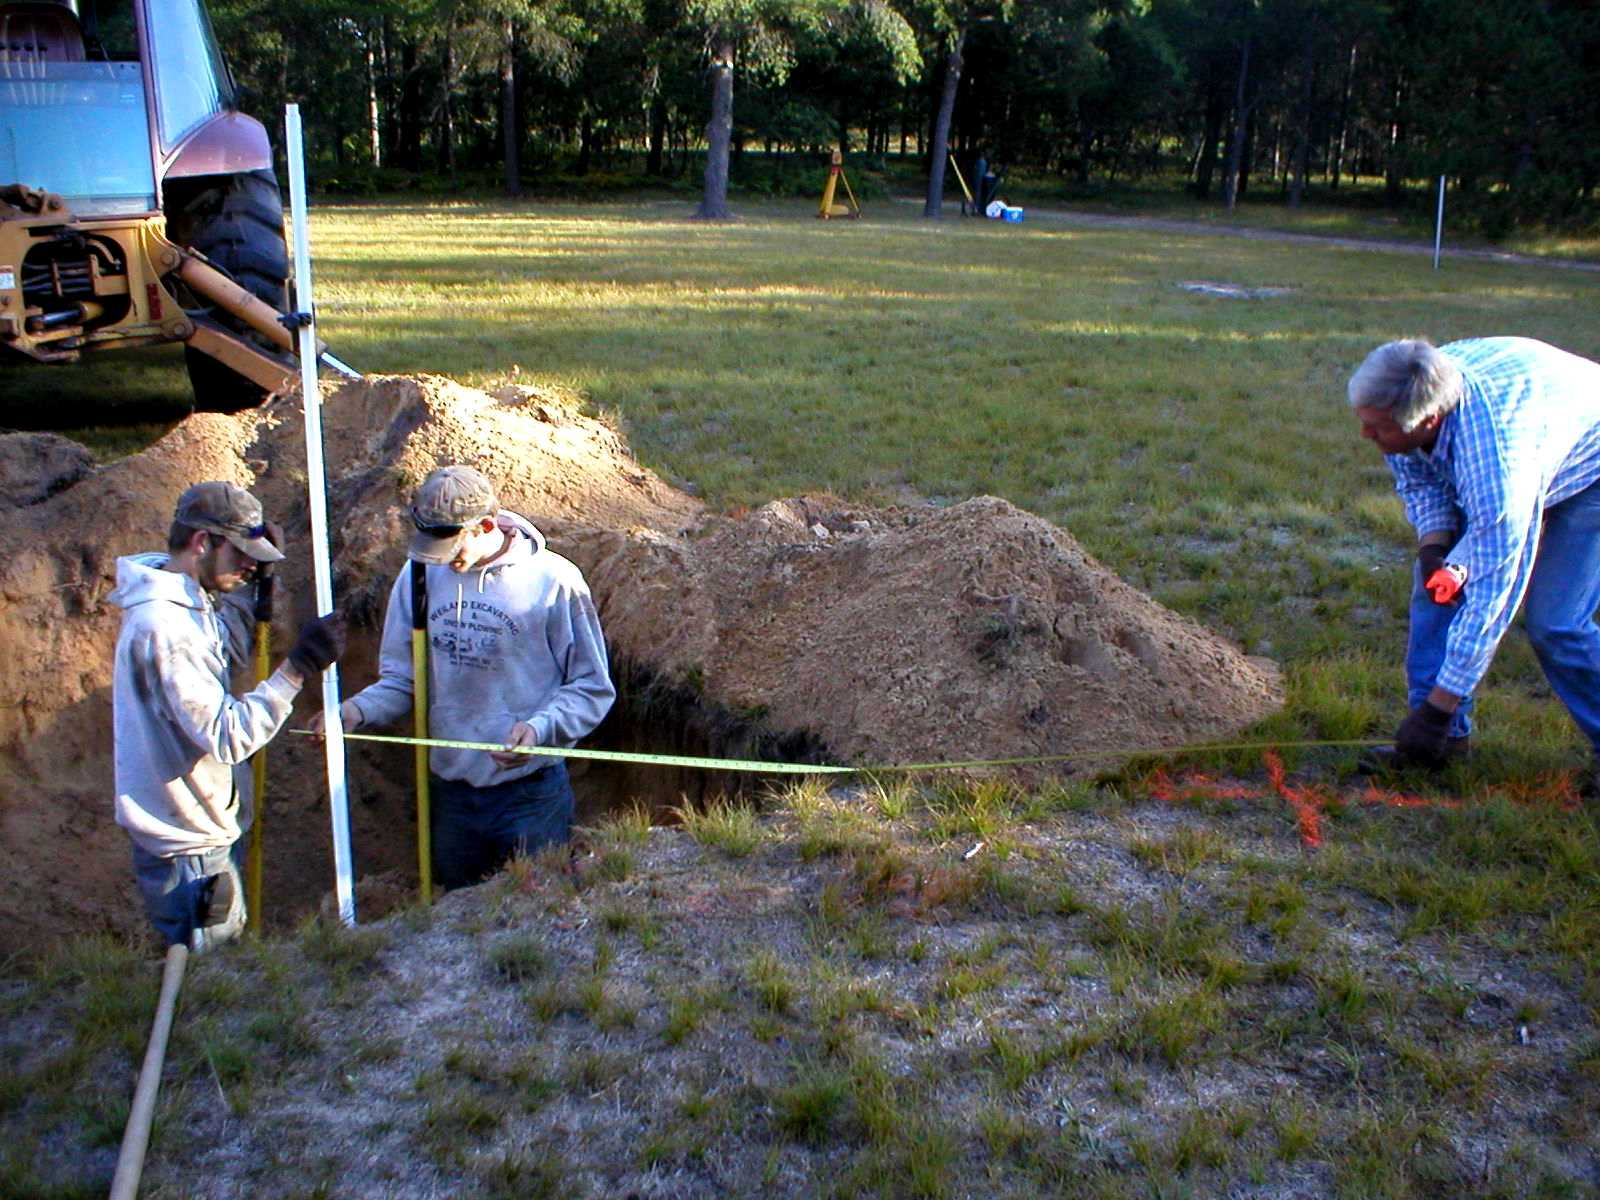
Ensuring correct separation.
Backfill before concrete.
Sonotube being backfilled.
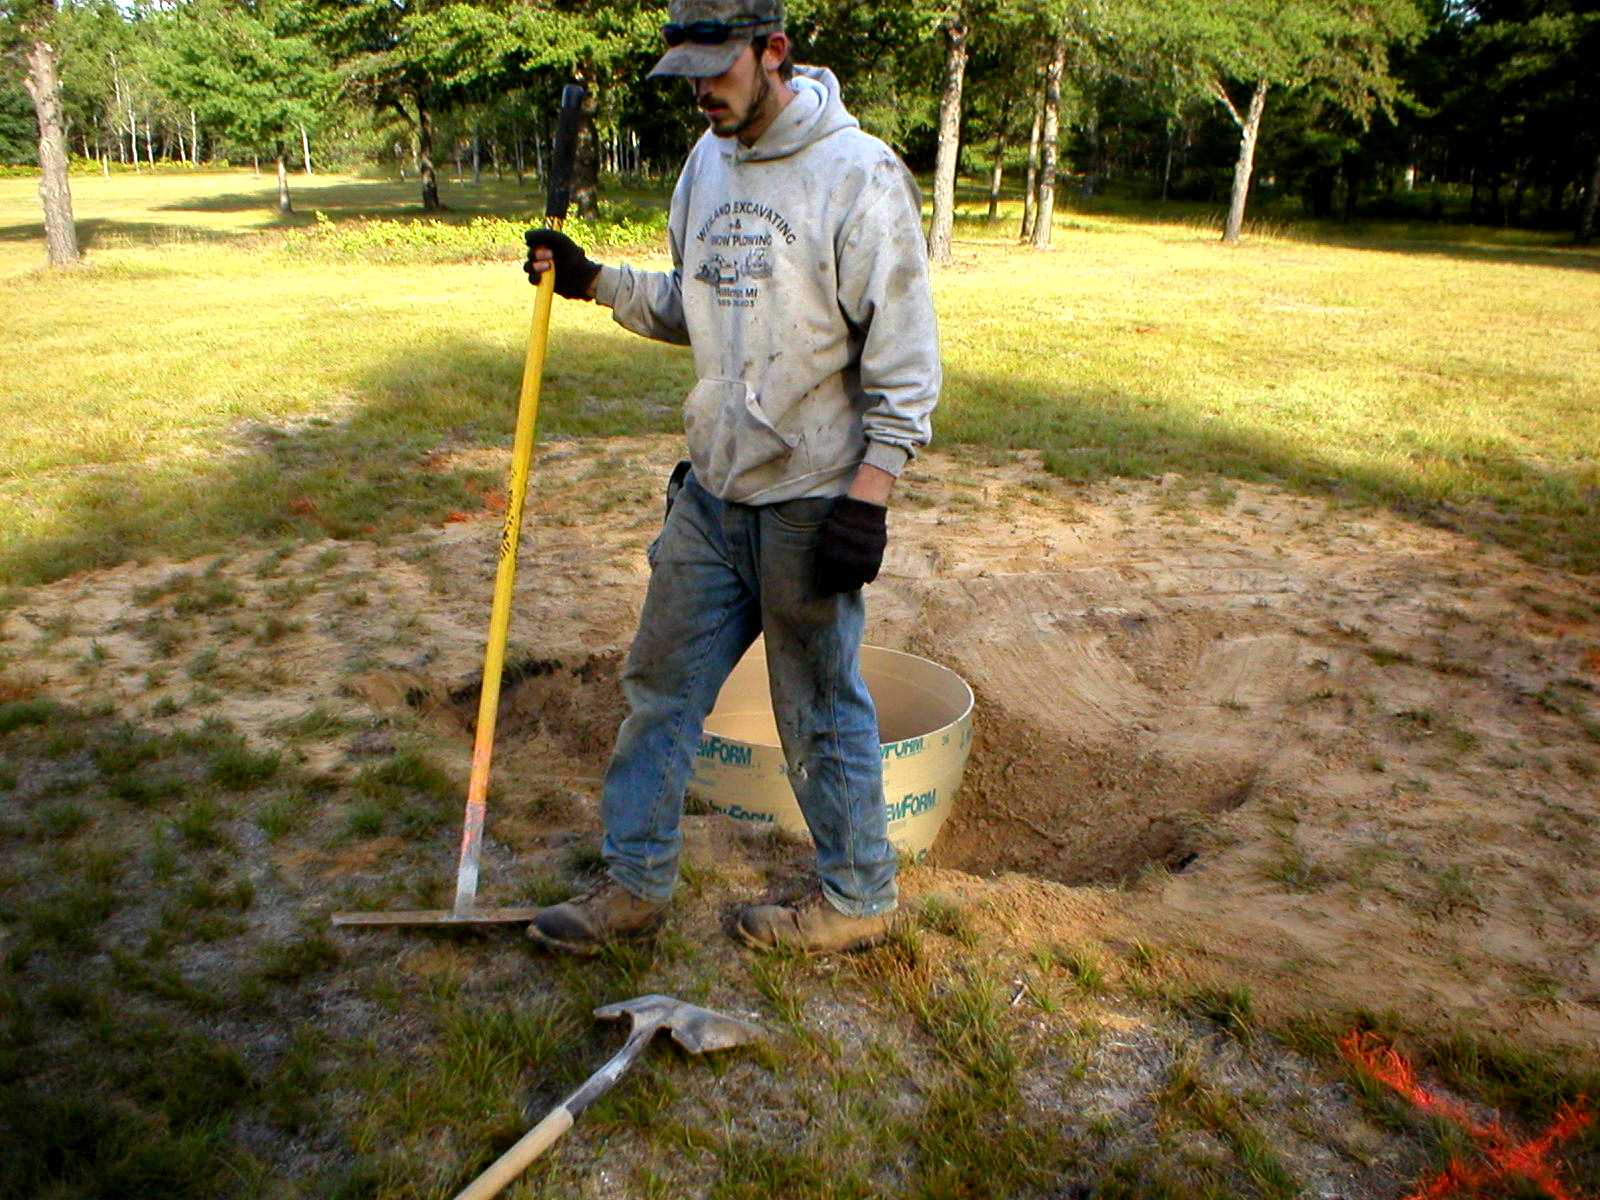
I can jump over that thing!

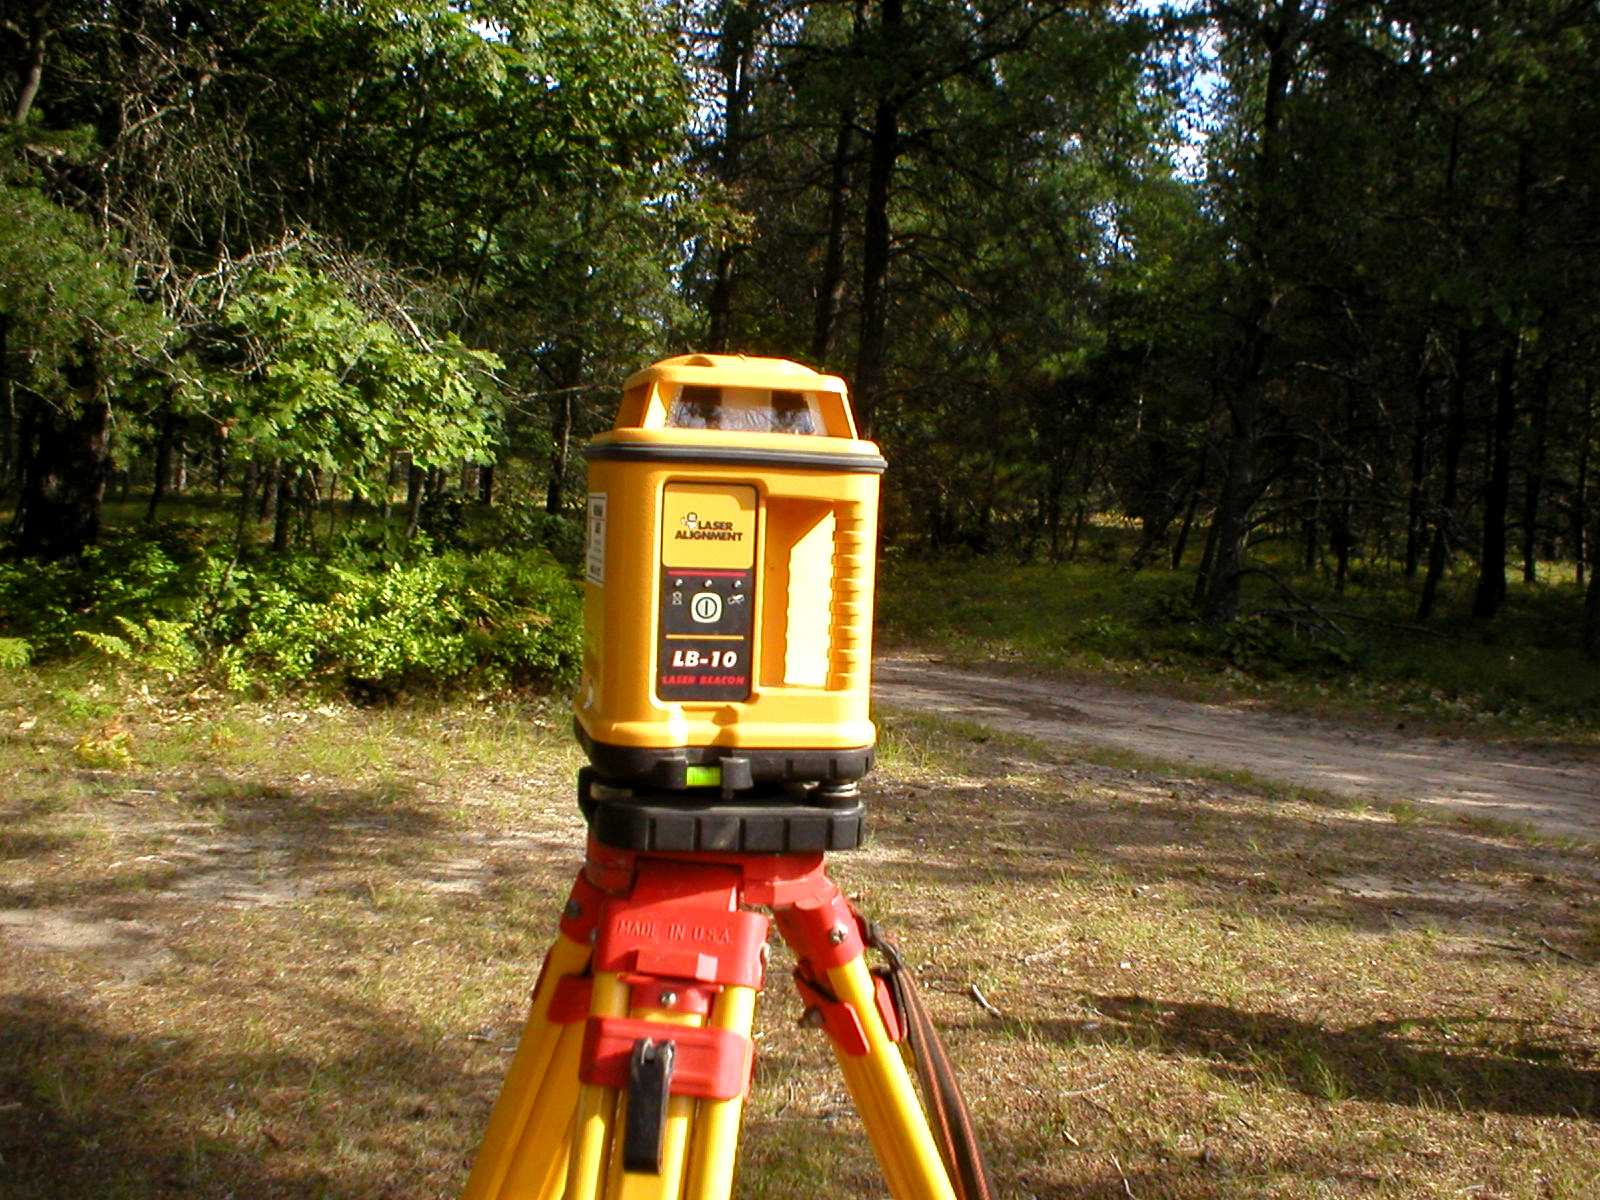
This made it all accurate to within 1/16".
Last one ready to go in.
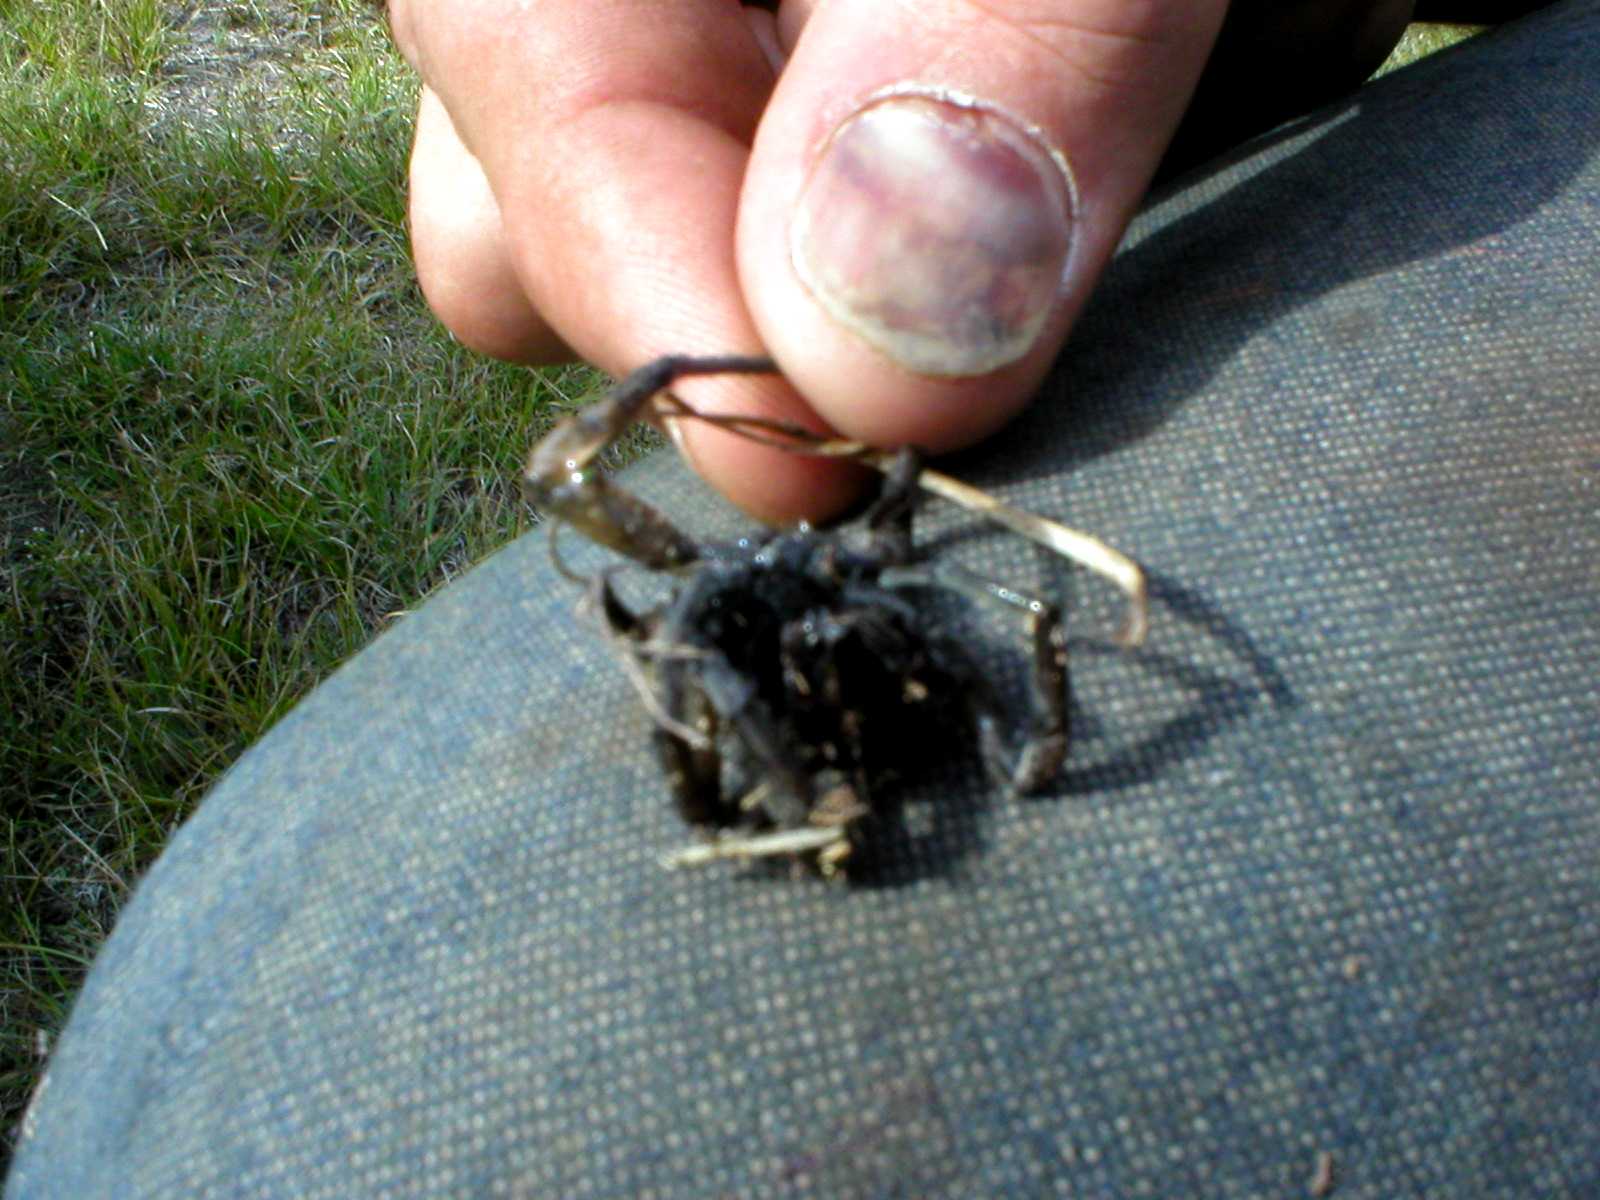
One hell of a spider. We think it's called a Mouse Spider - about the size
of a small mouse.
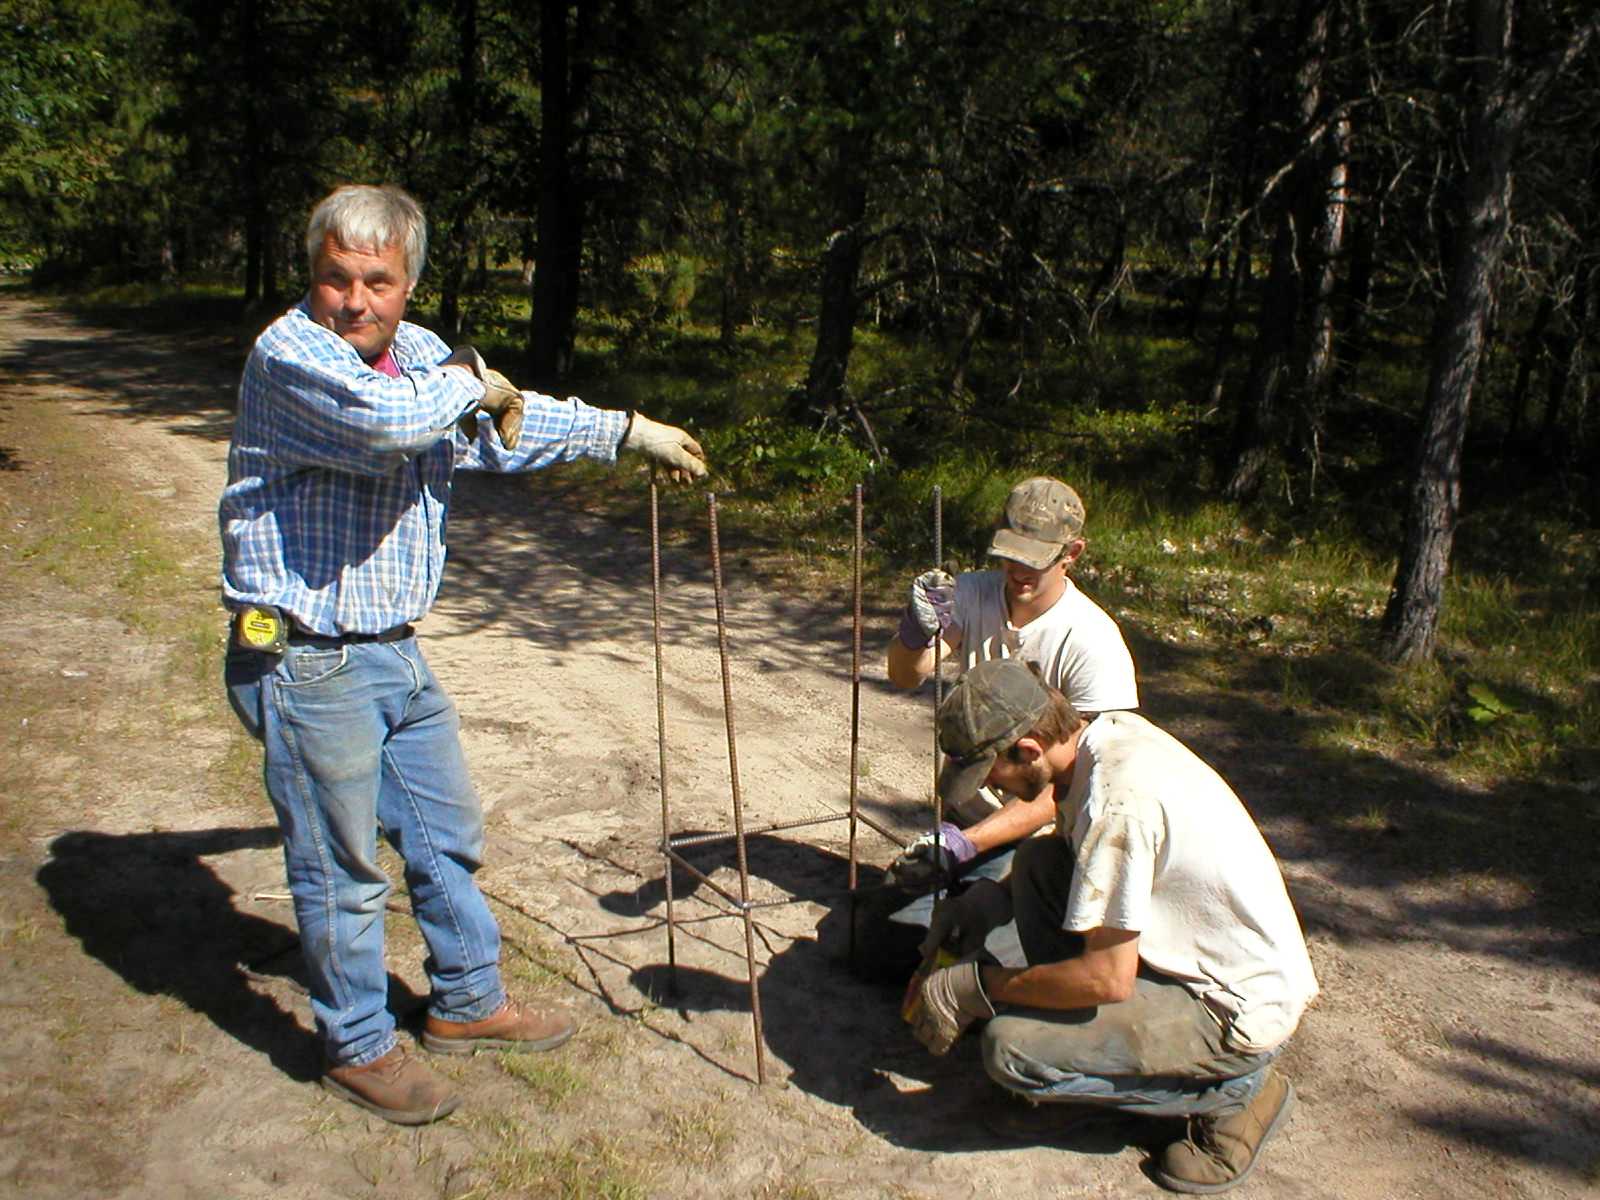
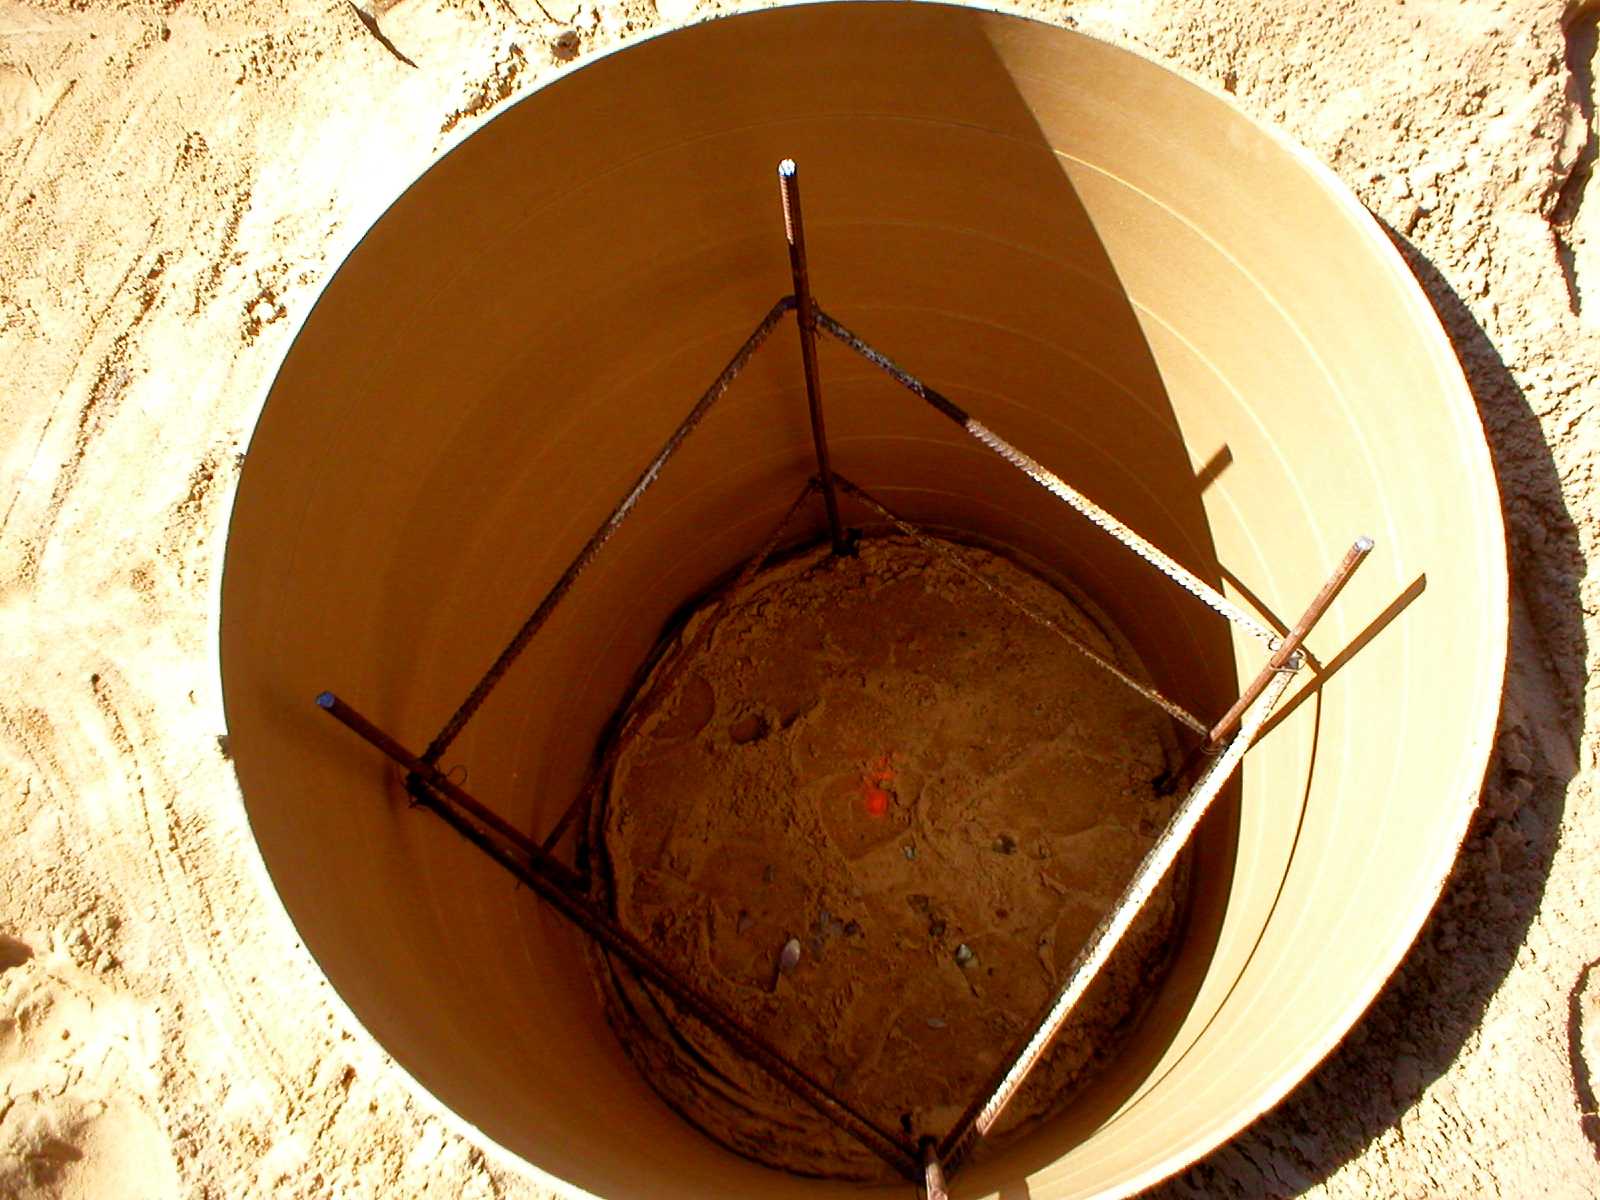
1/2" rebar used in all bases.
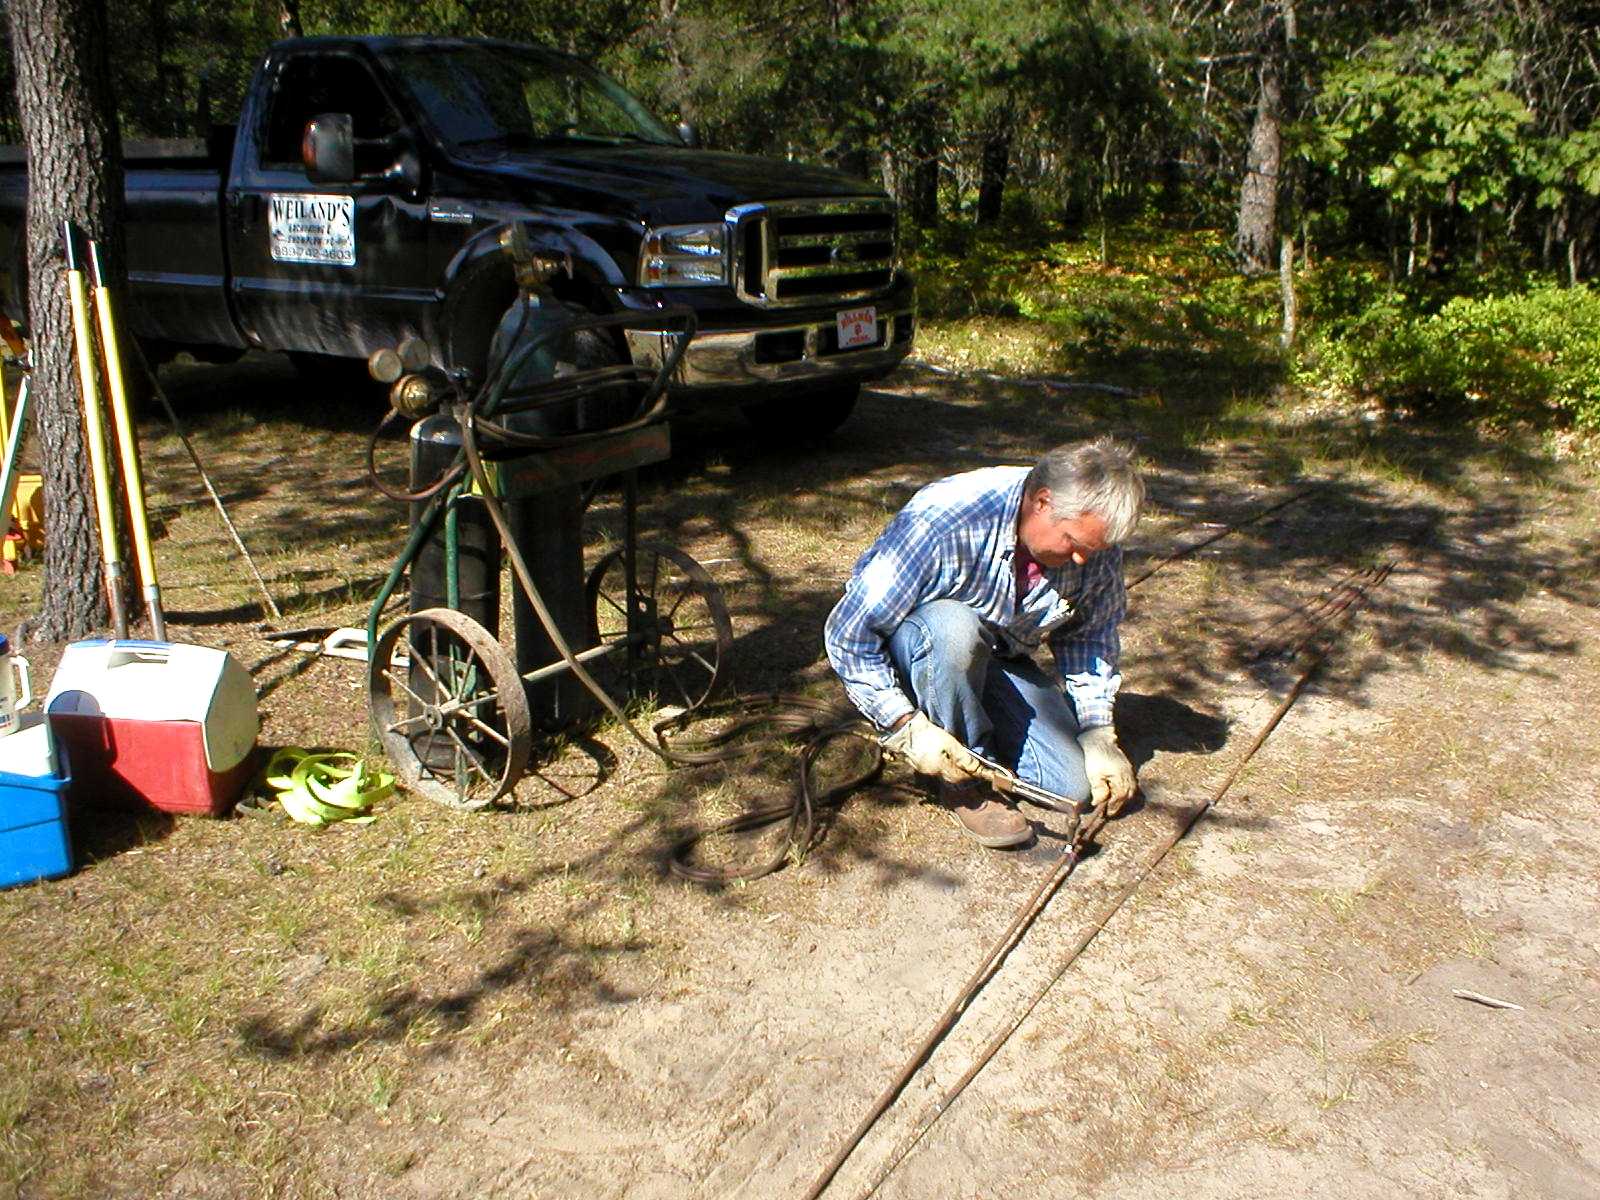
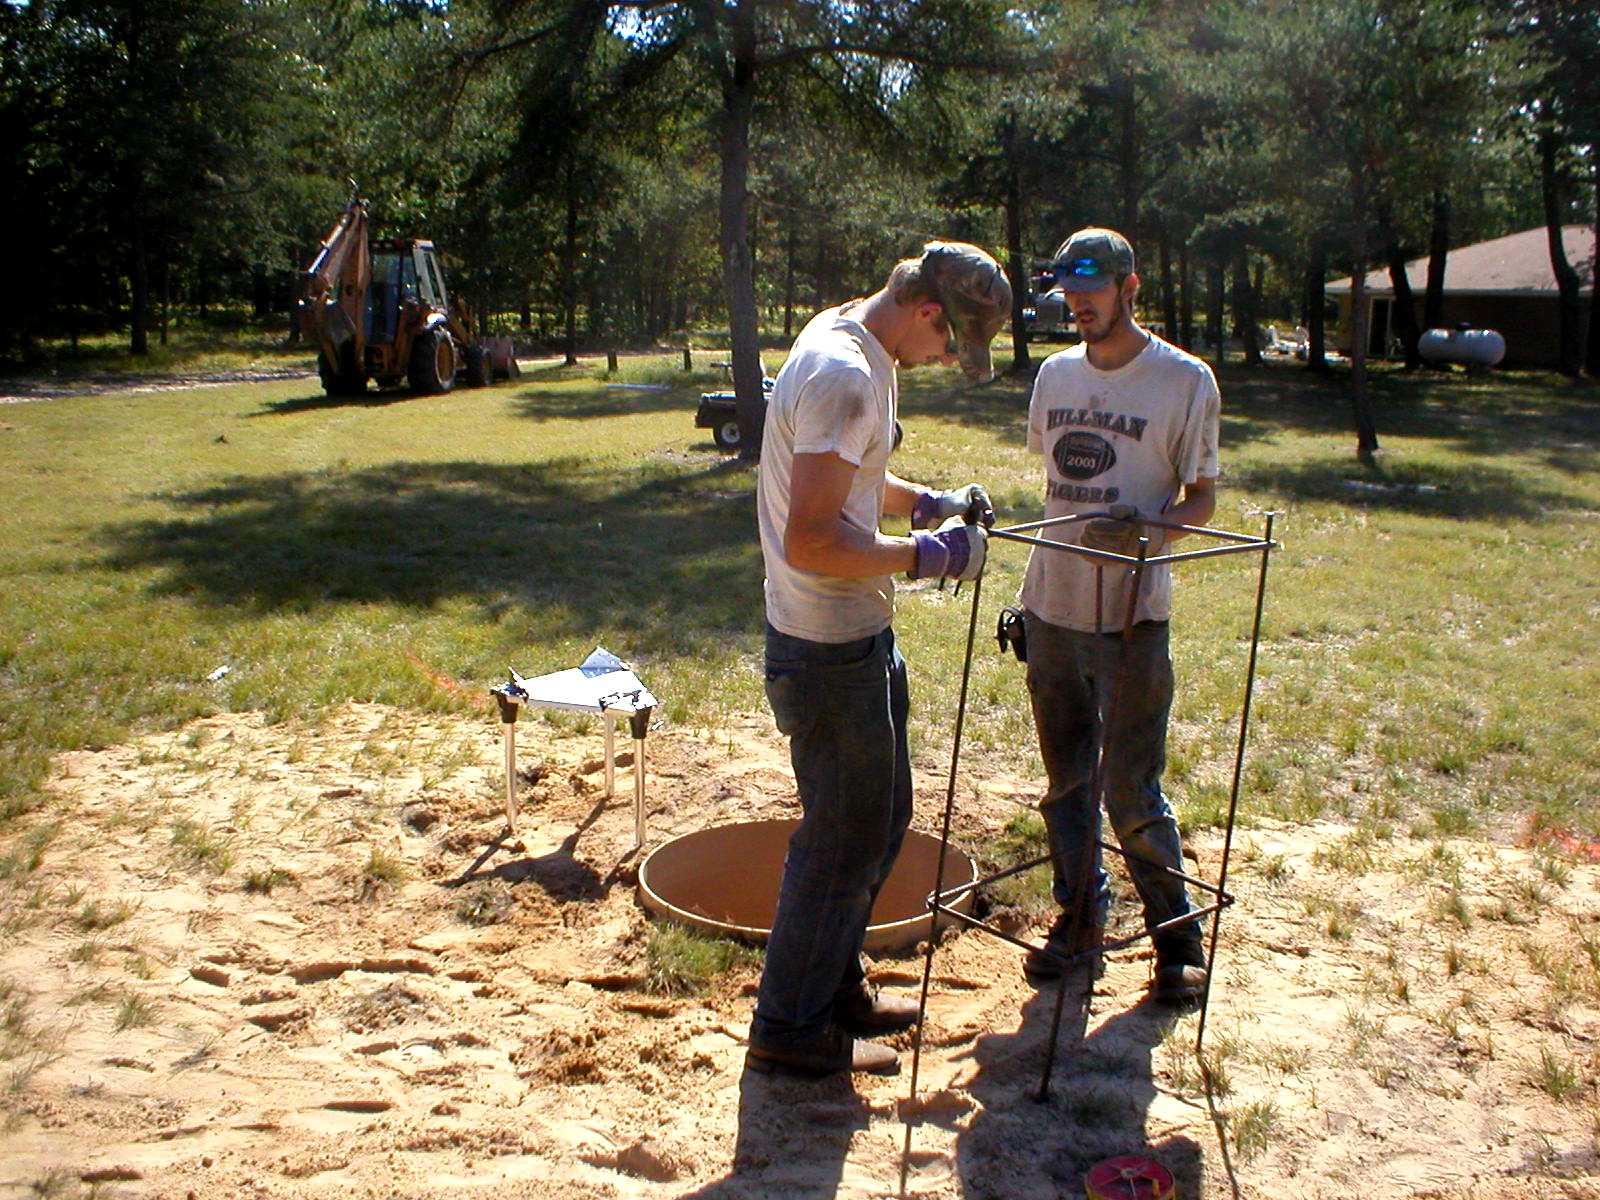
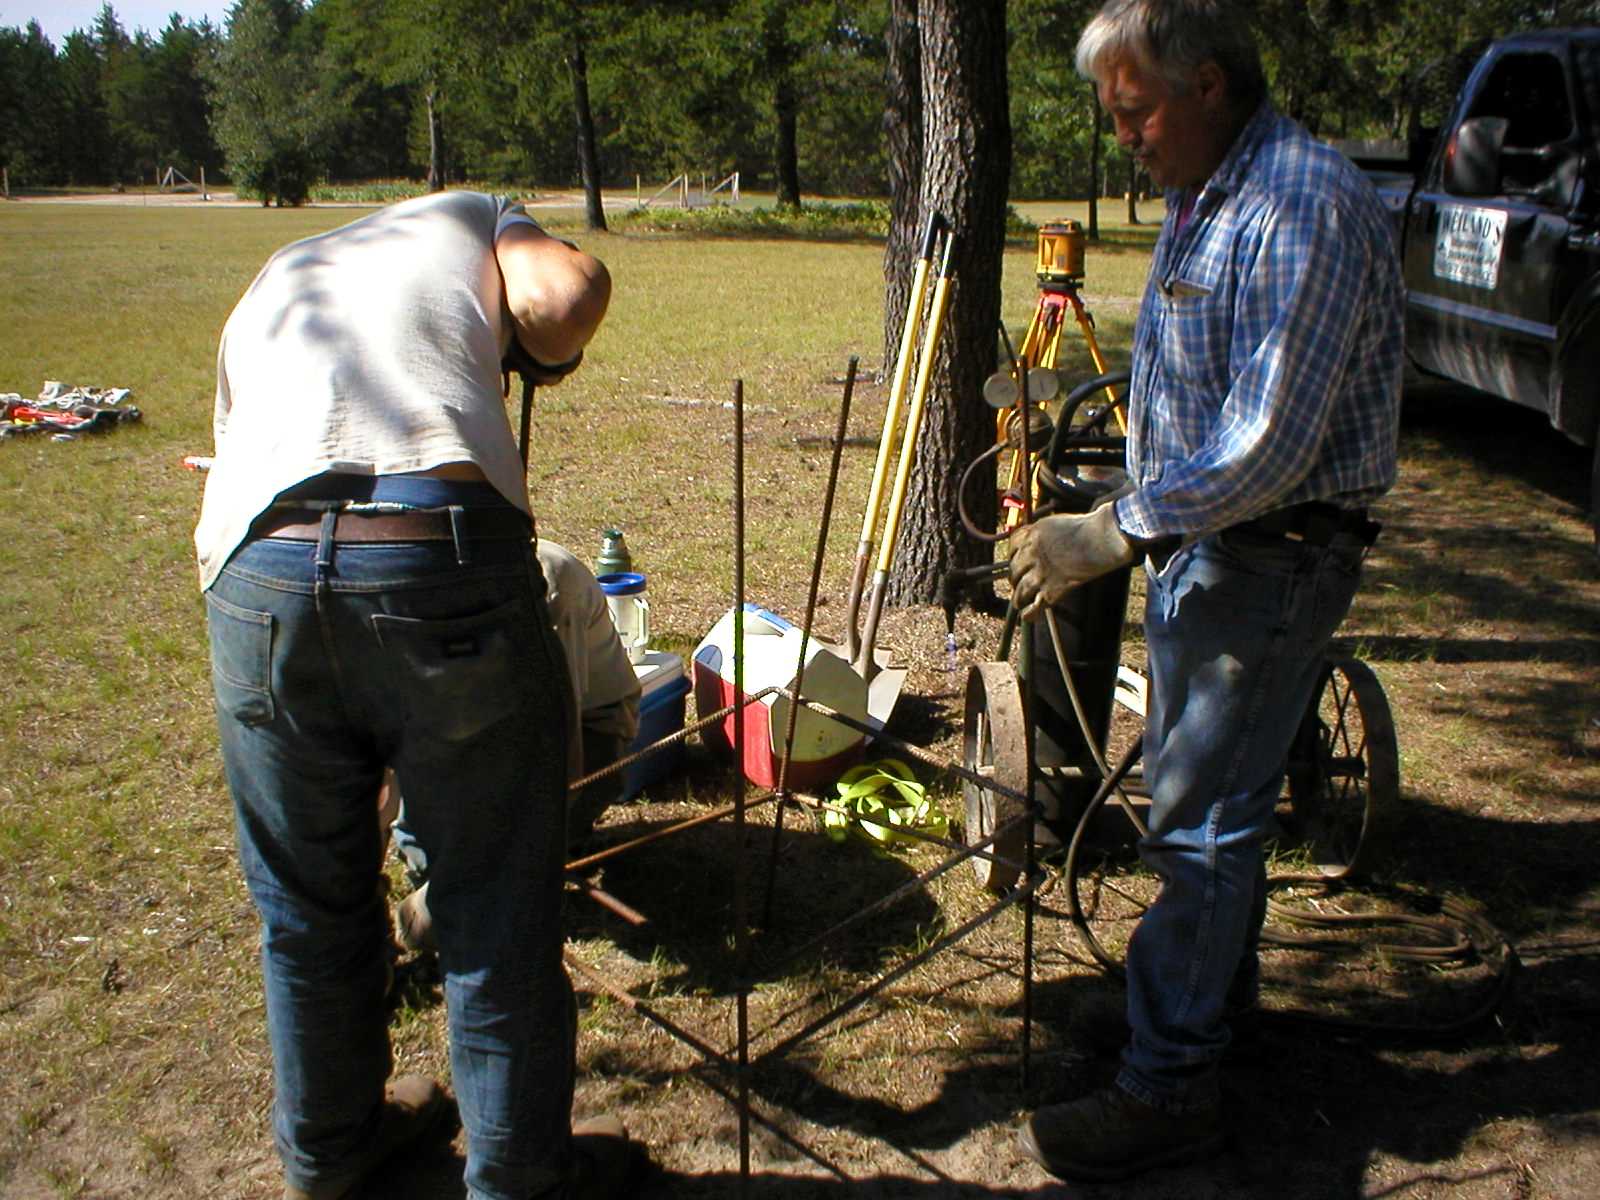
Making re-bar cages.
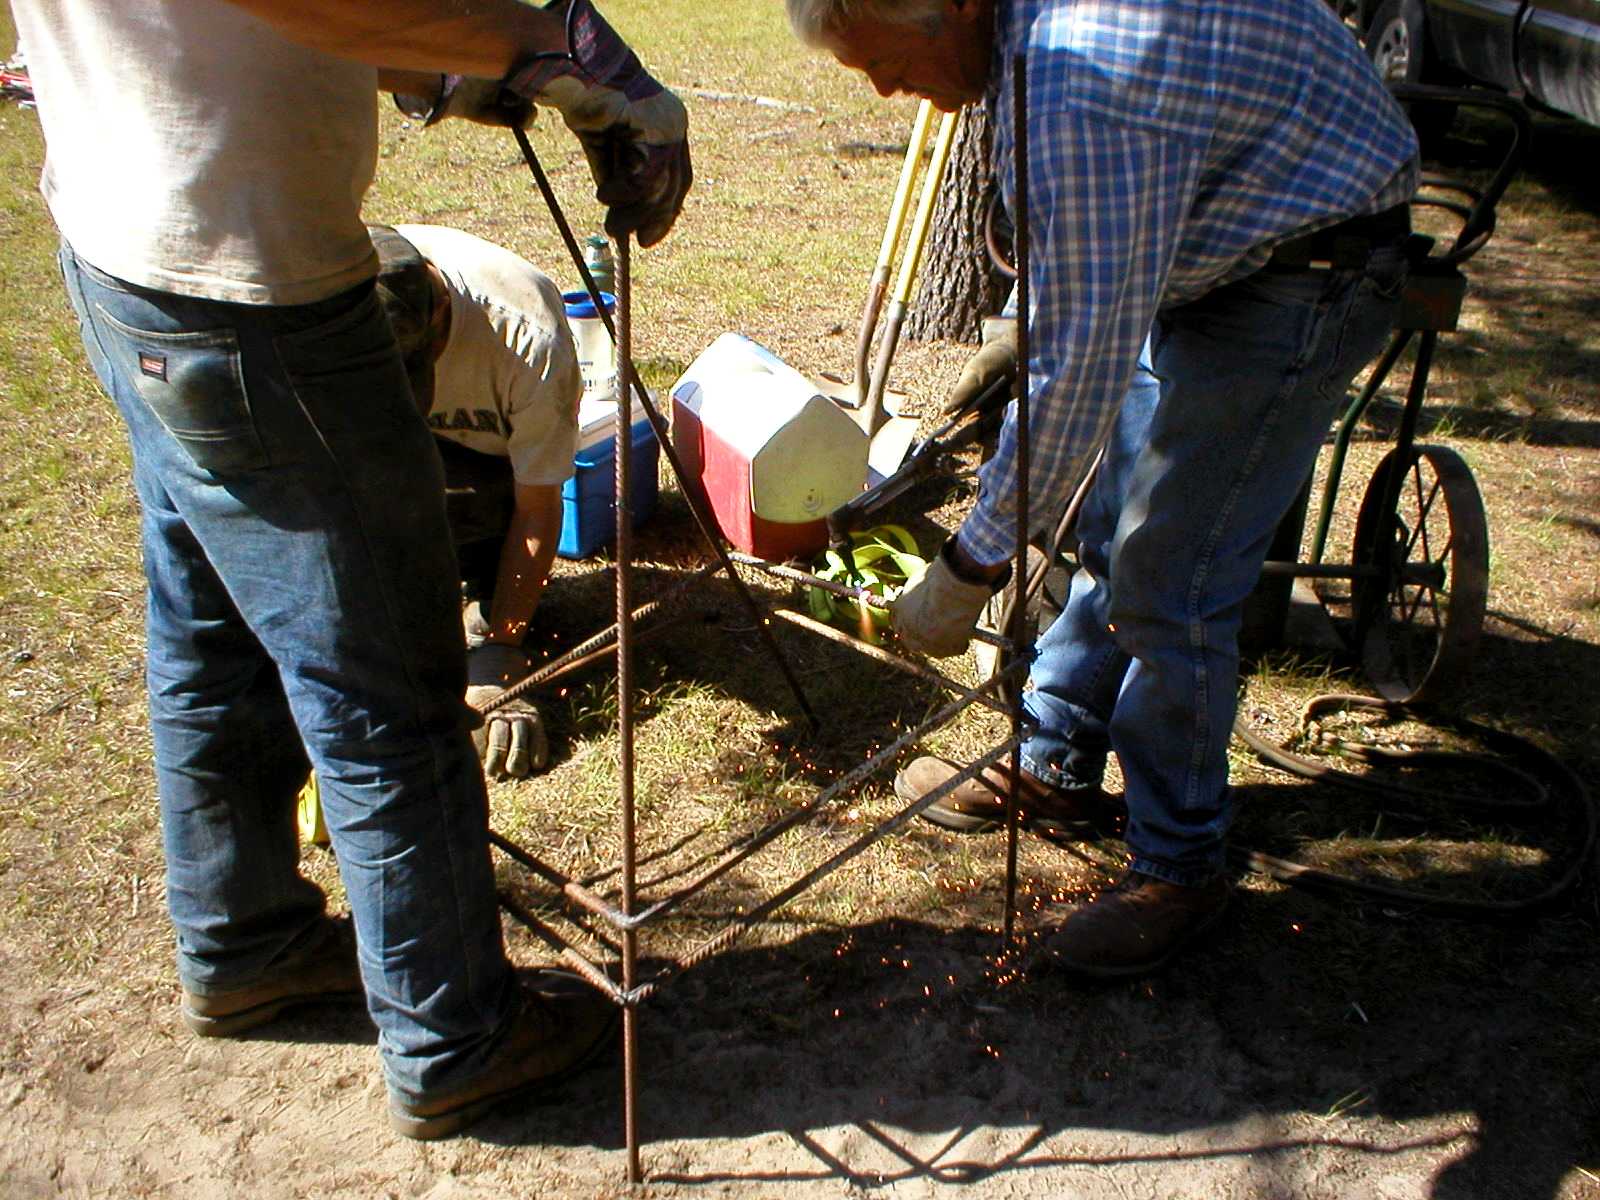
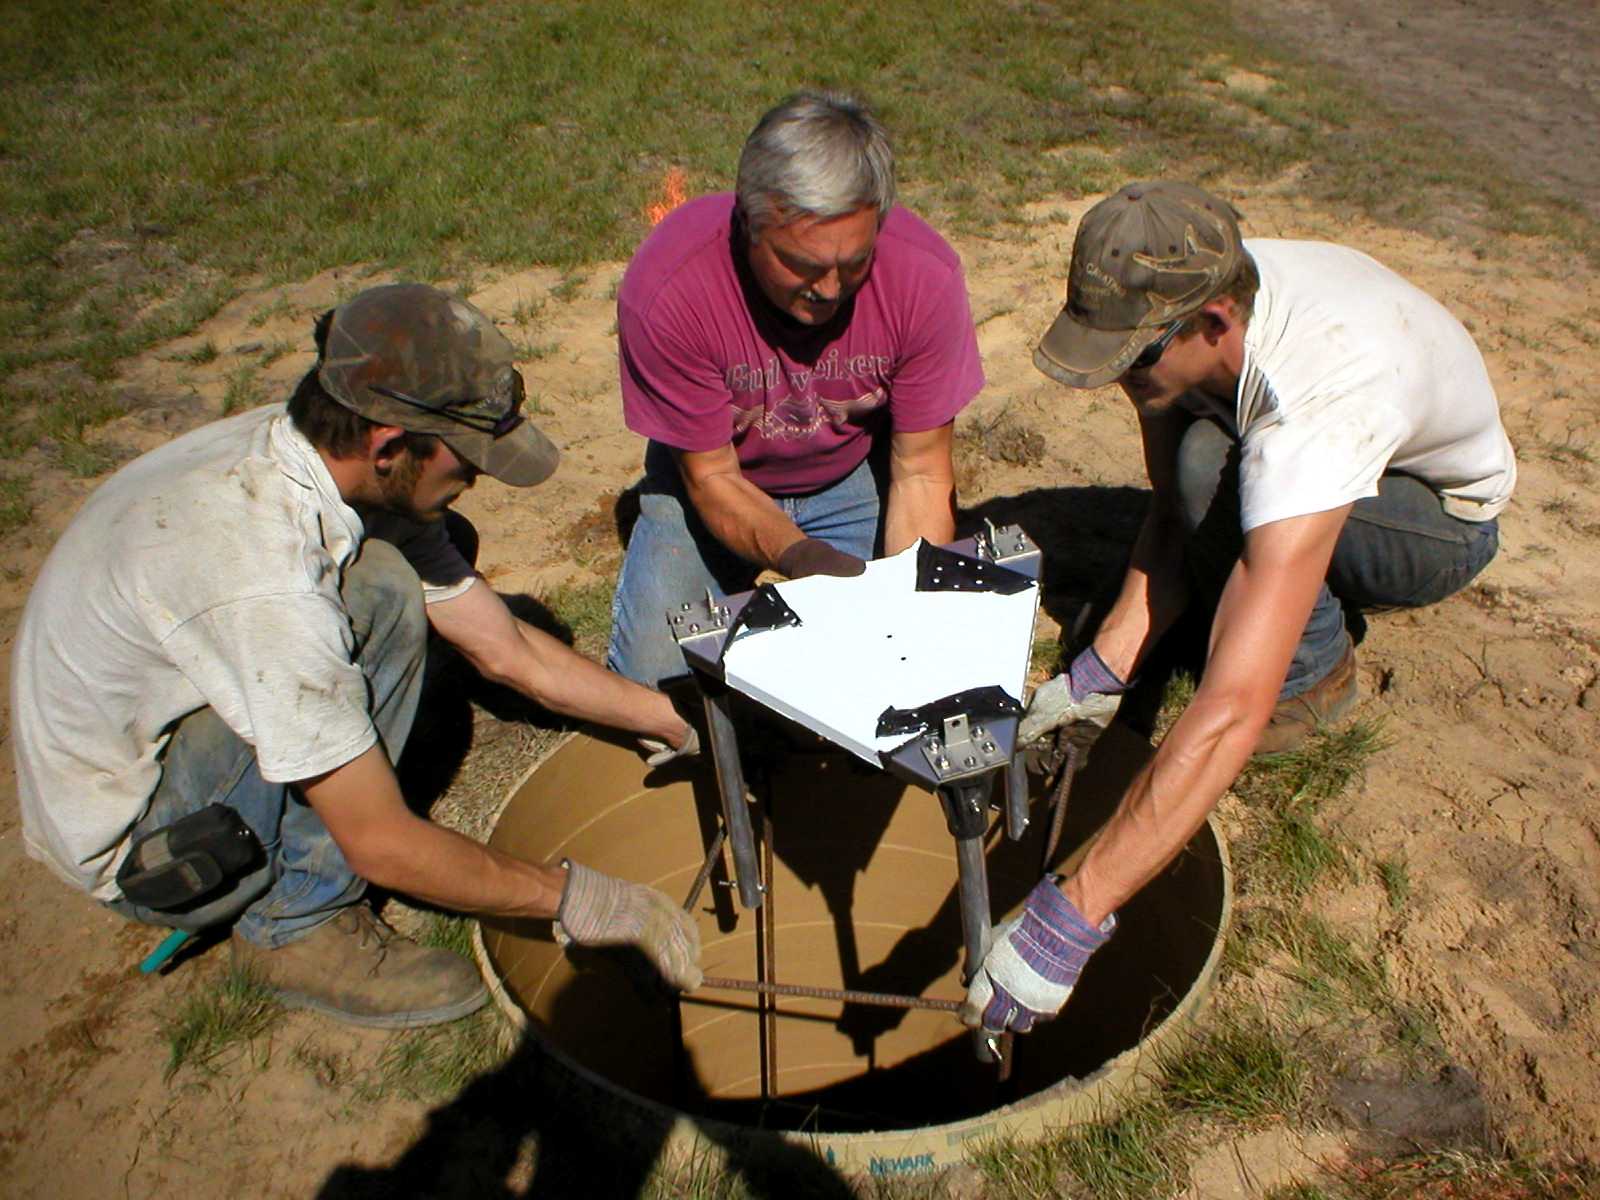
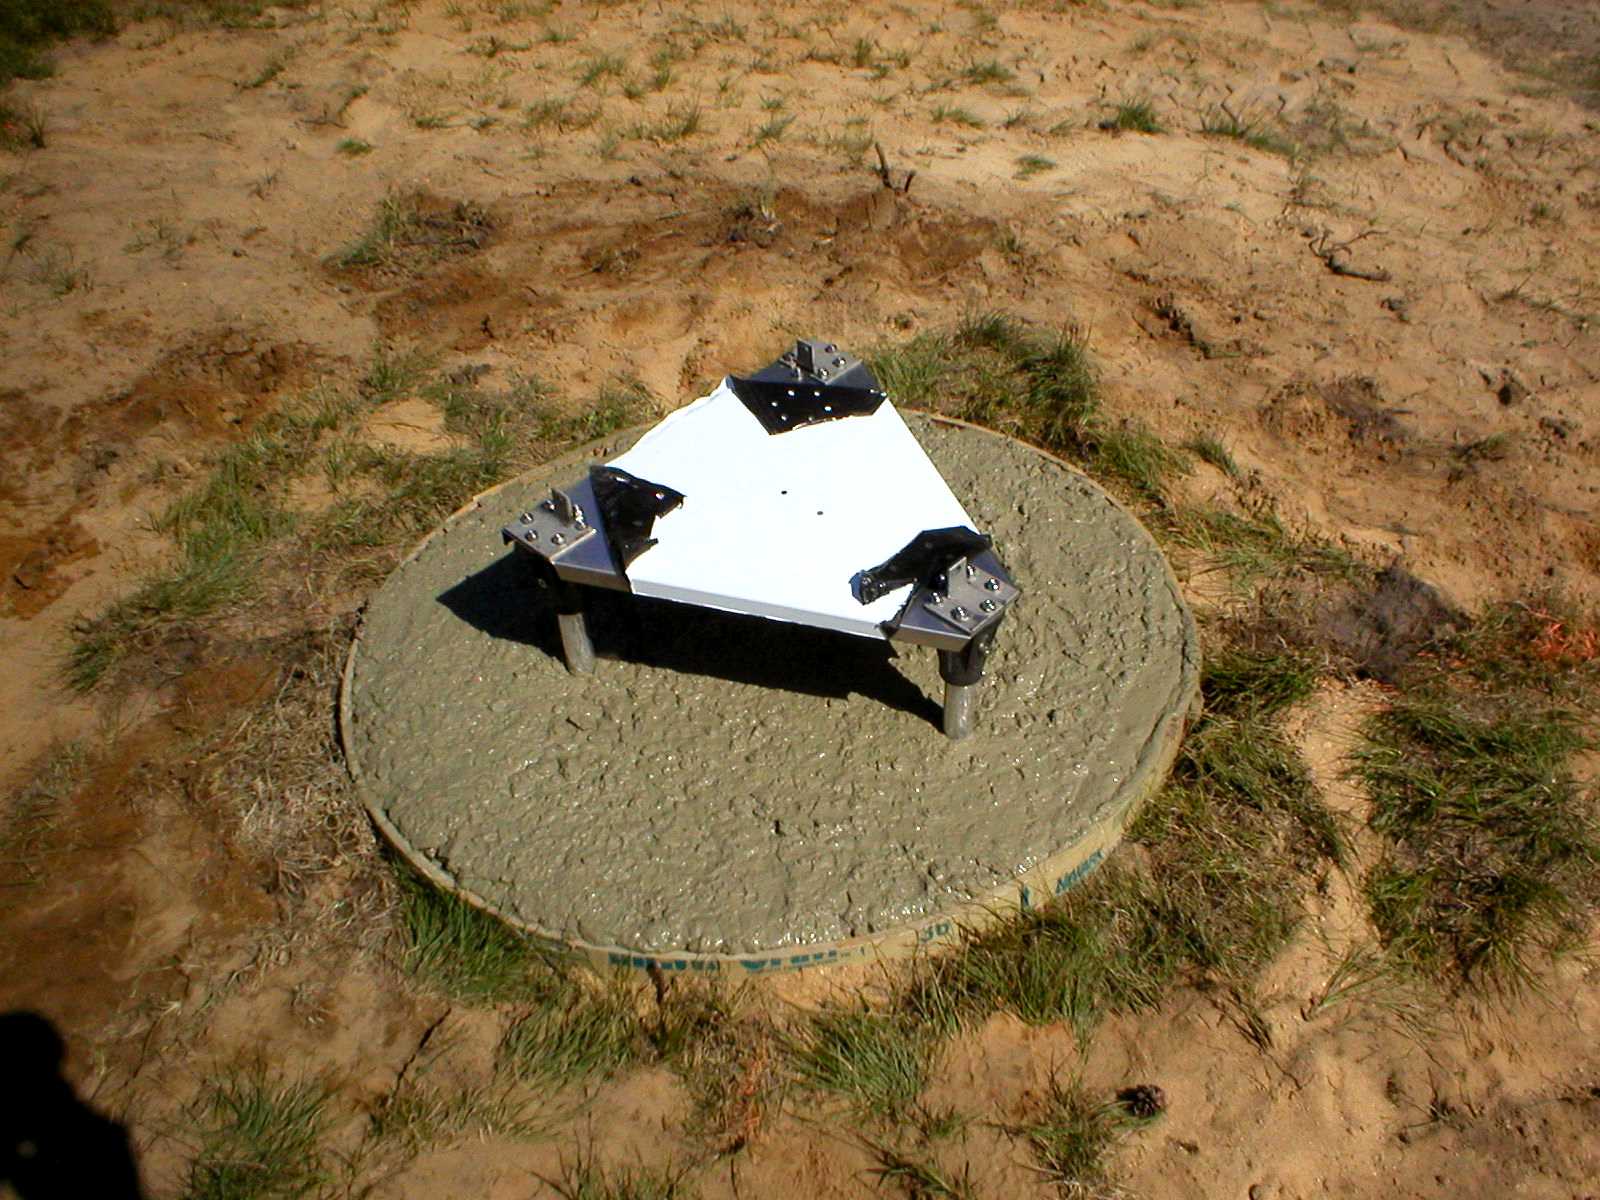
Initial fit prior to concrete. Note that top rebar is above base holding
cross-bolts.
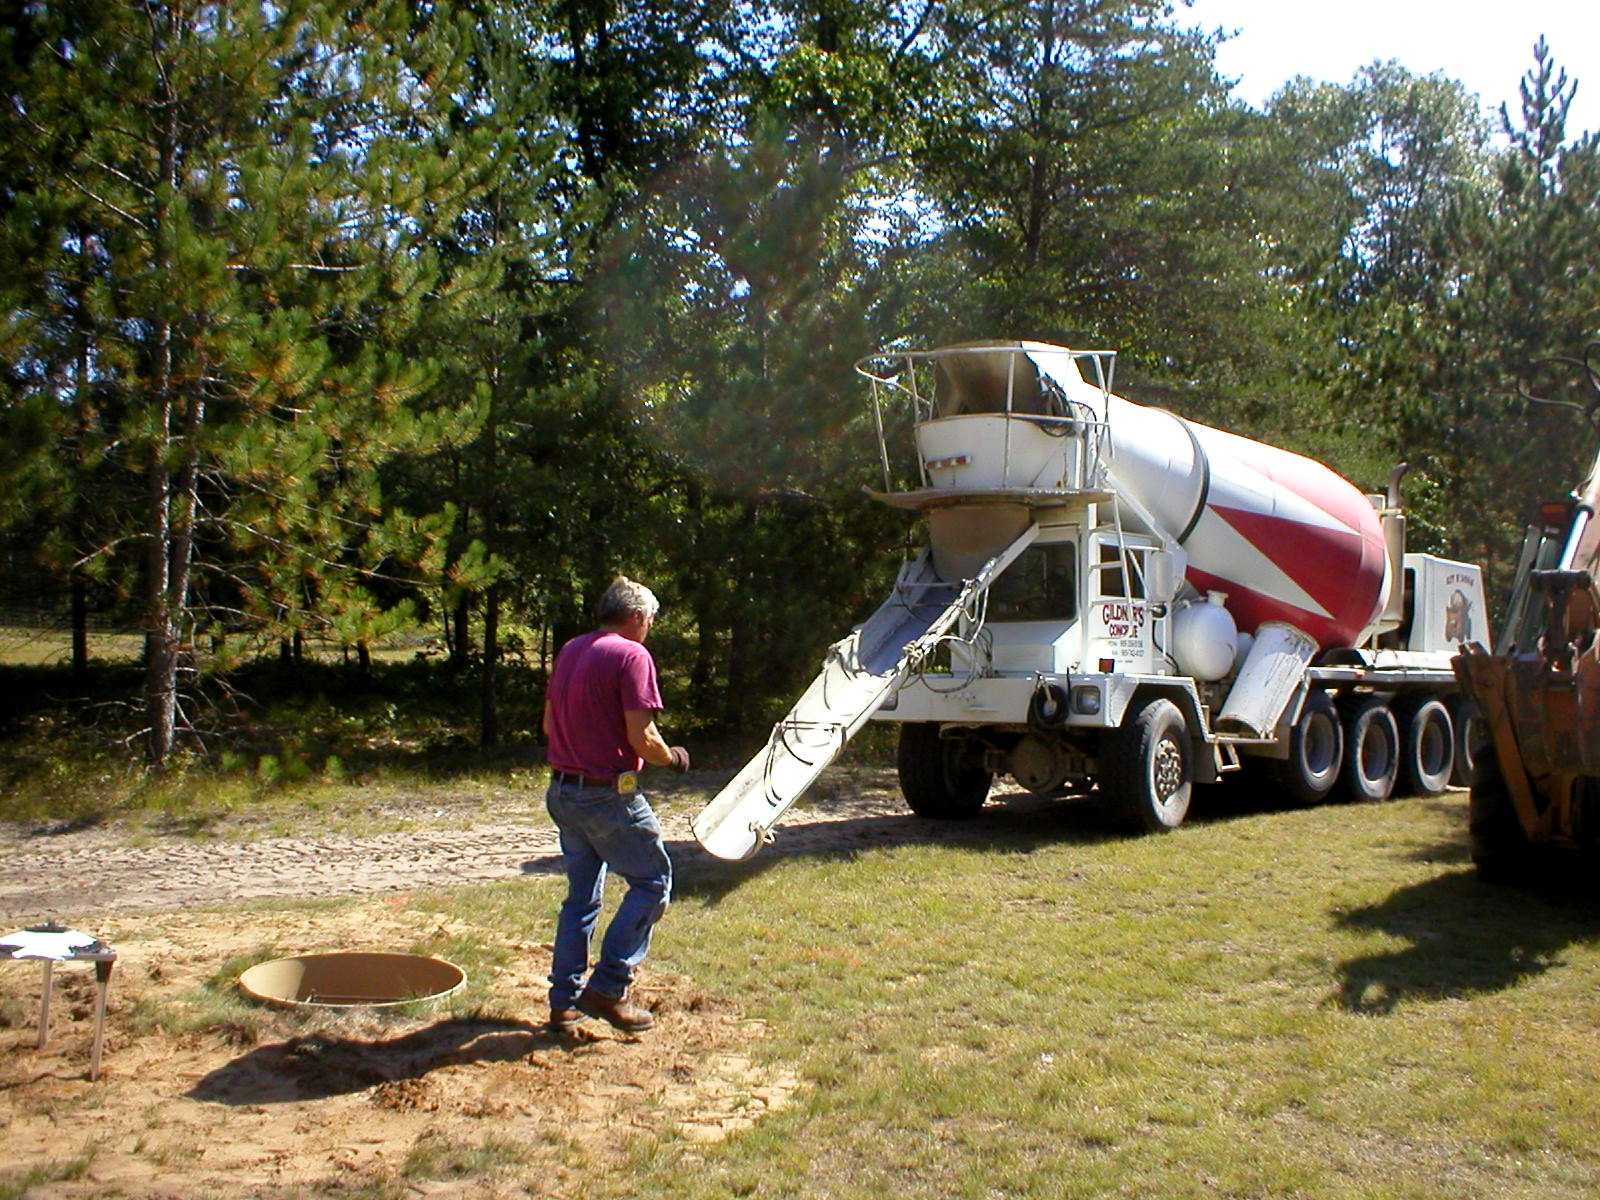
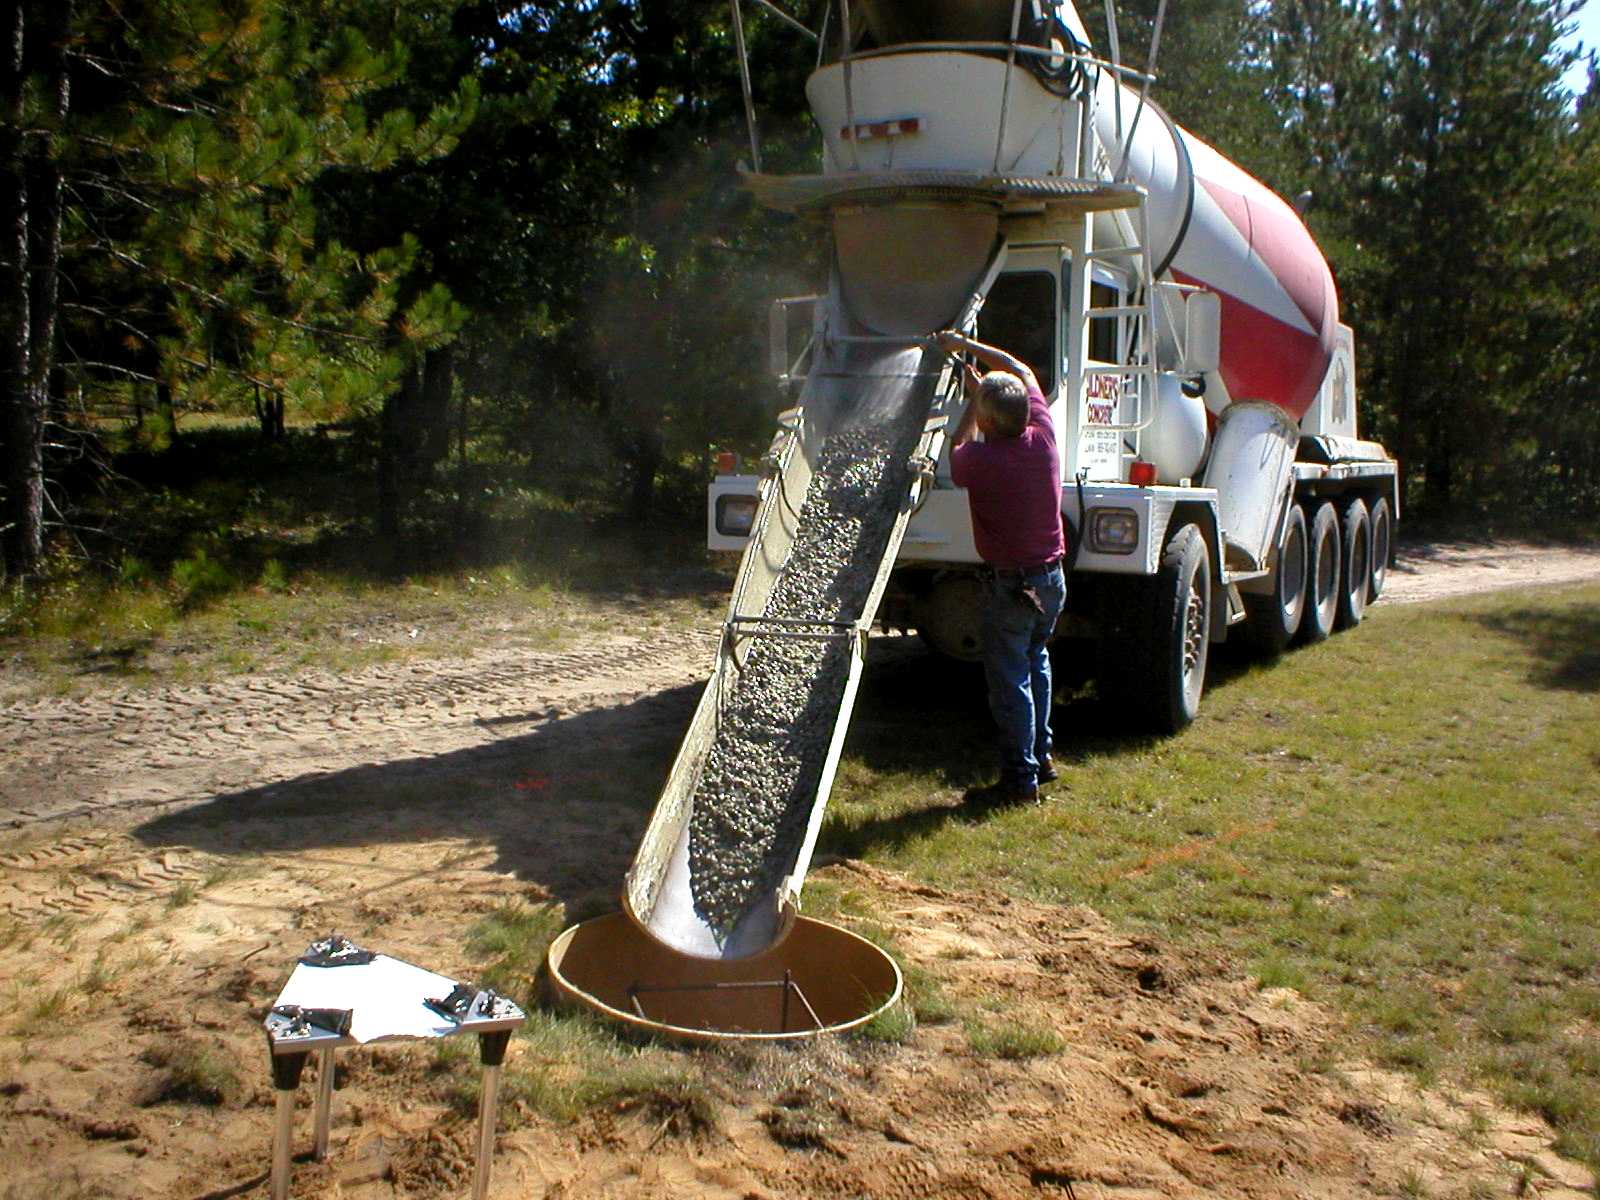
Standard concrete mix used. These are small towers without much wind load.
Much different than main tower.
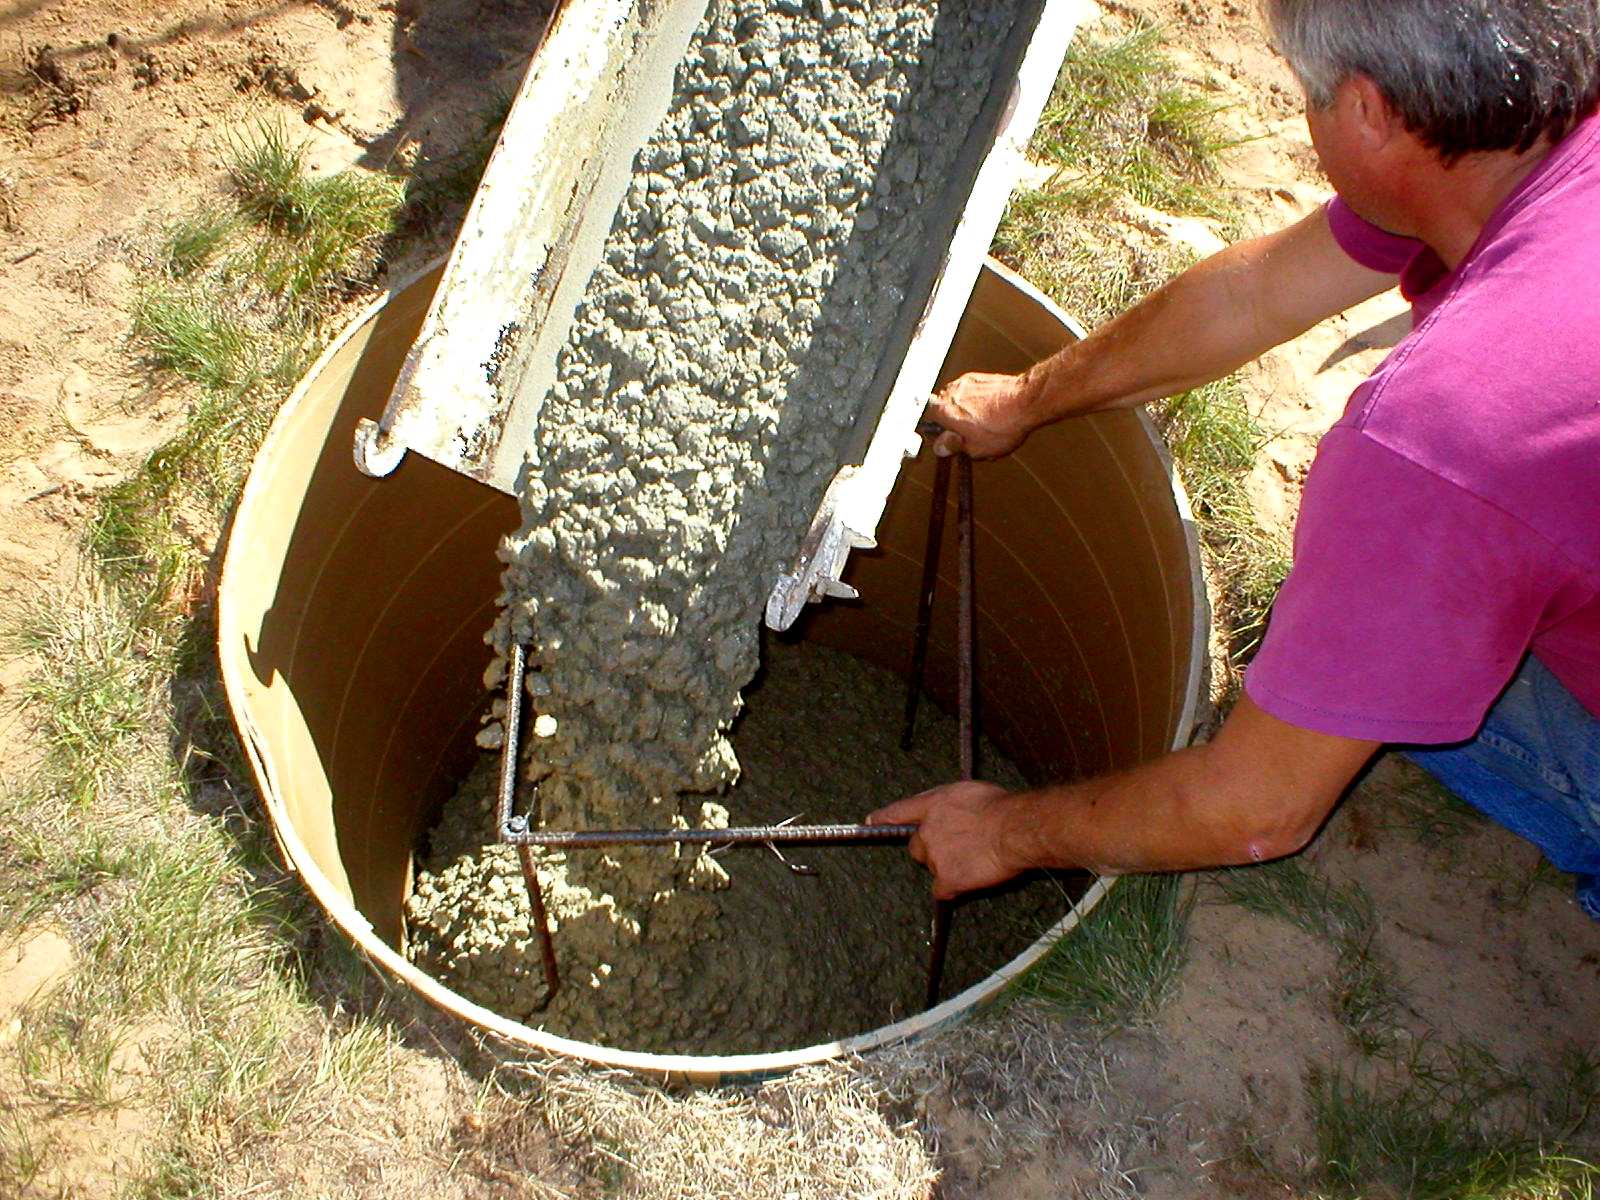
Wish I remembered the rubber gloves!

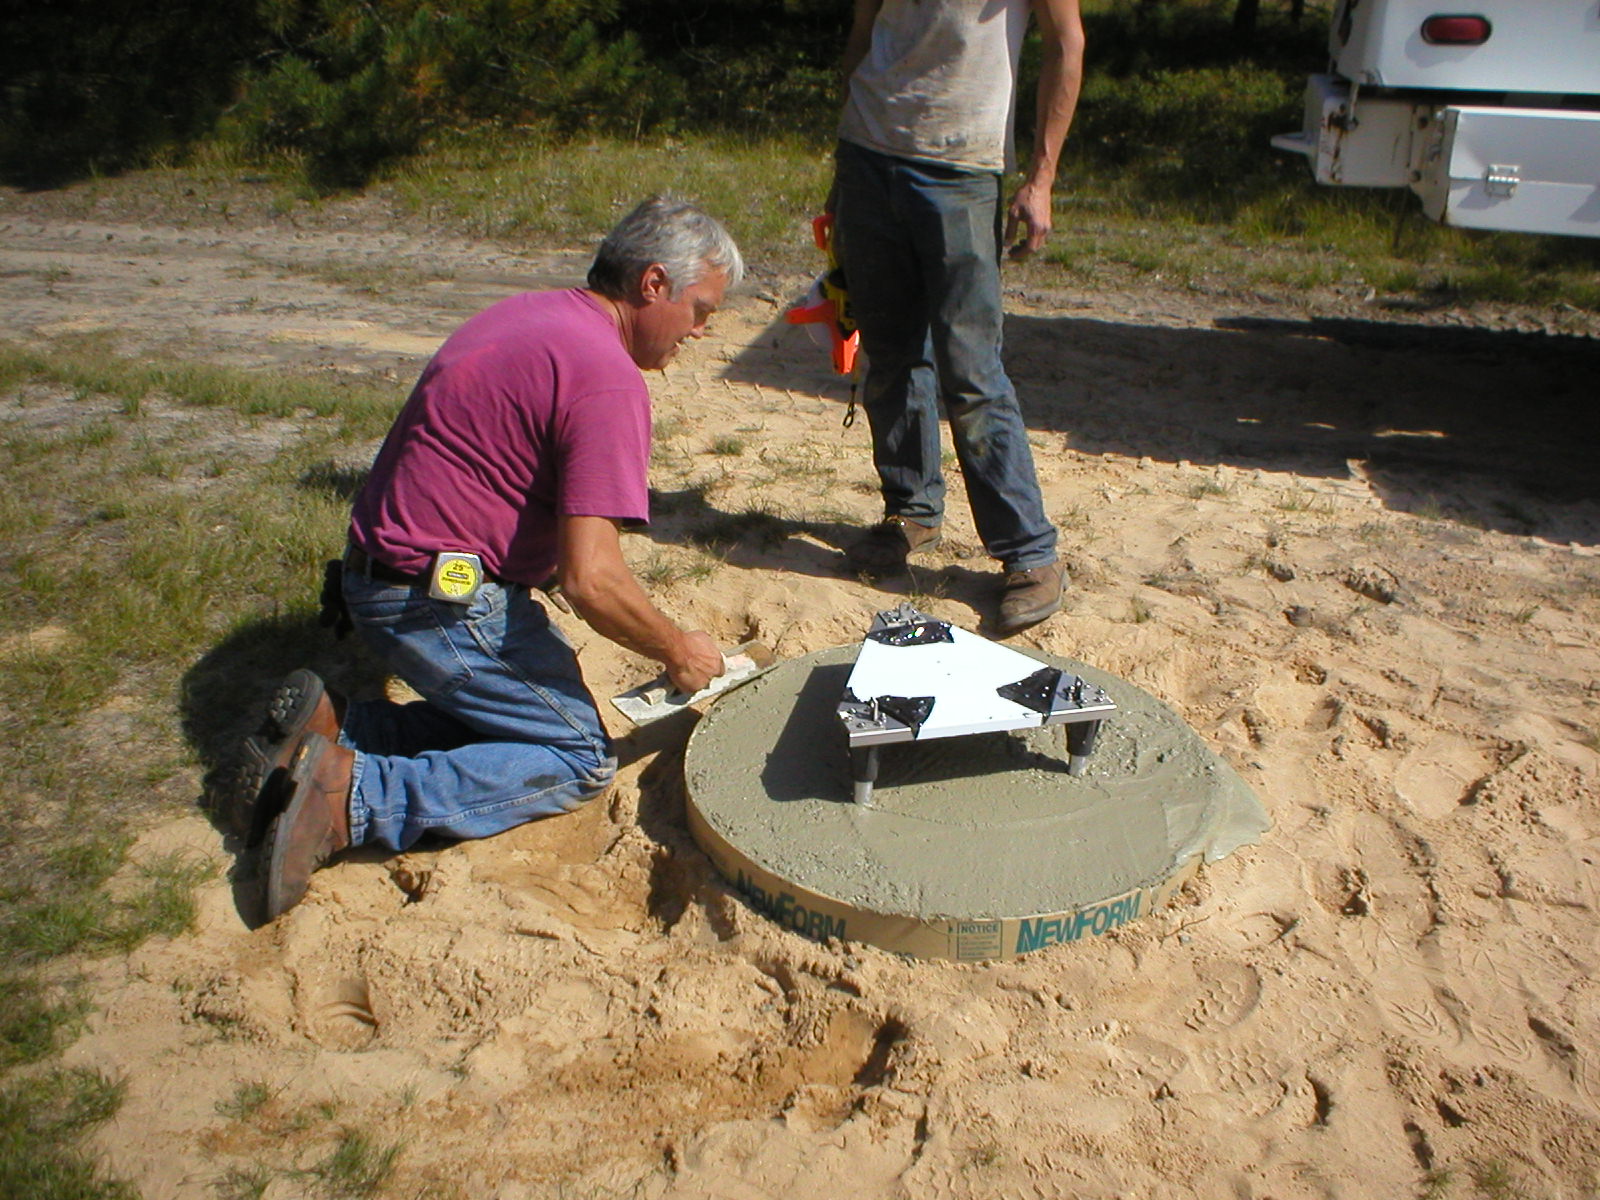
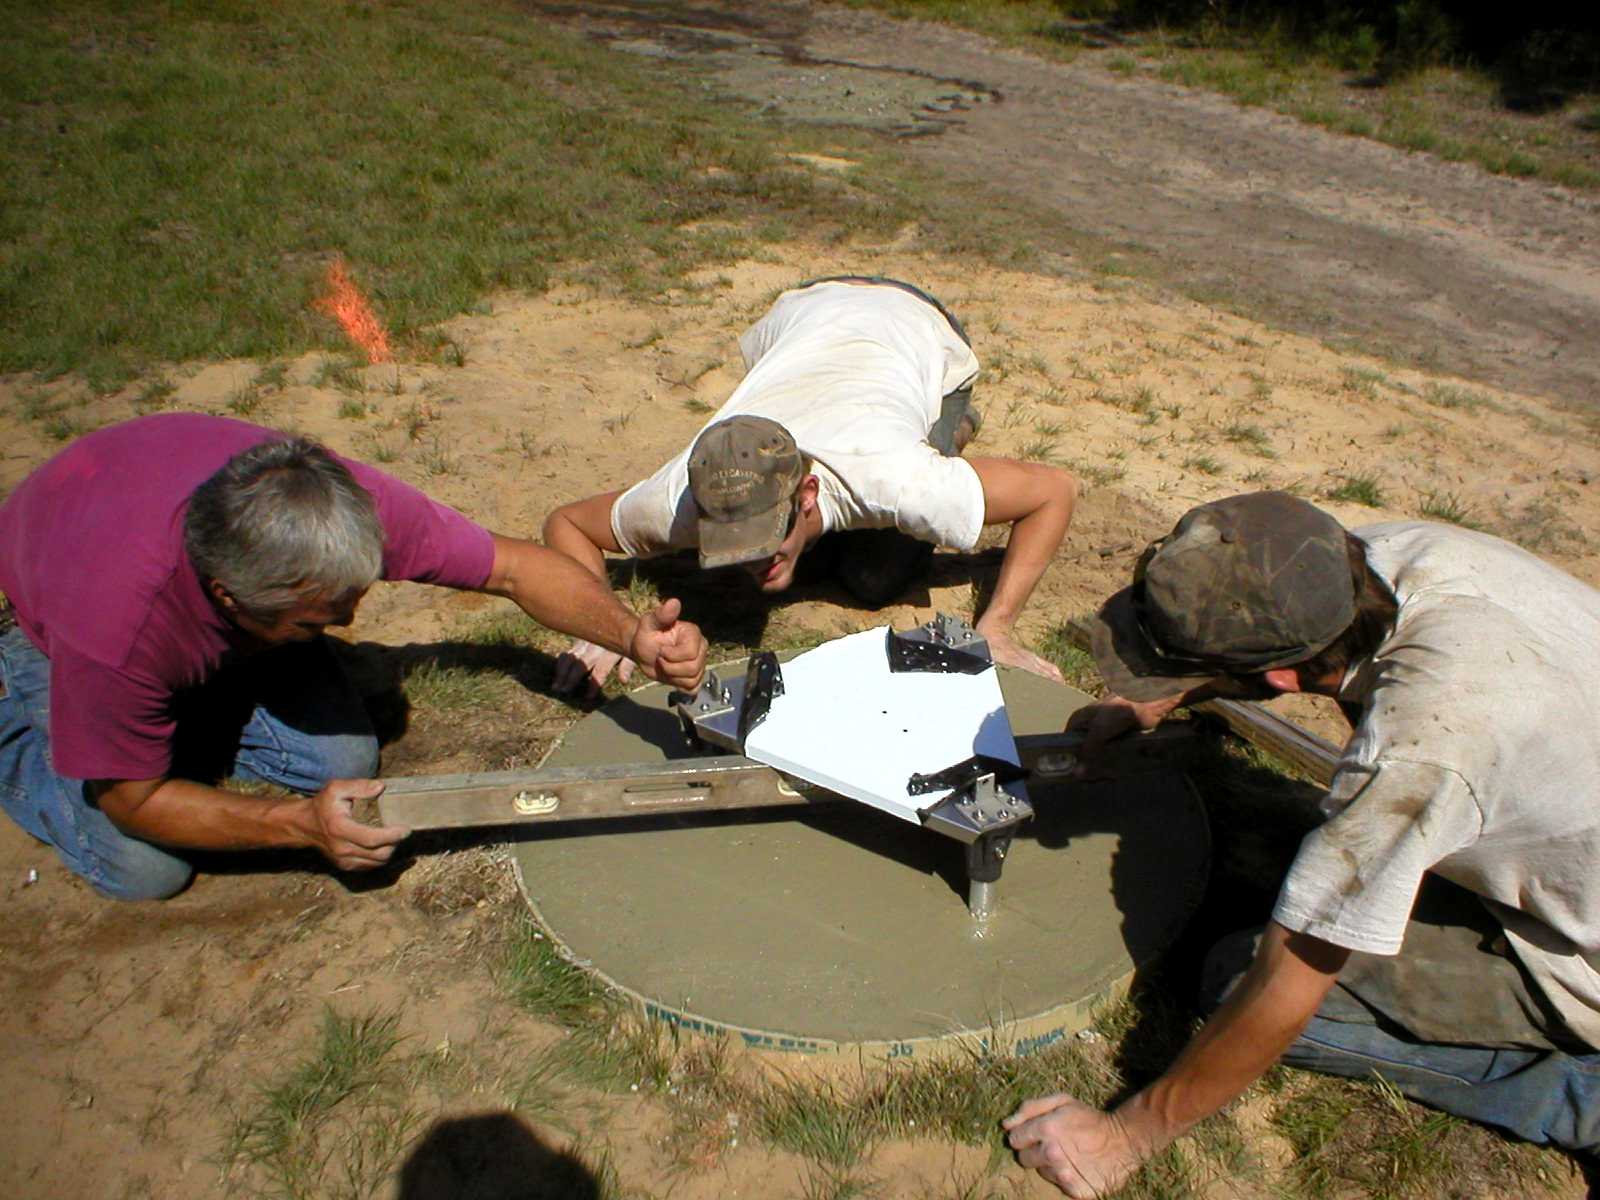
Leveling had to be perfect as Hy-Towers have no real adjustment for plumb.

Adjusting with shim material.
Mutt and Jeff.
Another one completed.
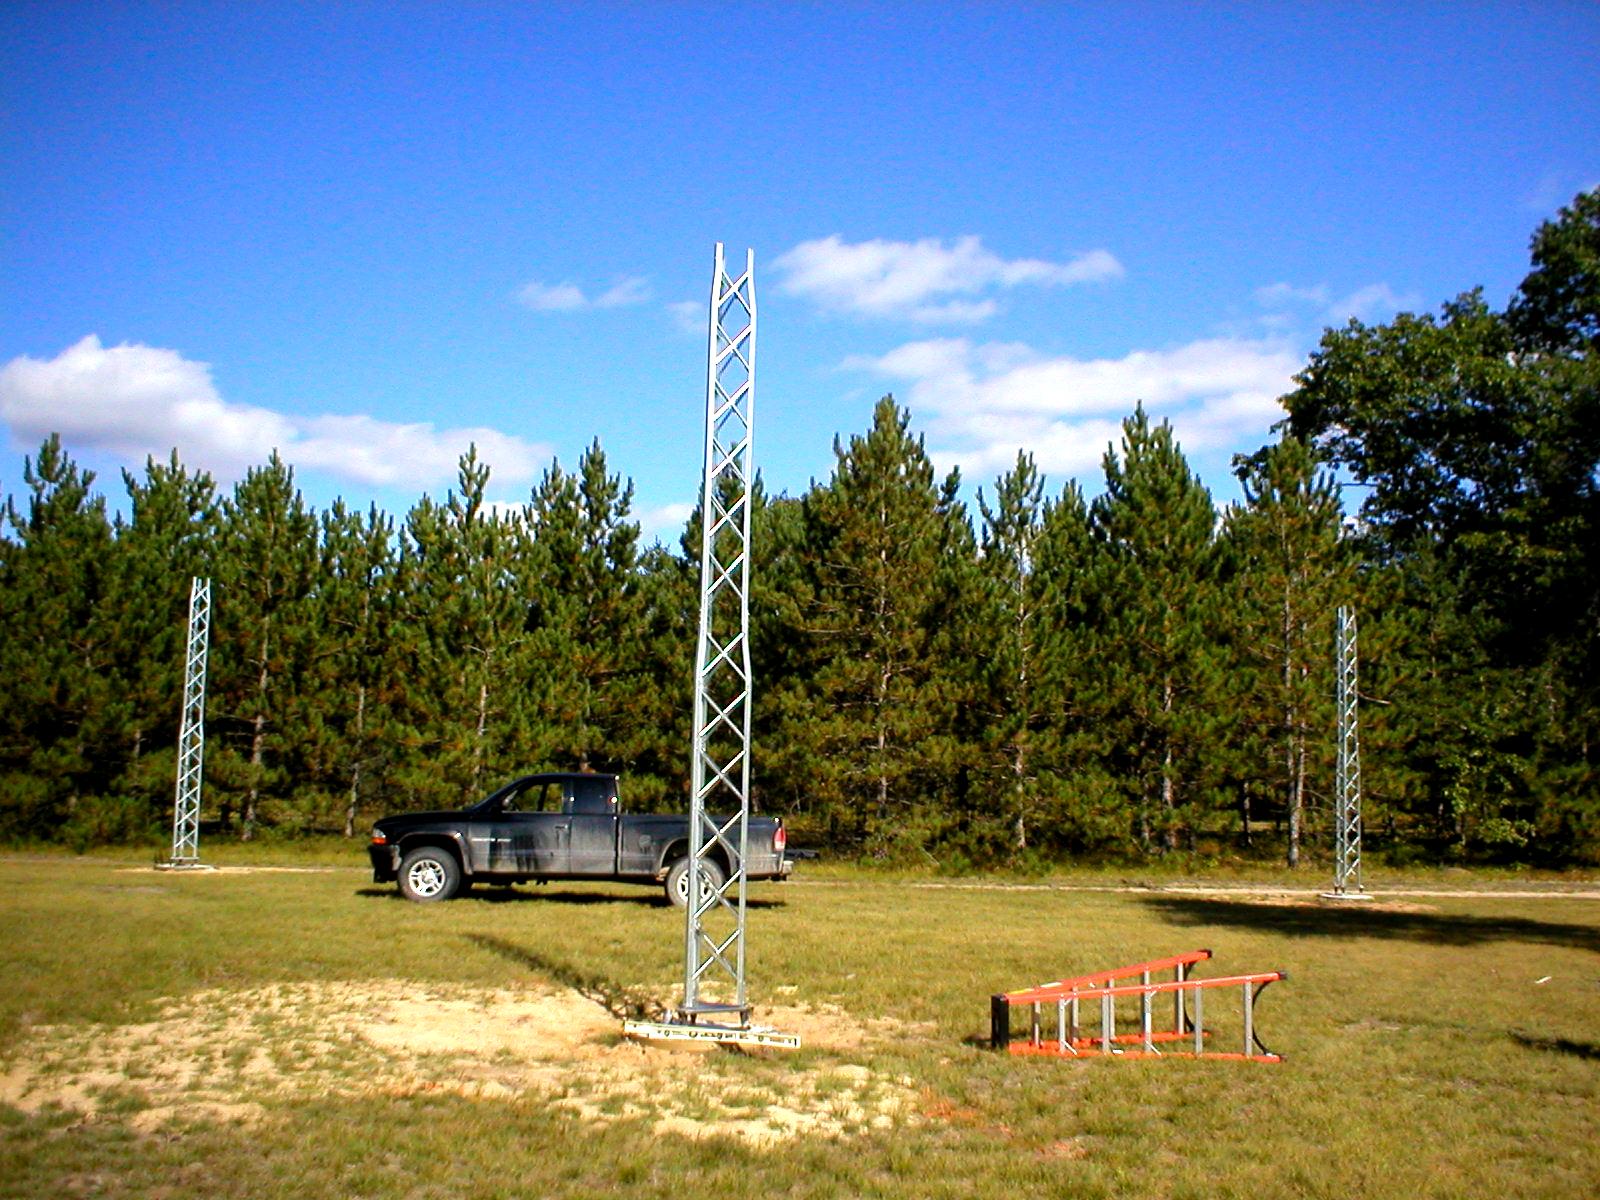
START OF TOWER CONSTRUCTION
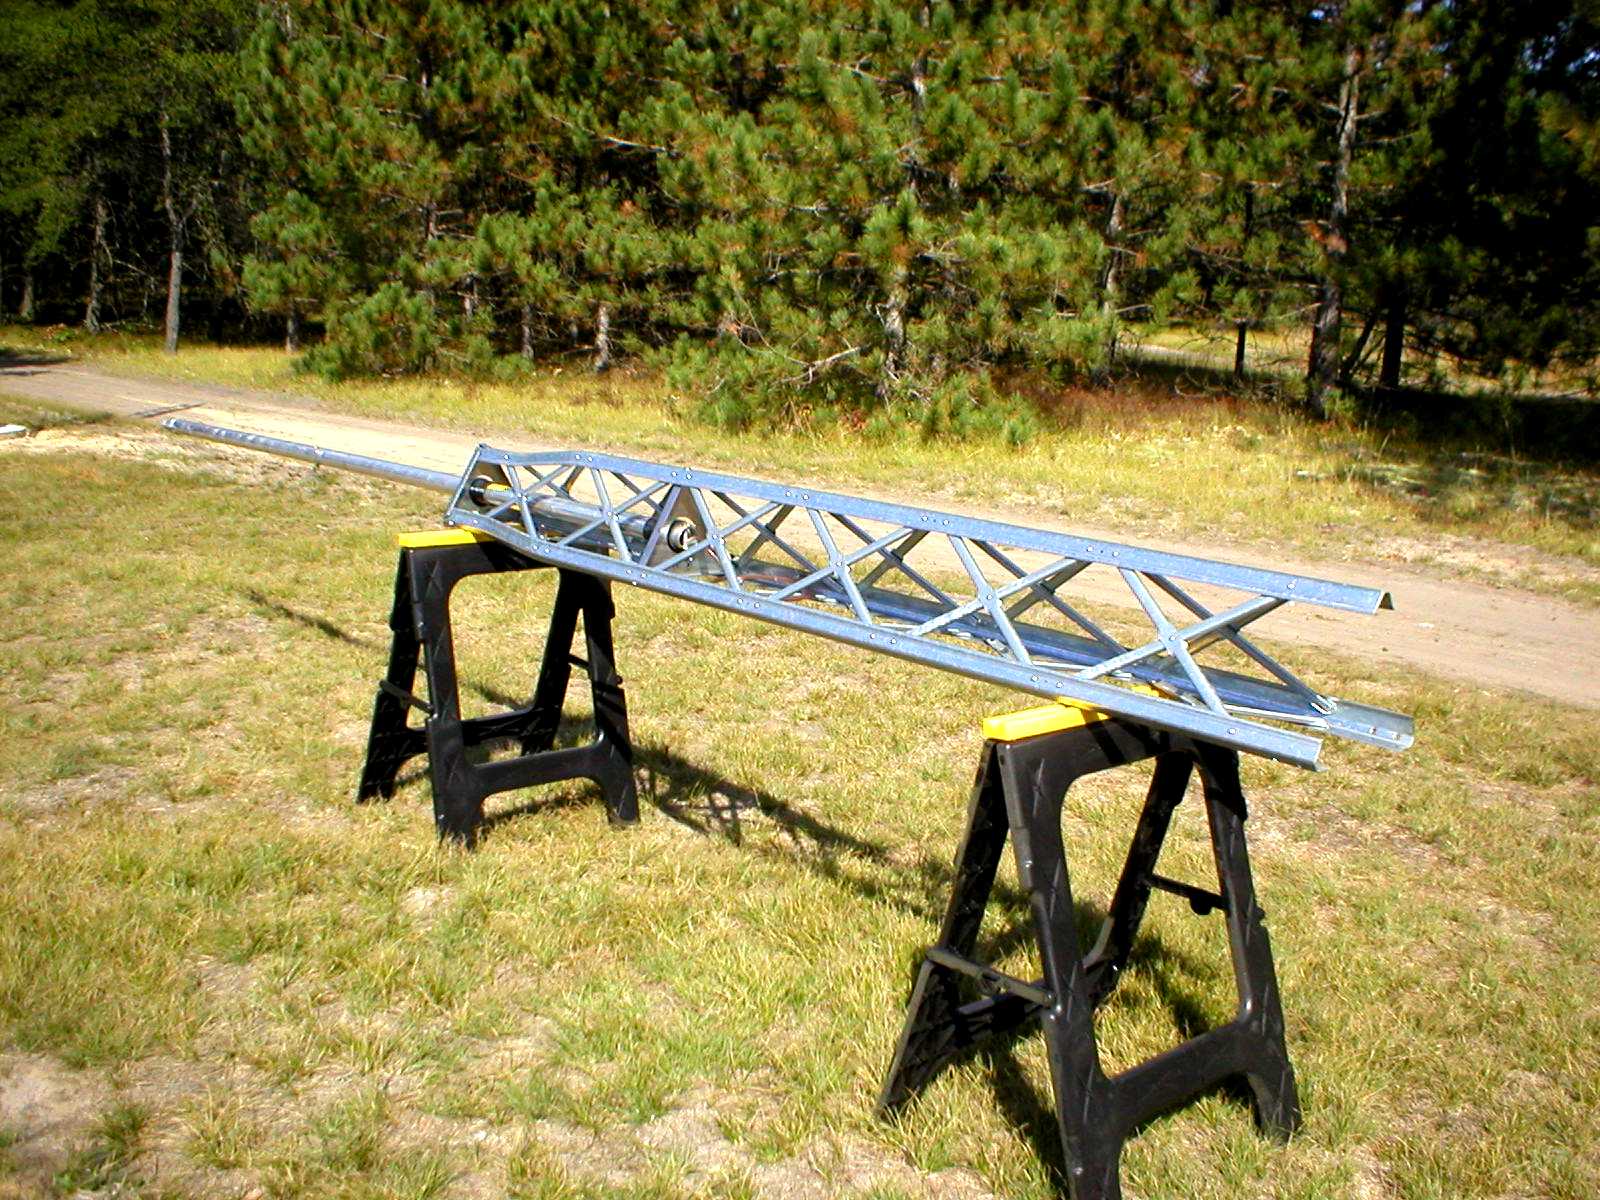
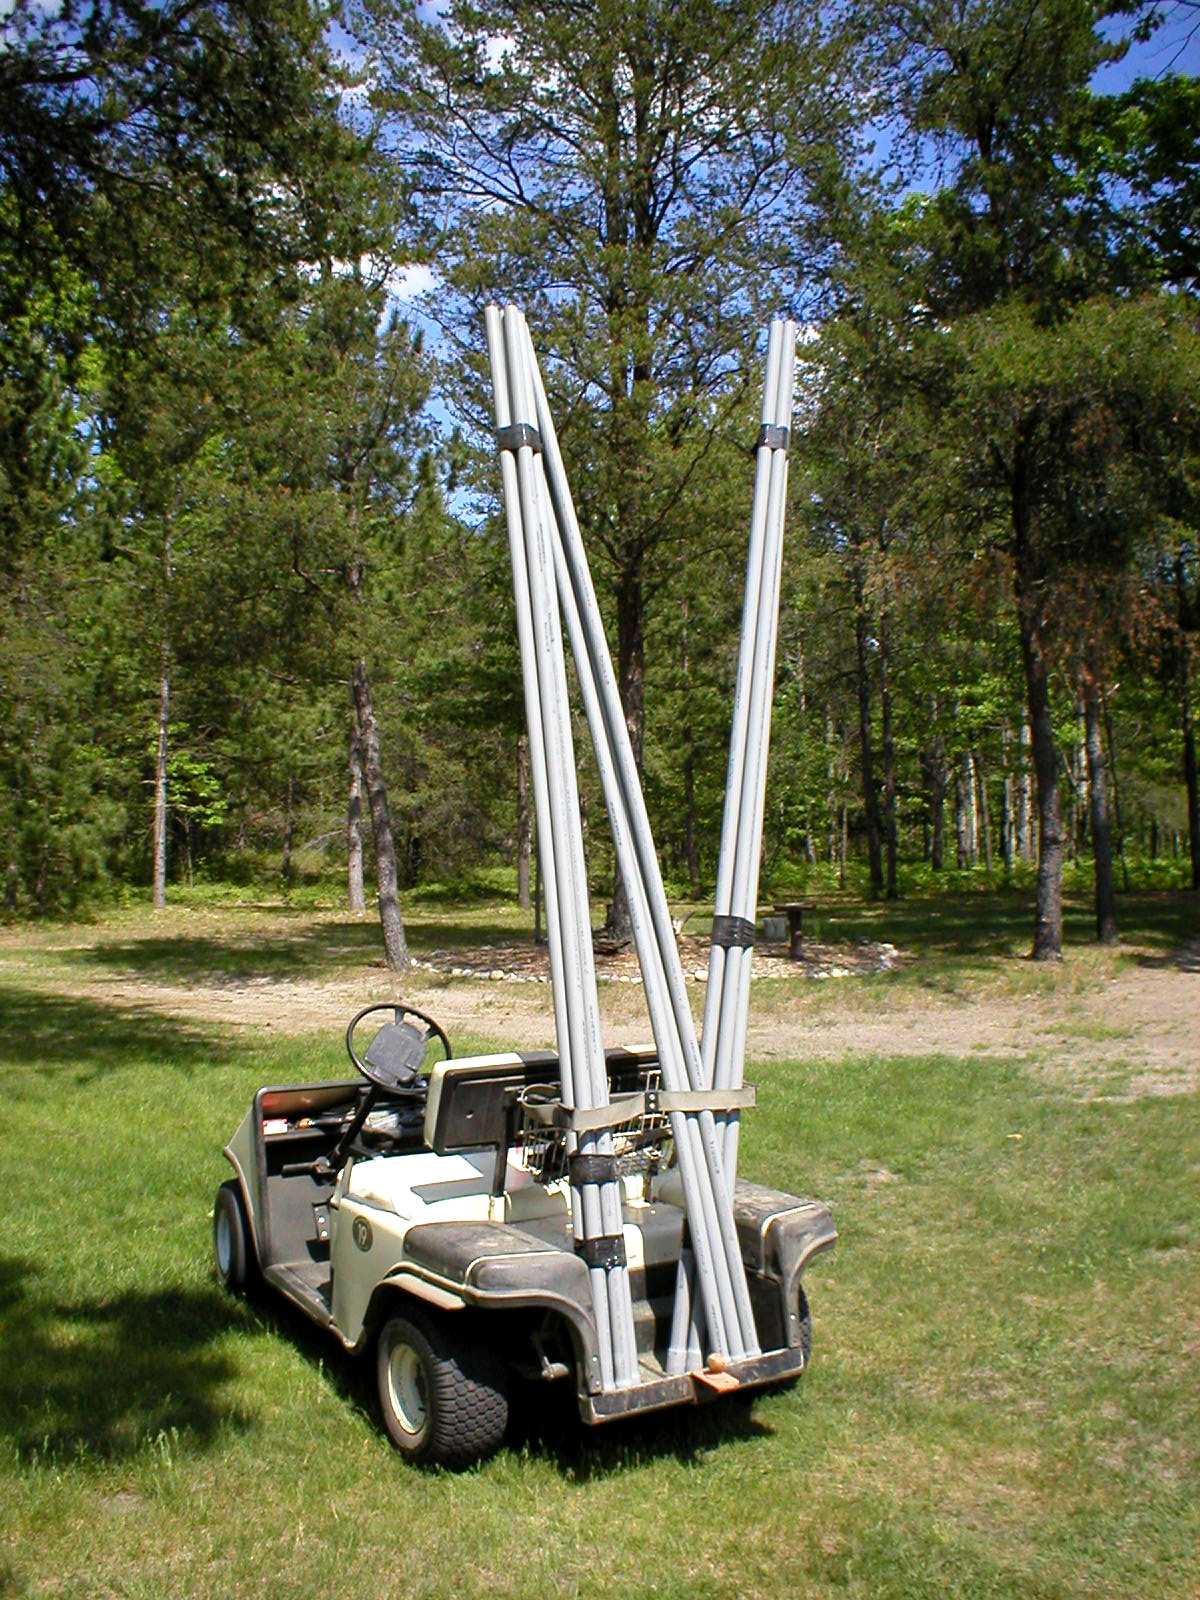
Hy-Towers are now excellently packaged and strapped.

Kinda low - need to put more steel on these things.
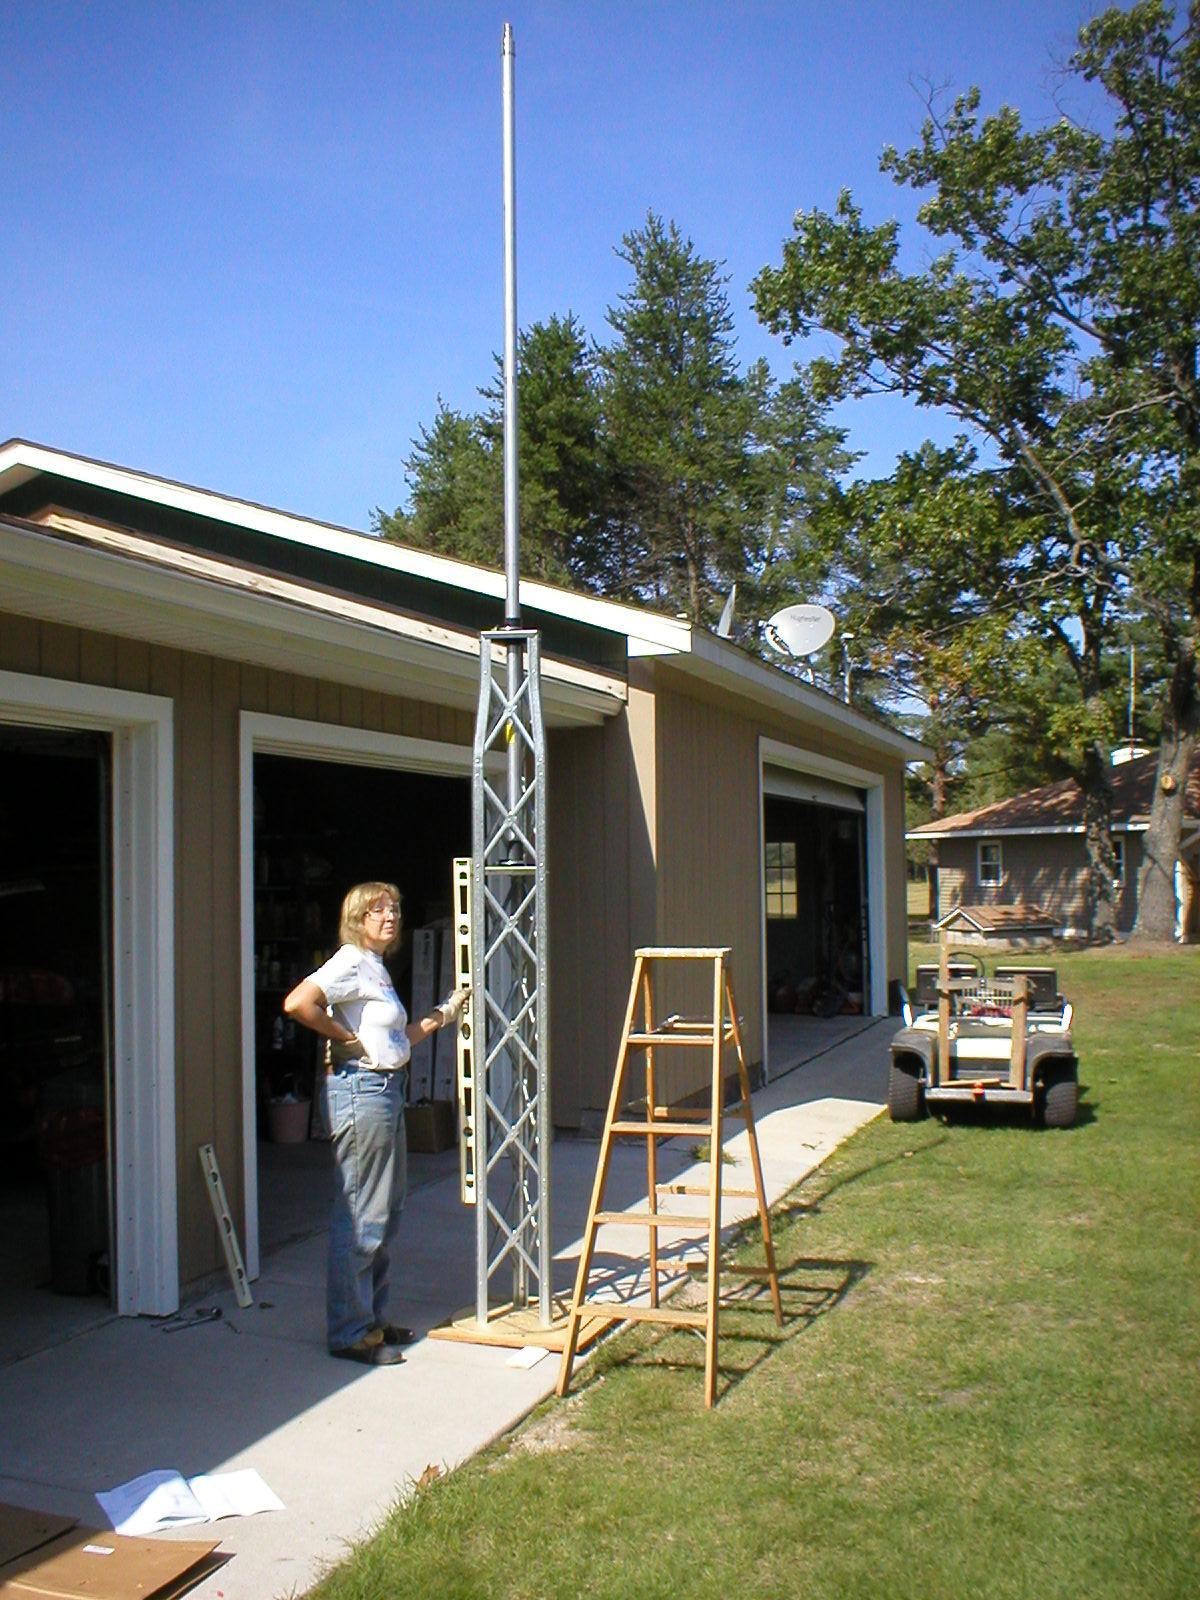
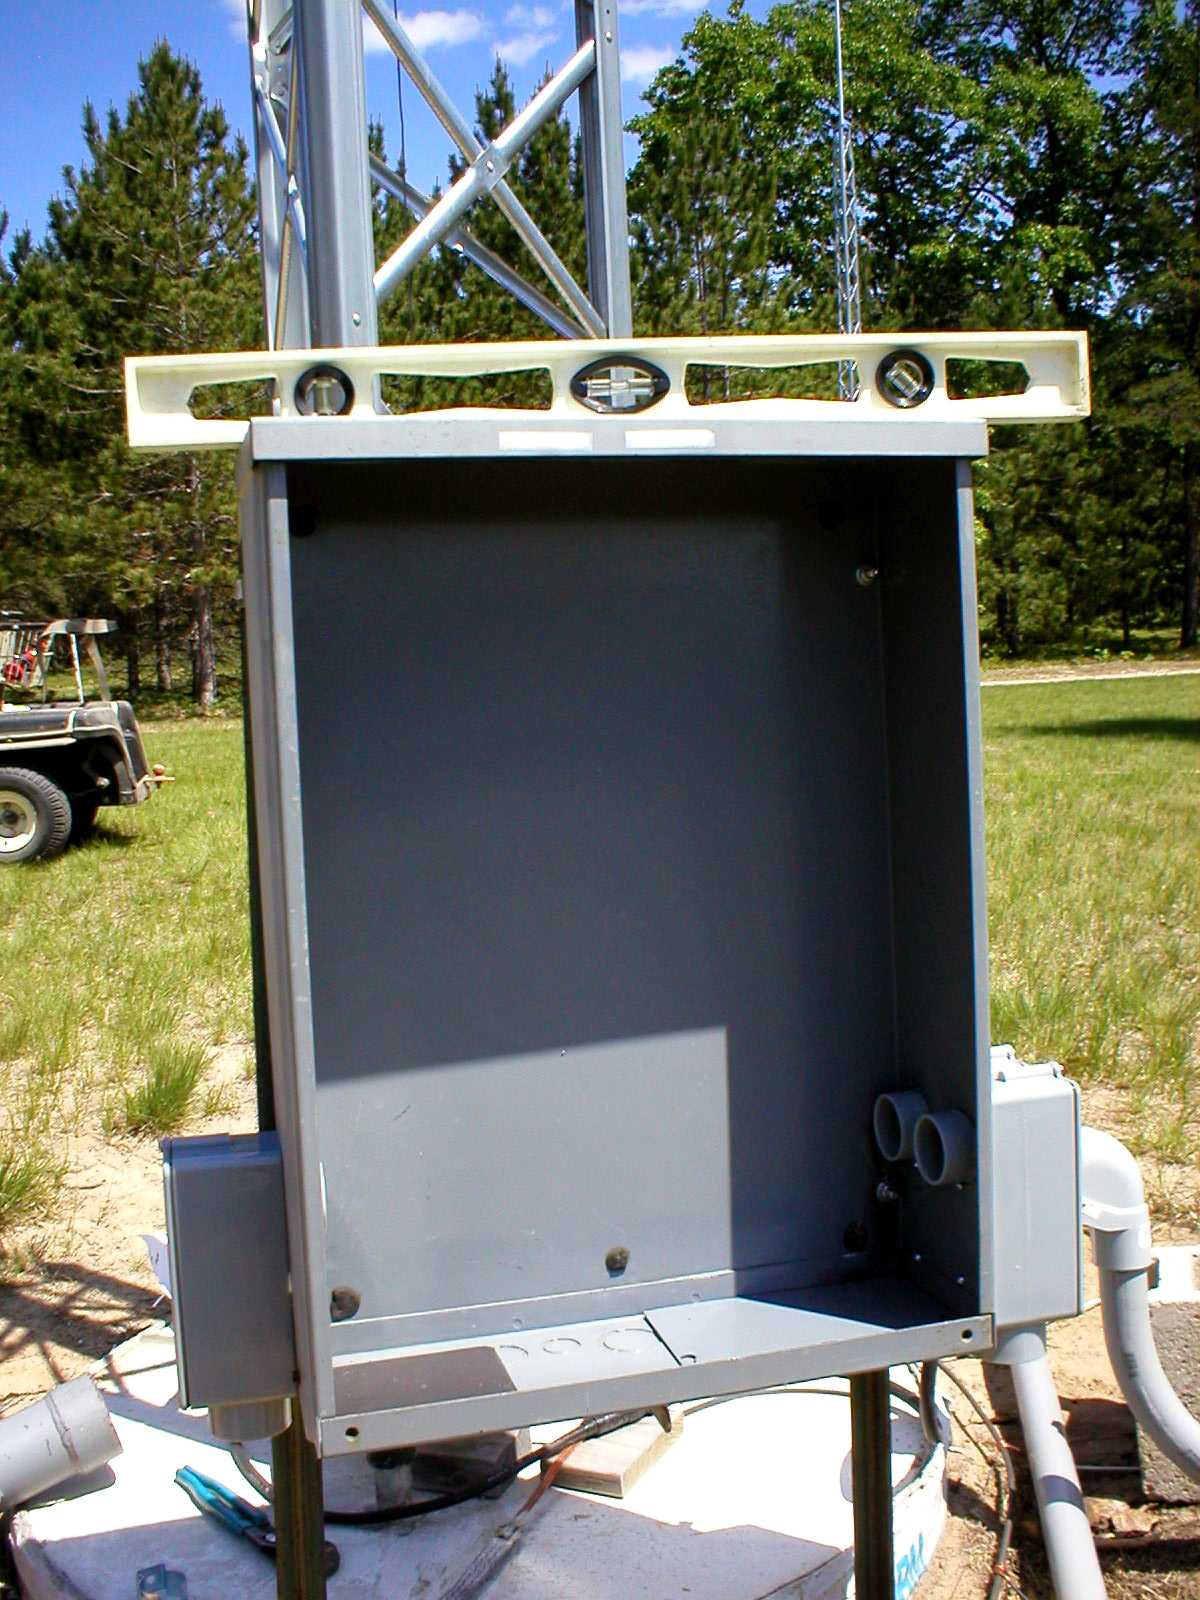
Testing level before installation - PERFECT!
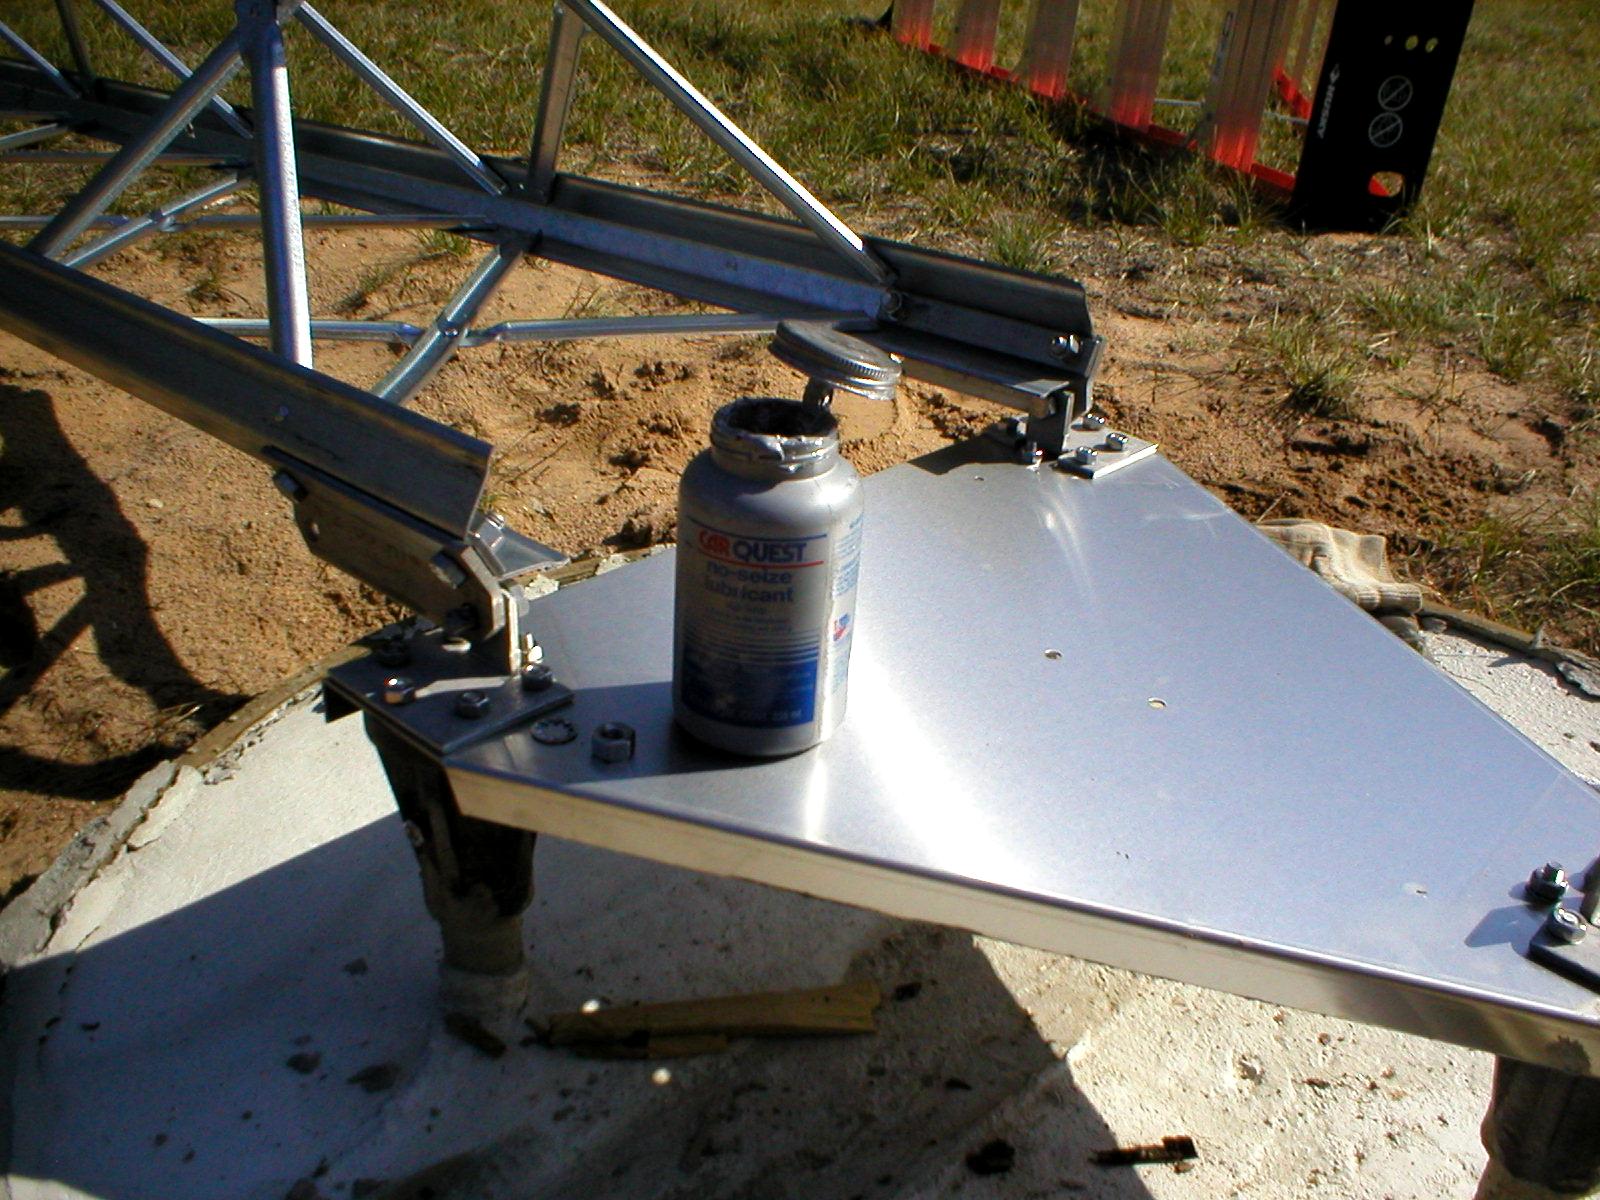
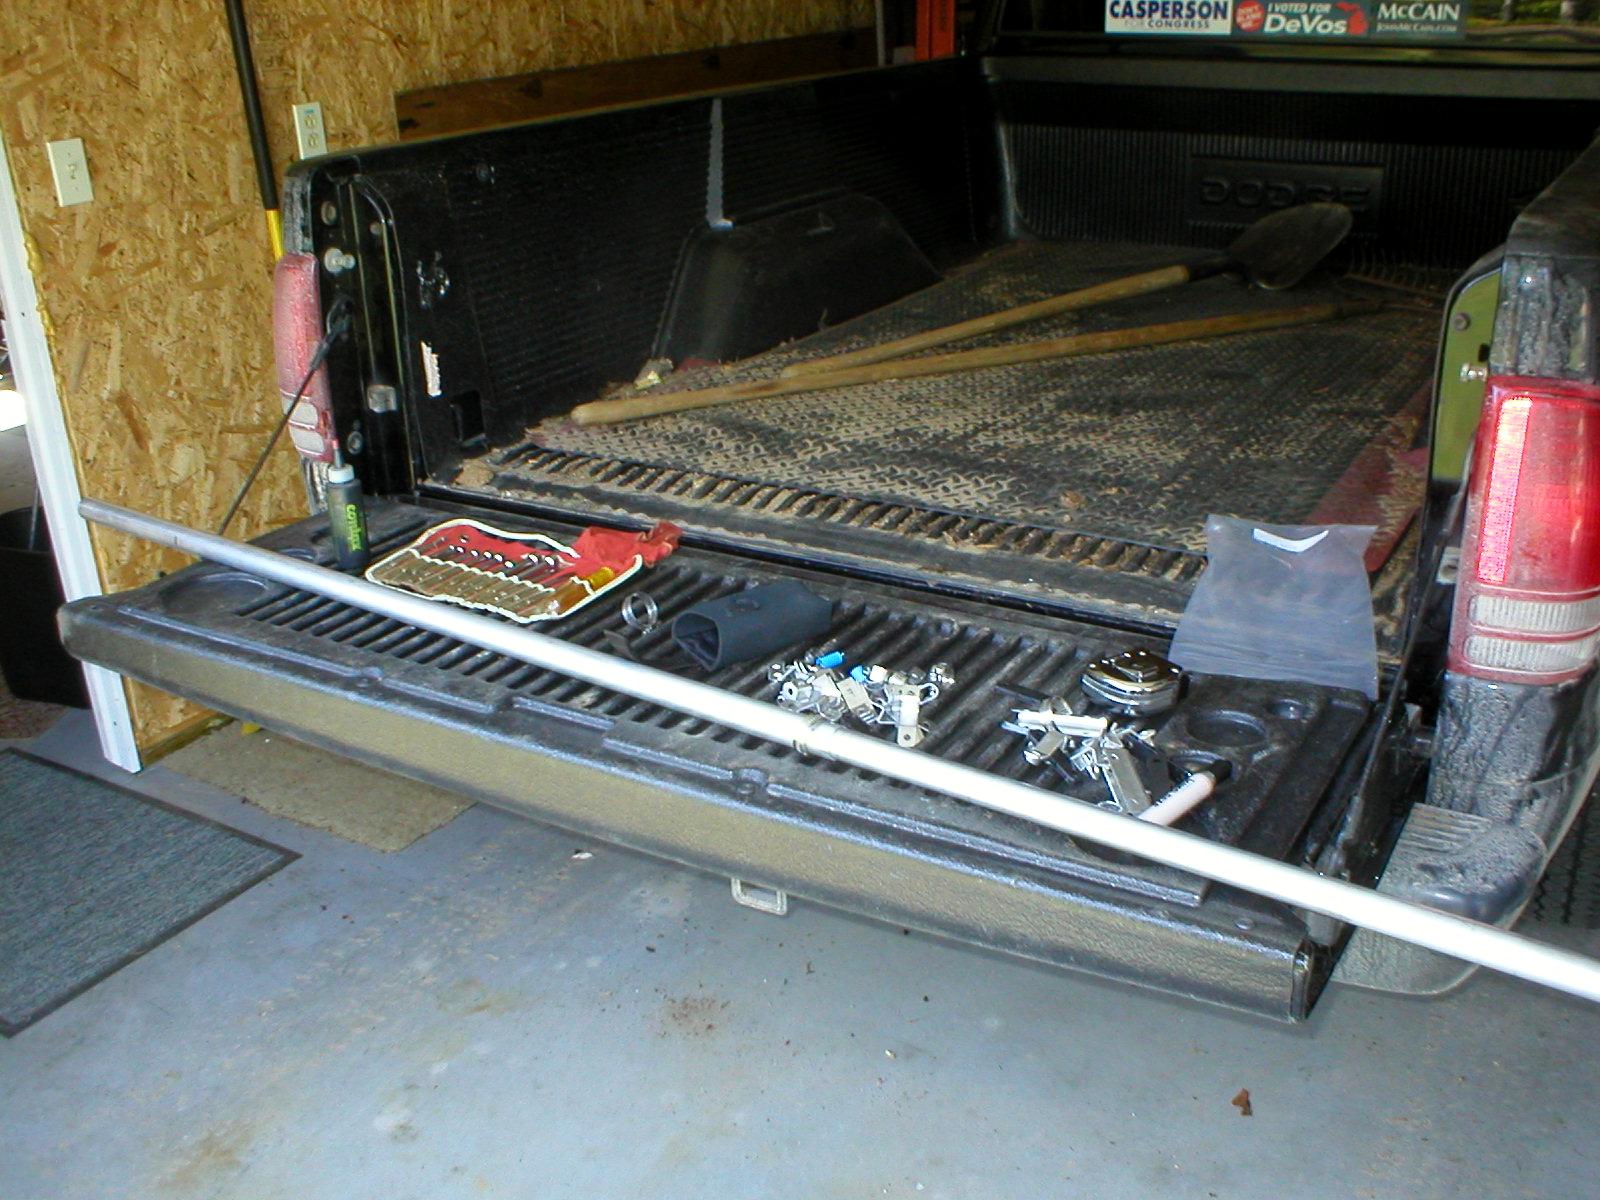
Use anti-seize even with stainless hardware.
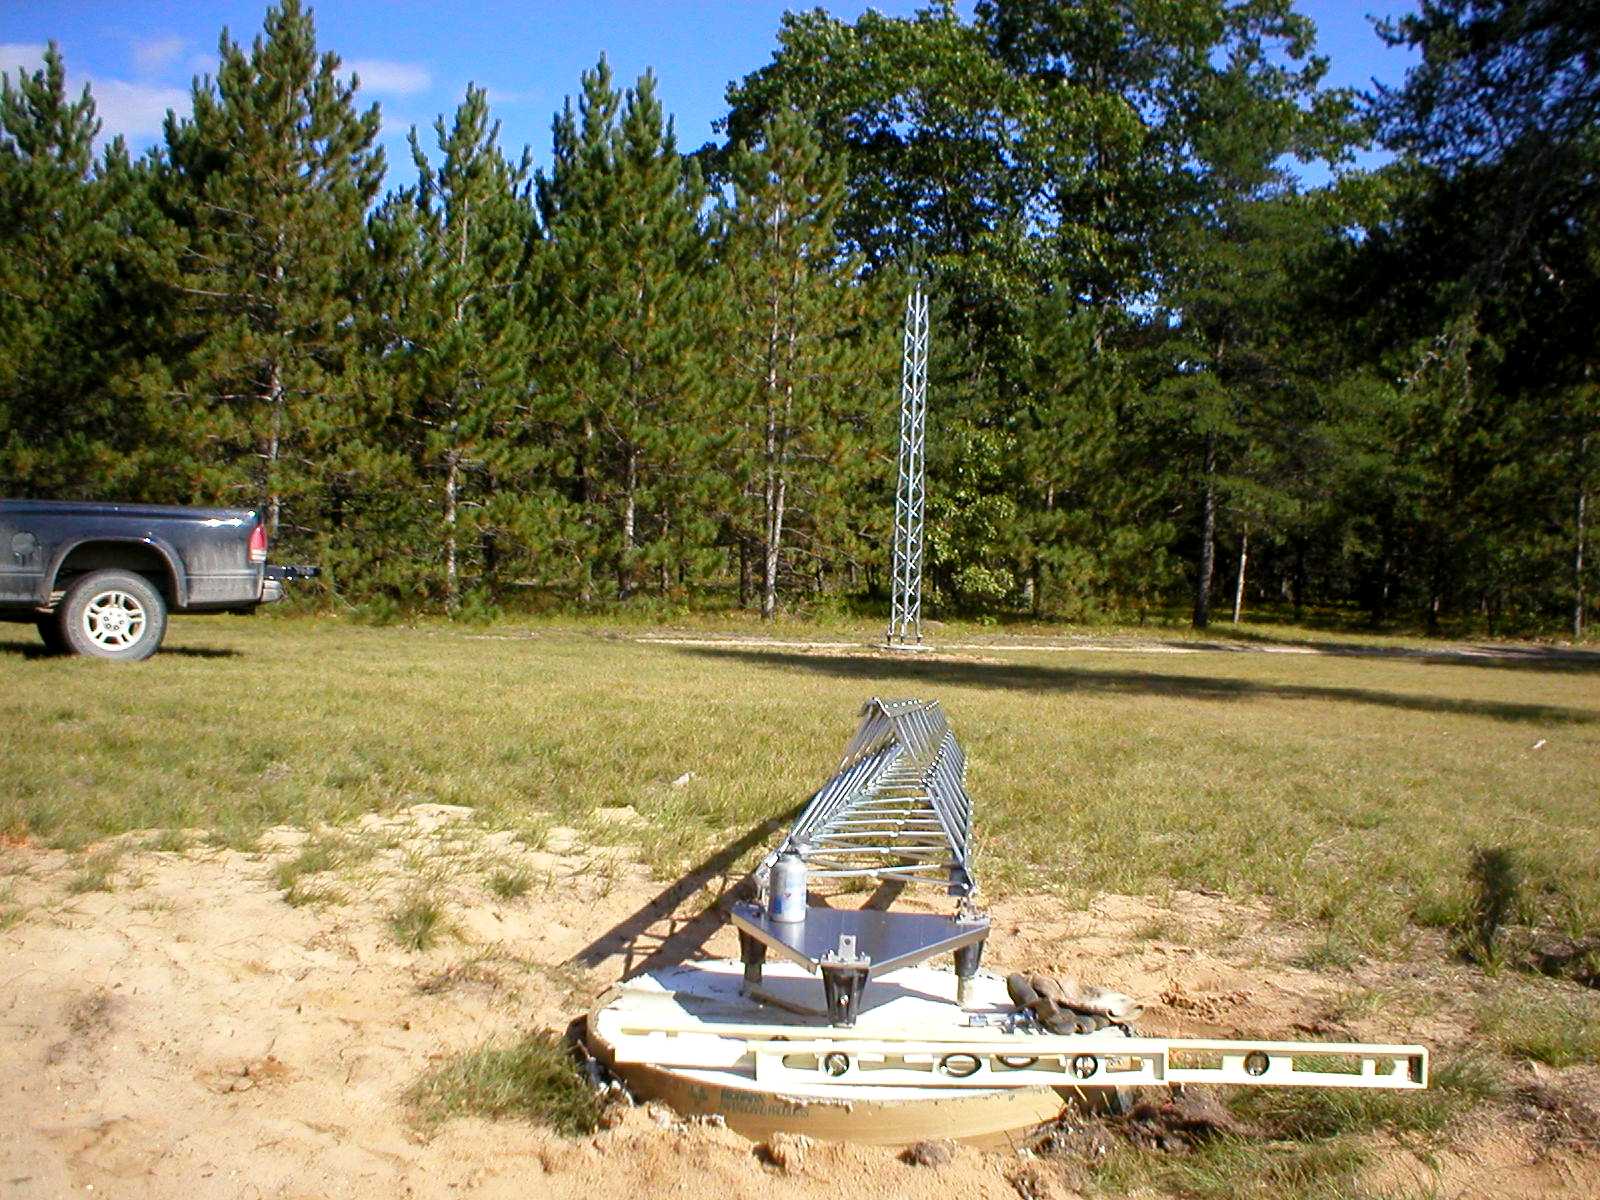
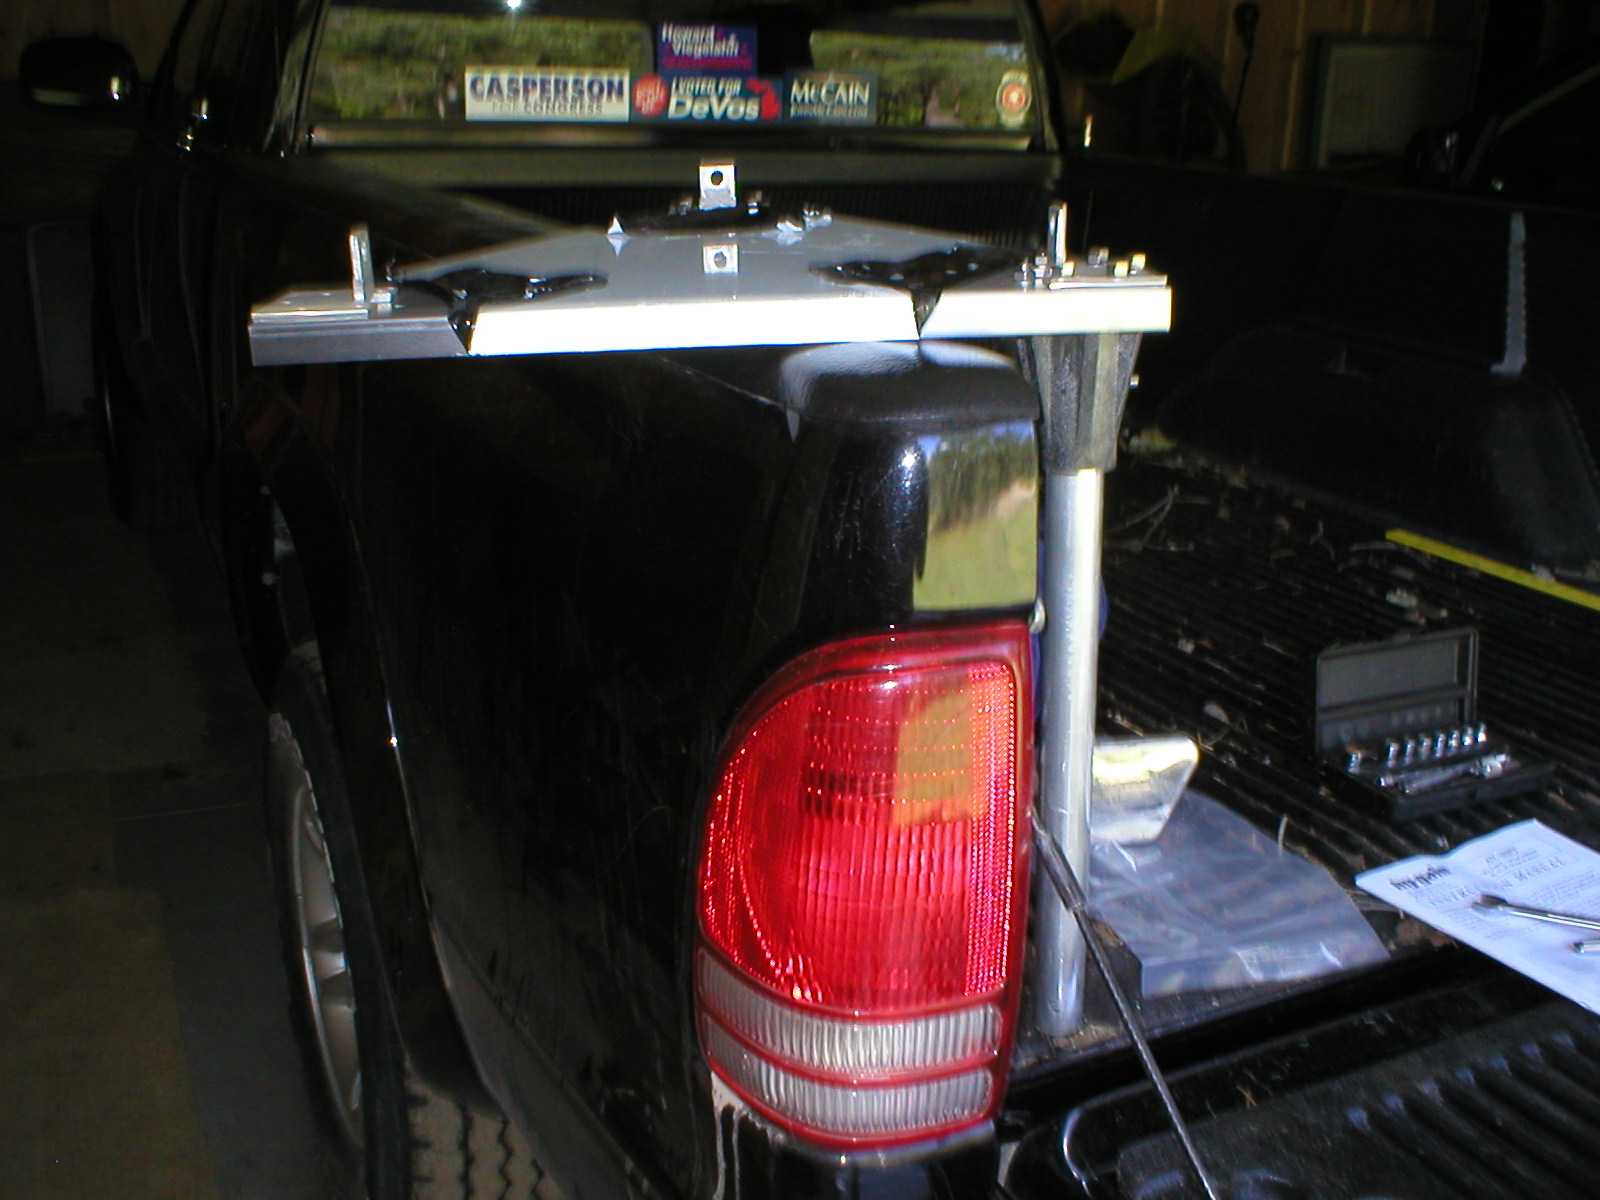
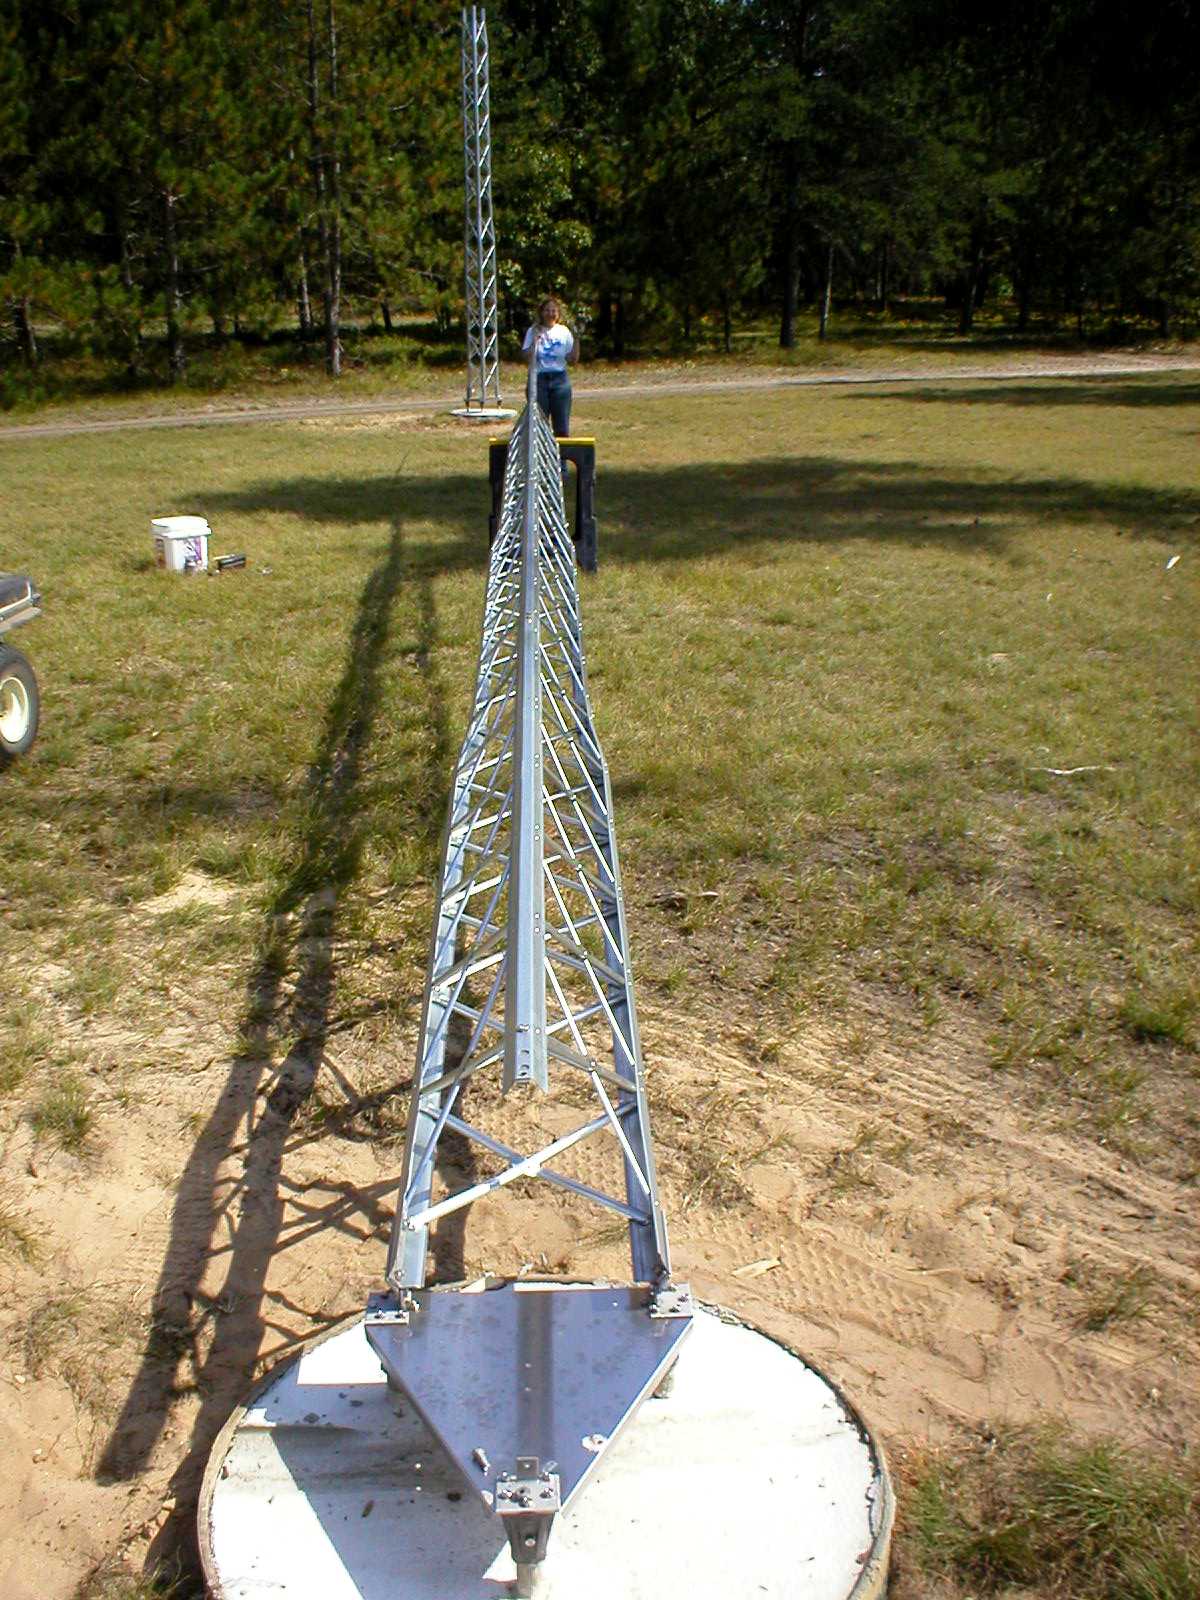
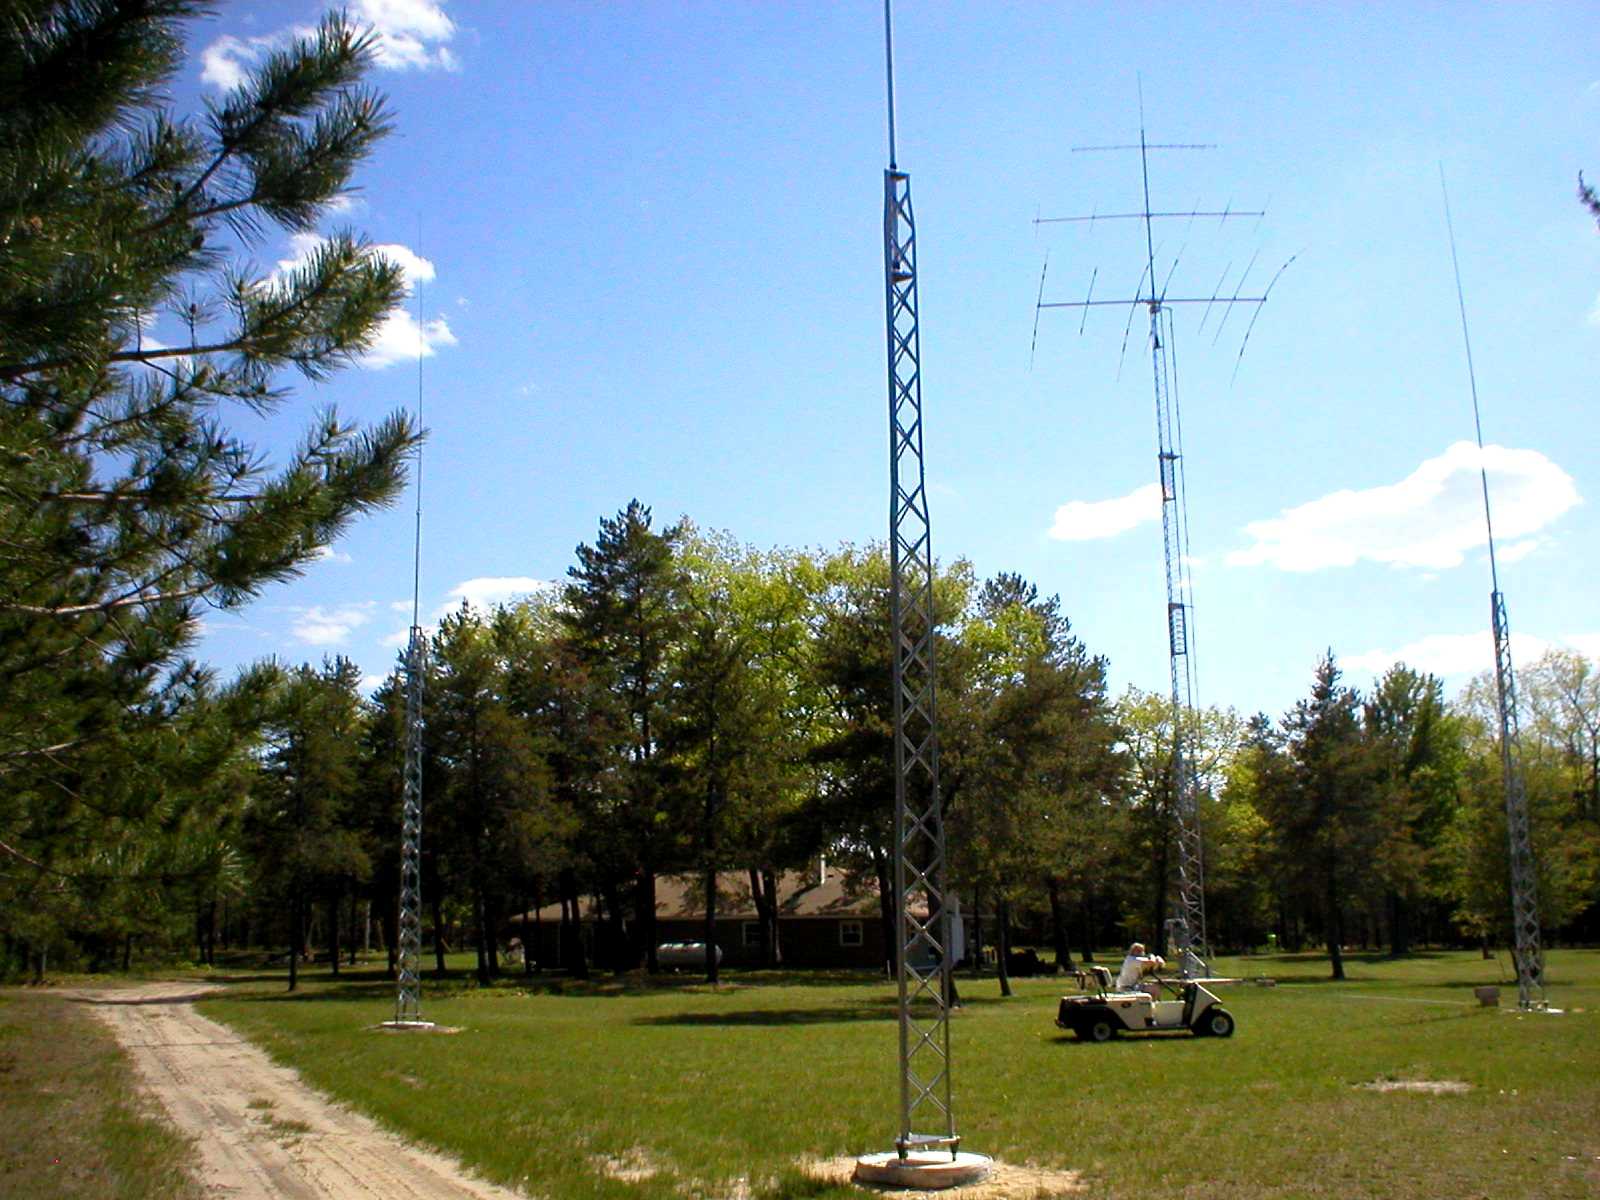
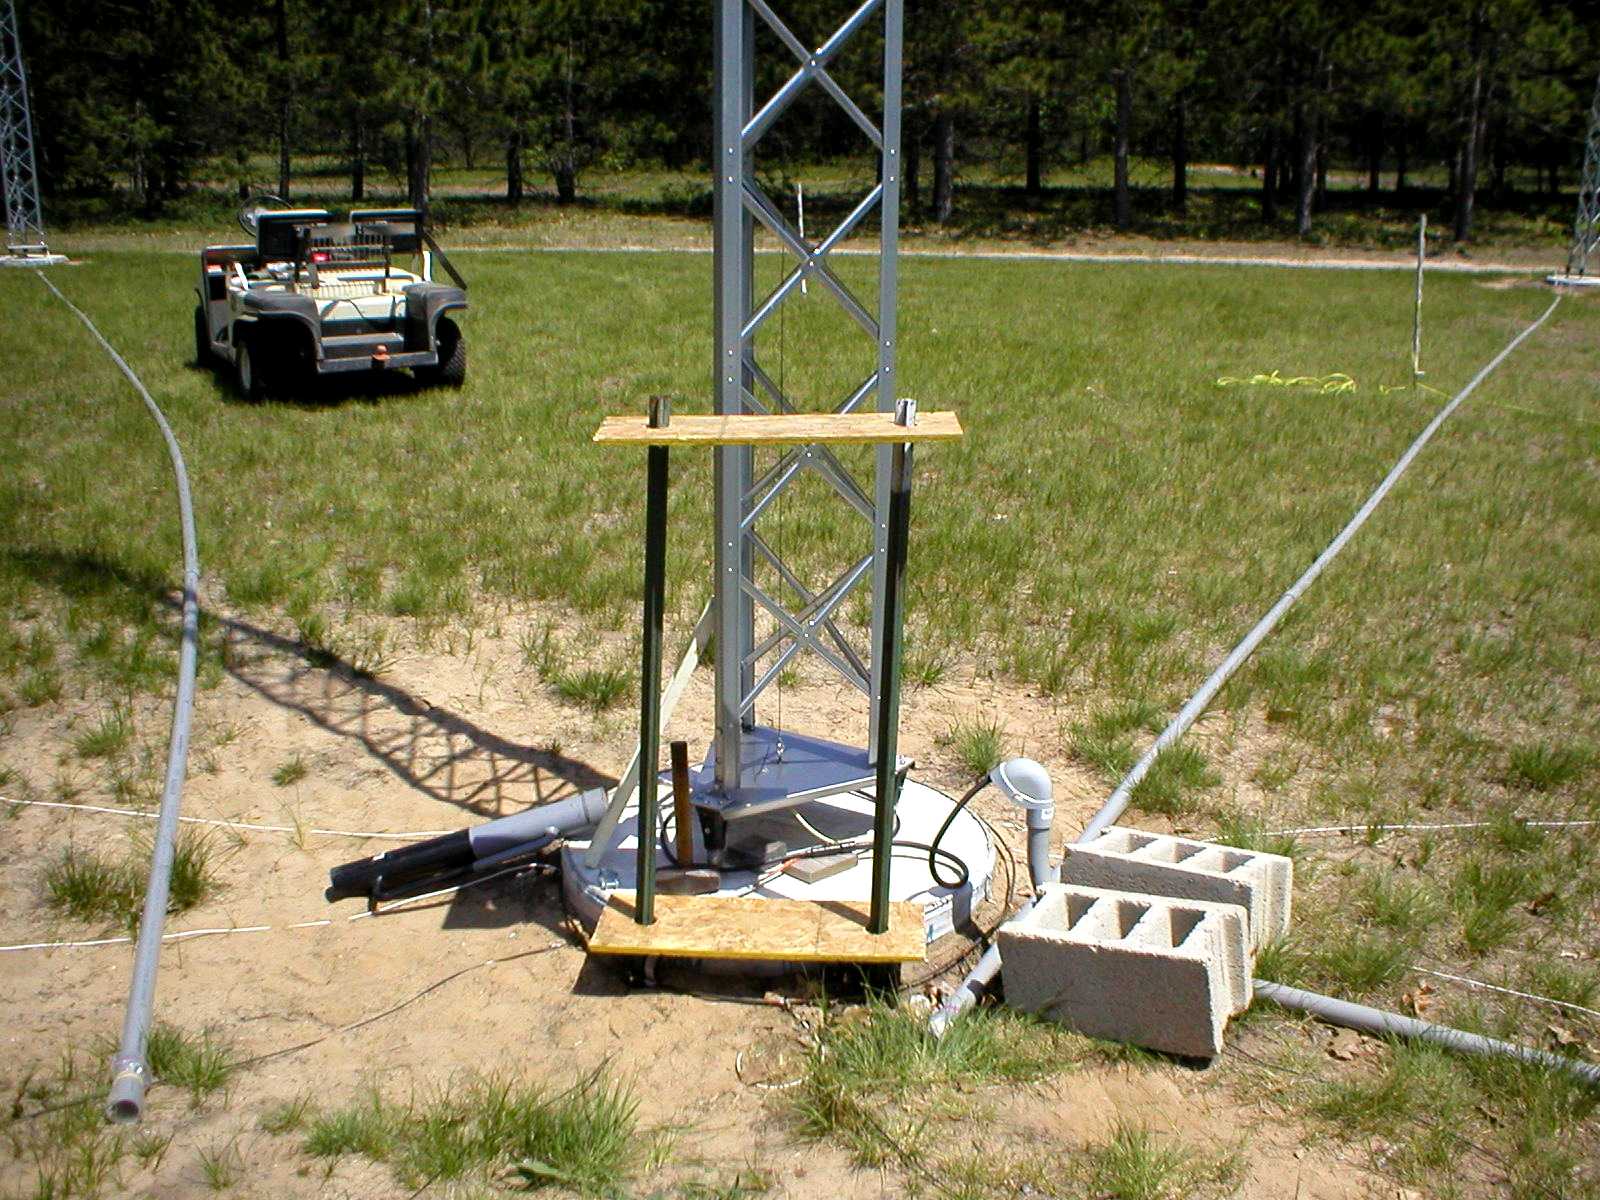
Tower bases constructed so that towers lay towards each other for maintenance.
Base sections installed first to ensure plumb.
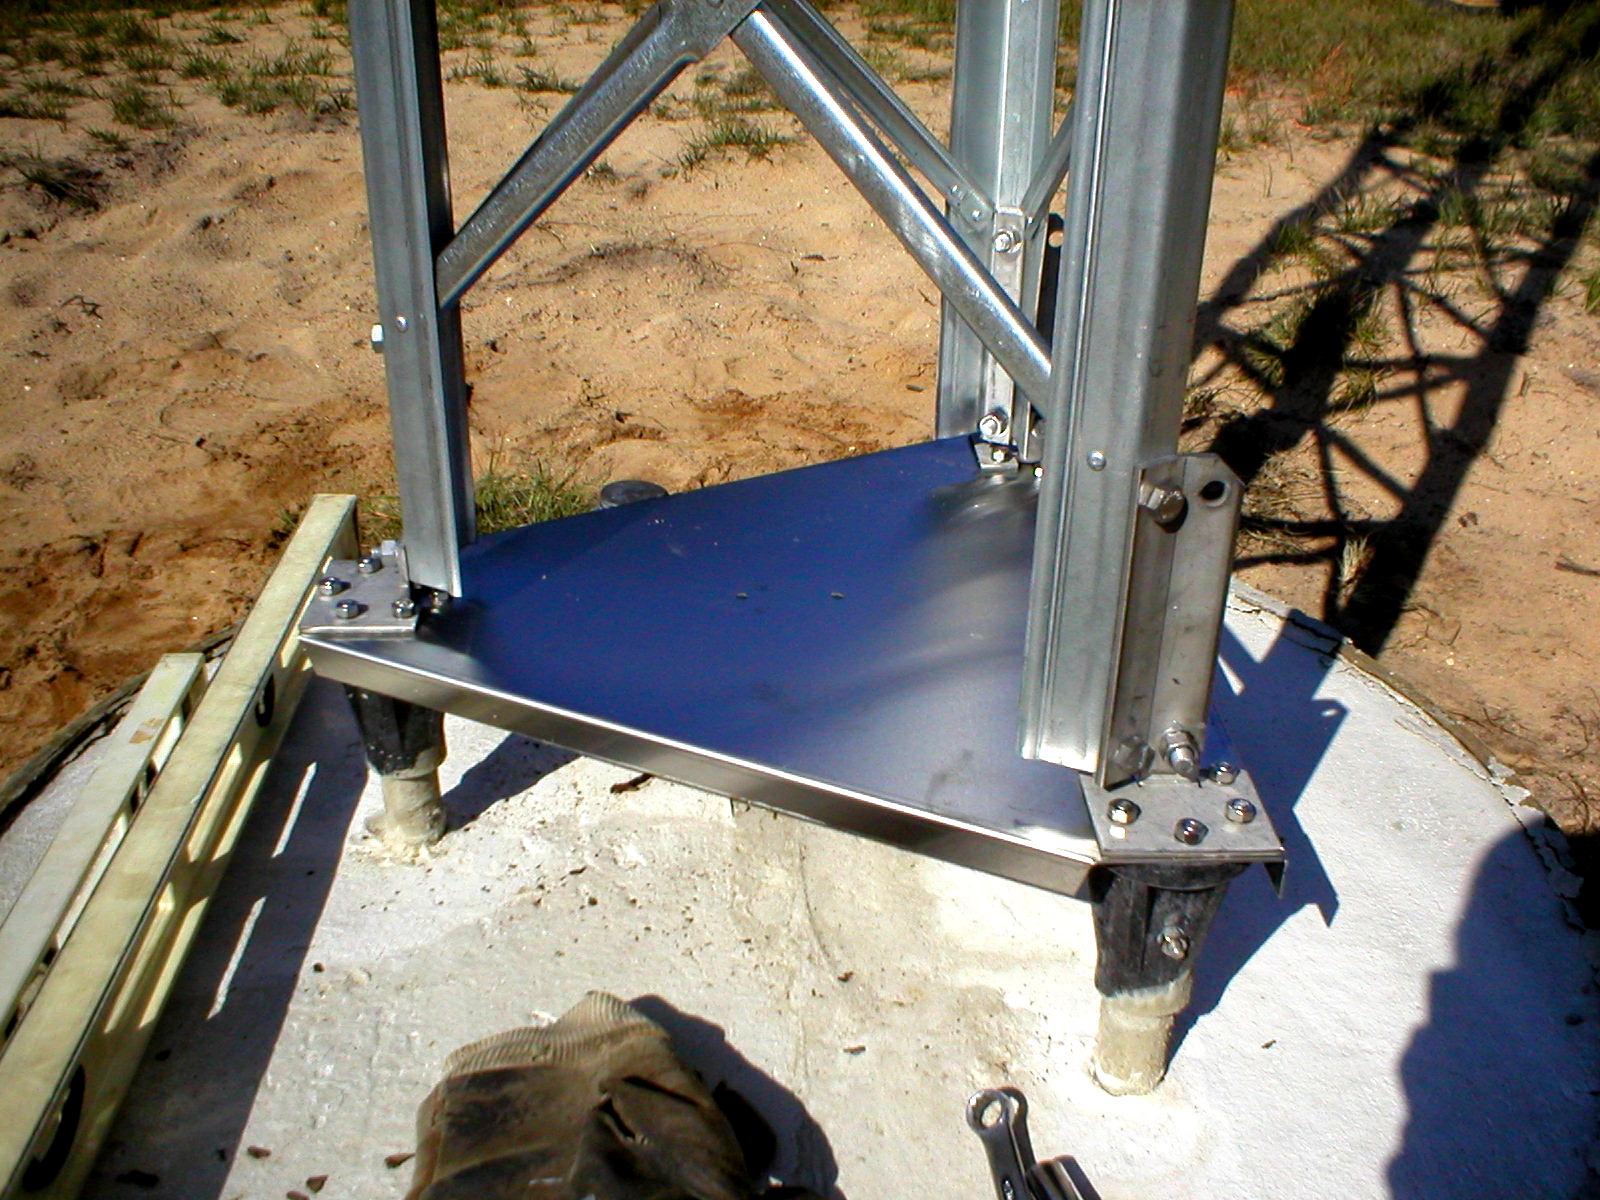
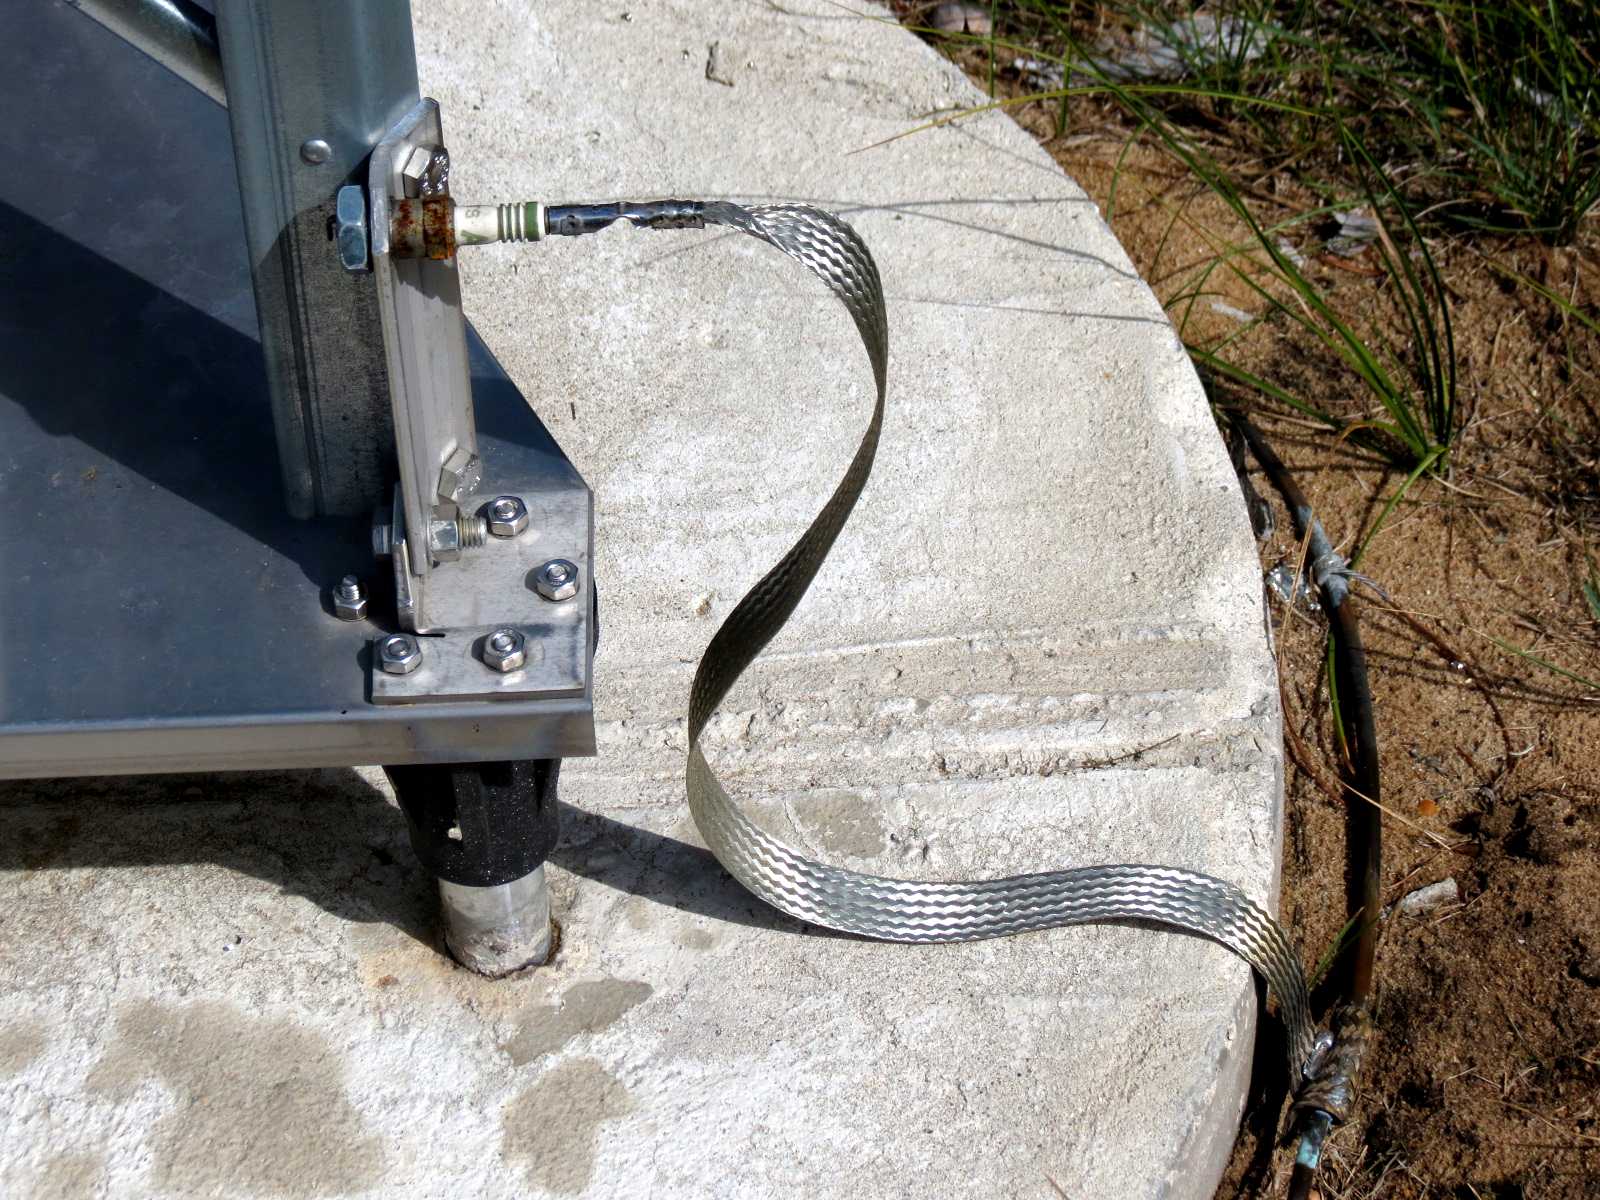
Base mounting bolts face out for easy access to nut.
Final tightning of second section done after tower walked up to ensure
proper seating of sections.
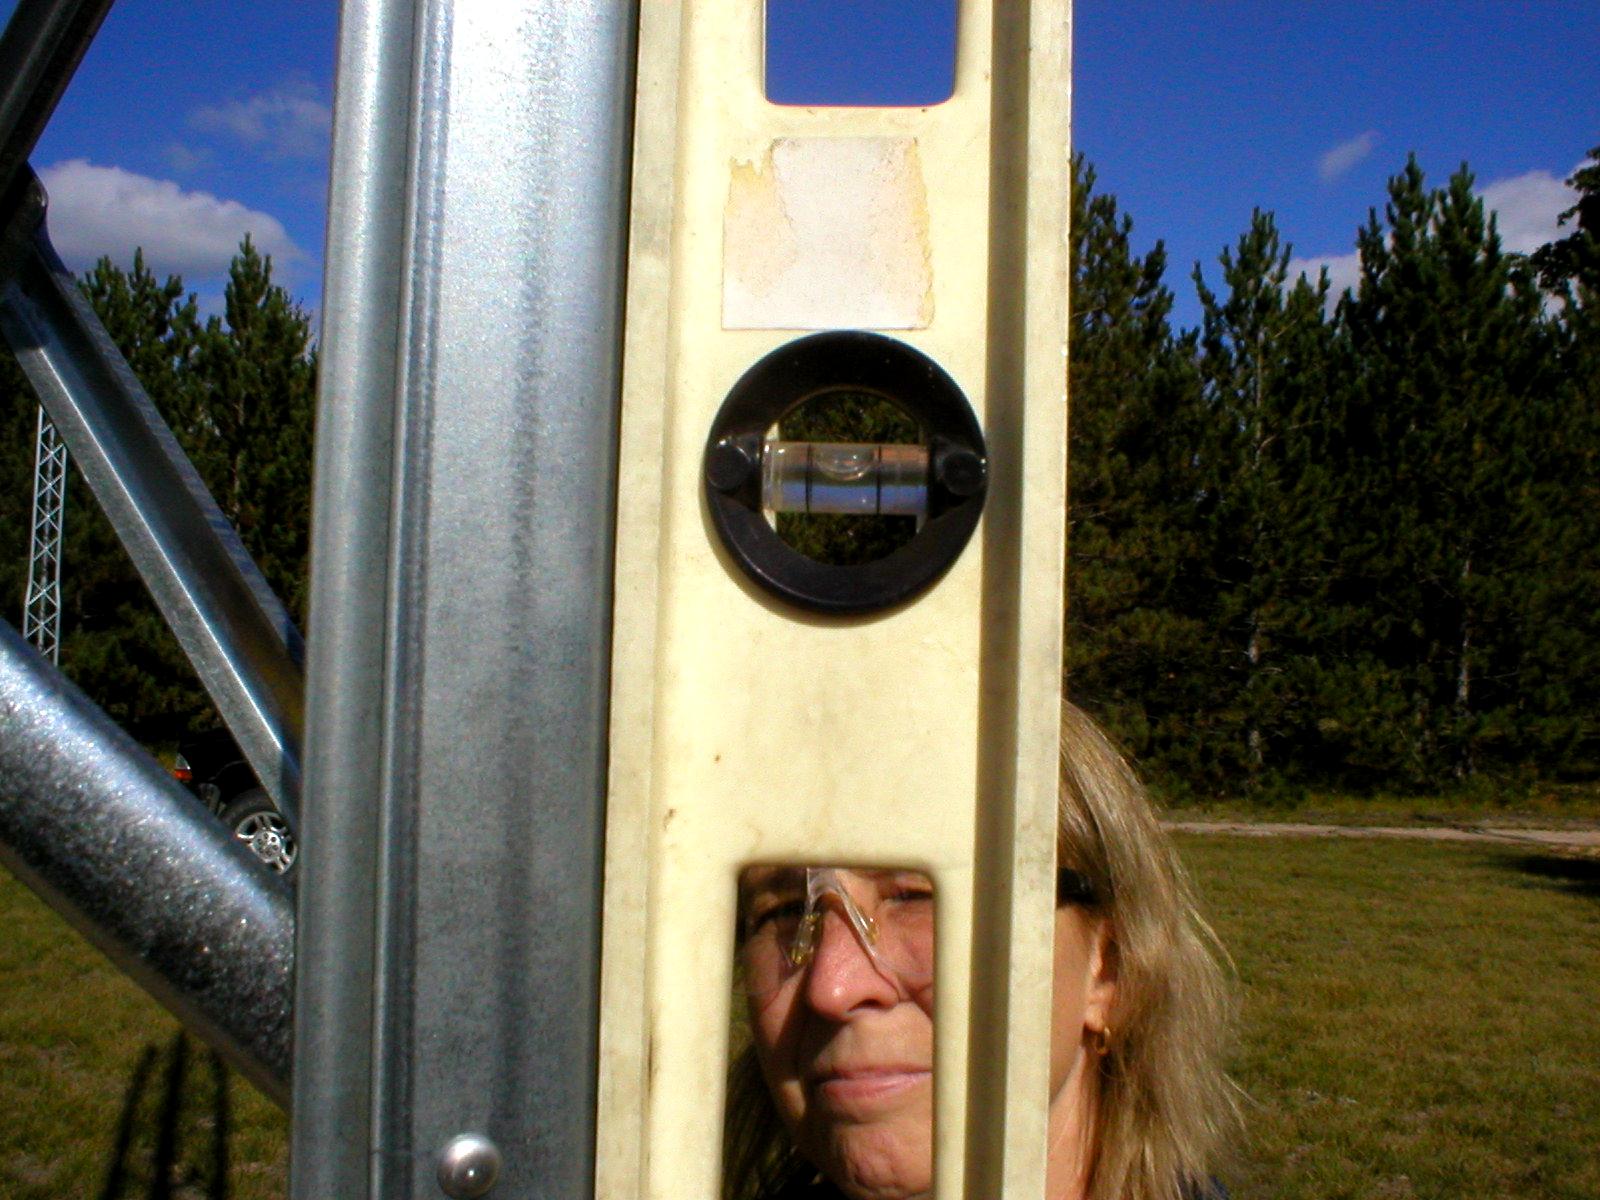
Laser did the job. All towers are PERFECTLY plumb.
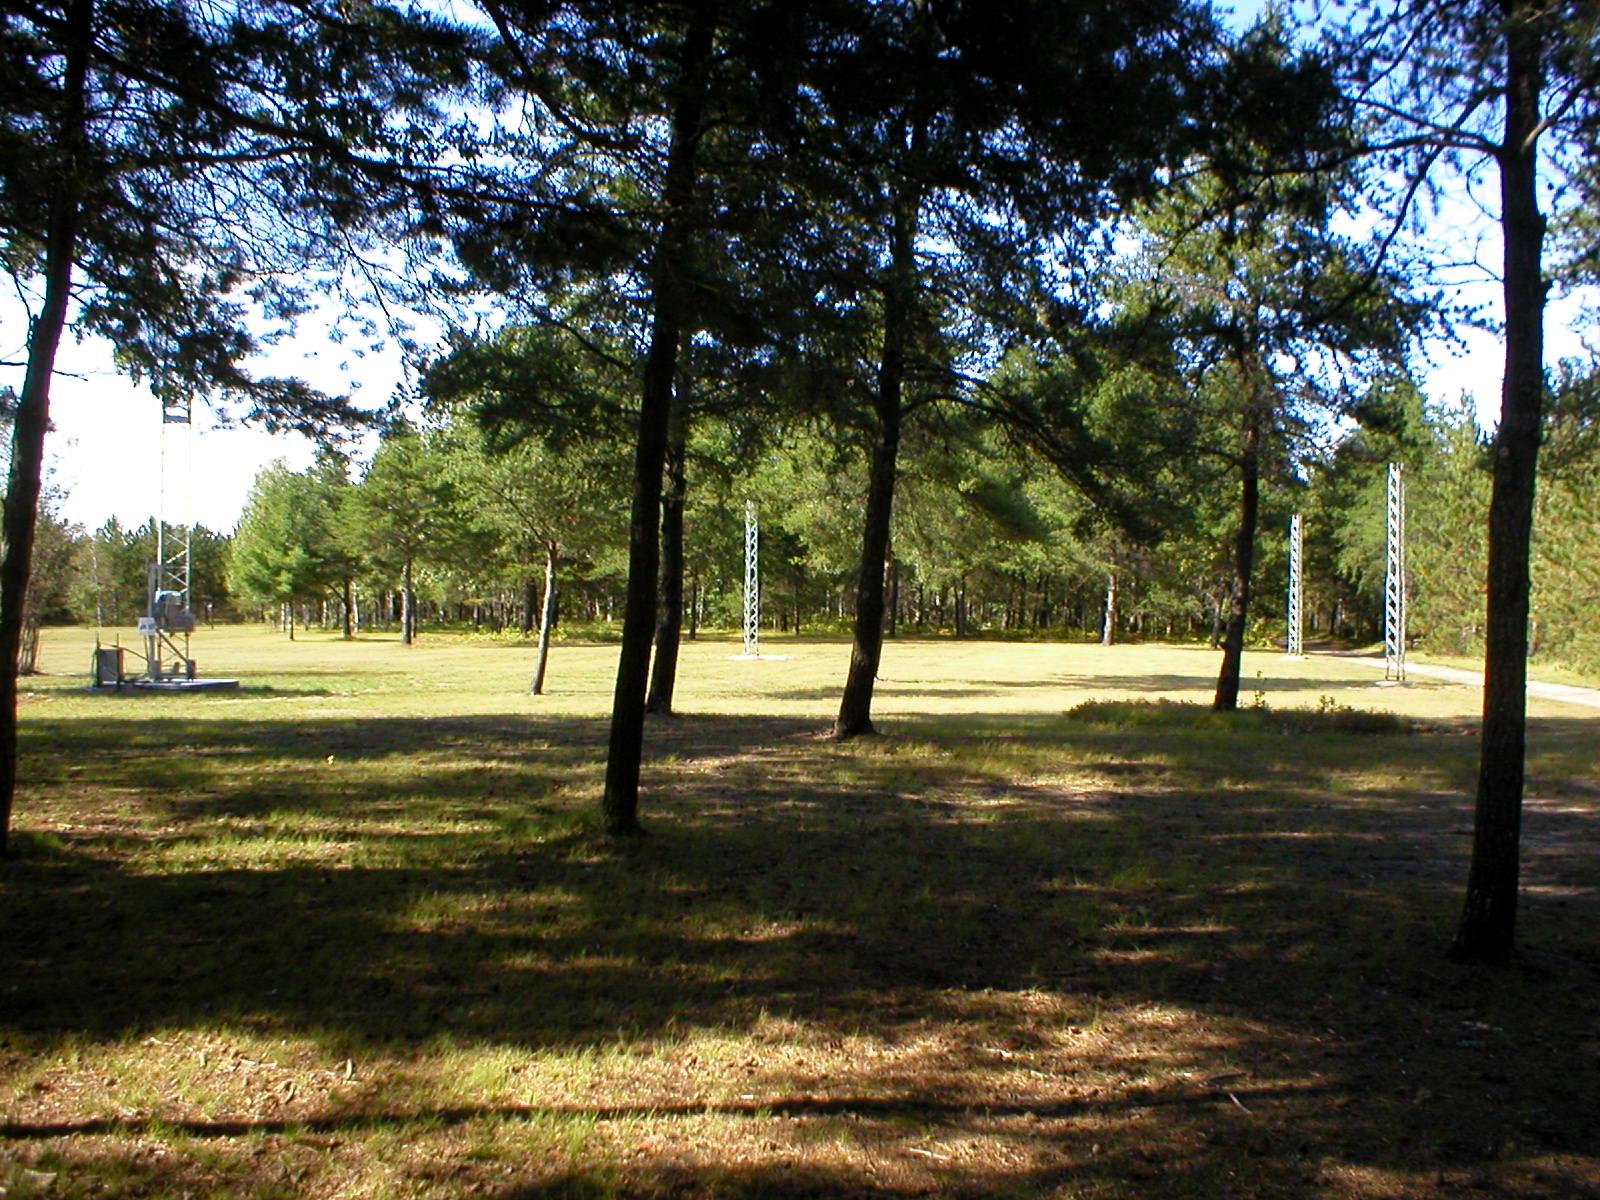
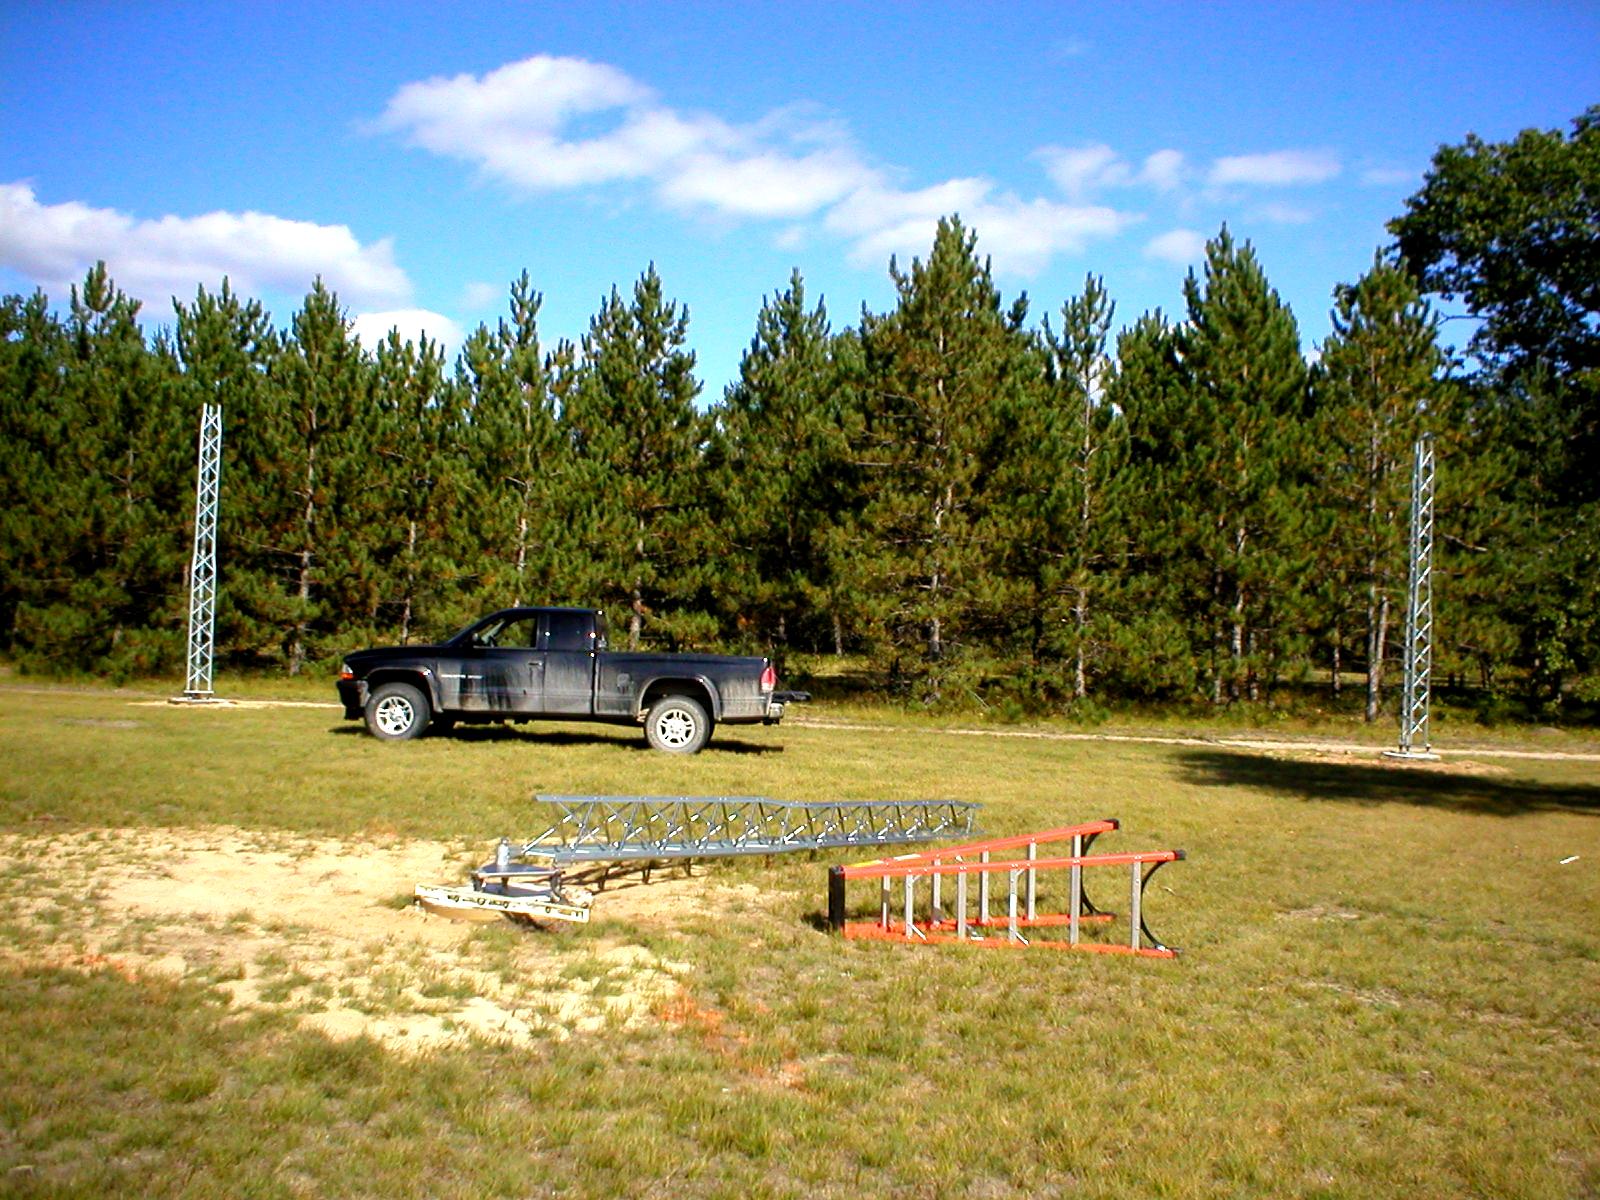
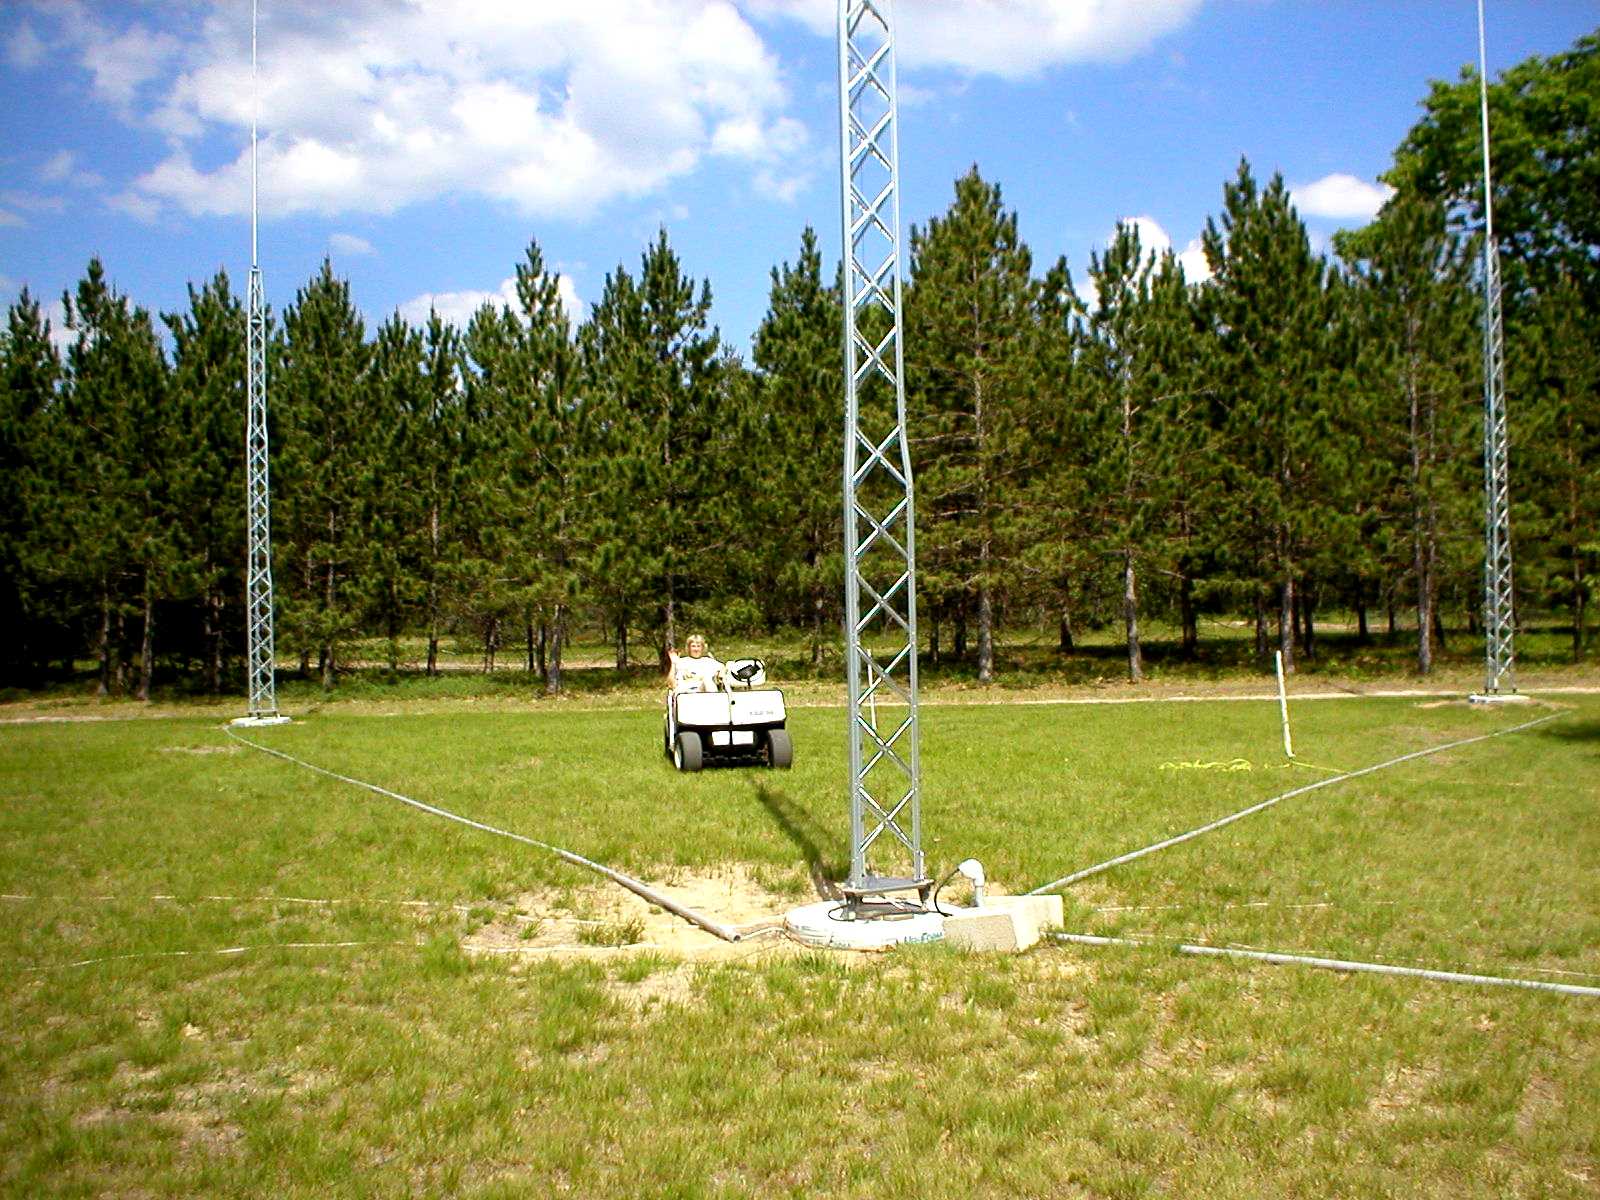
First two sections done, seated and plumb. 40' more will be added.
Quagmire of wires until final installation and bury is completed.
START OF TOWER FINALIZATION TO FULL LENGTH
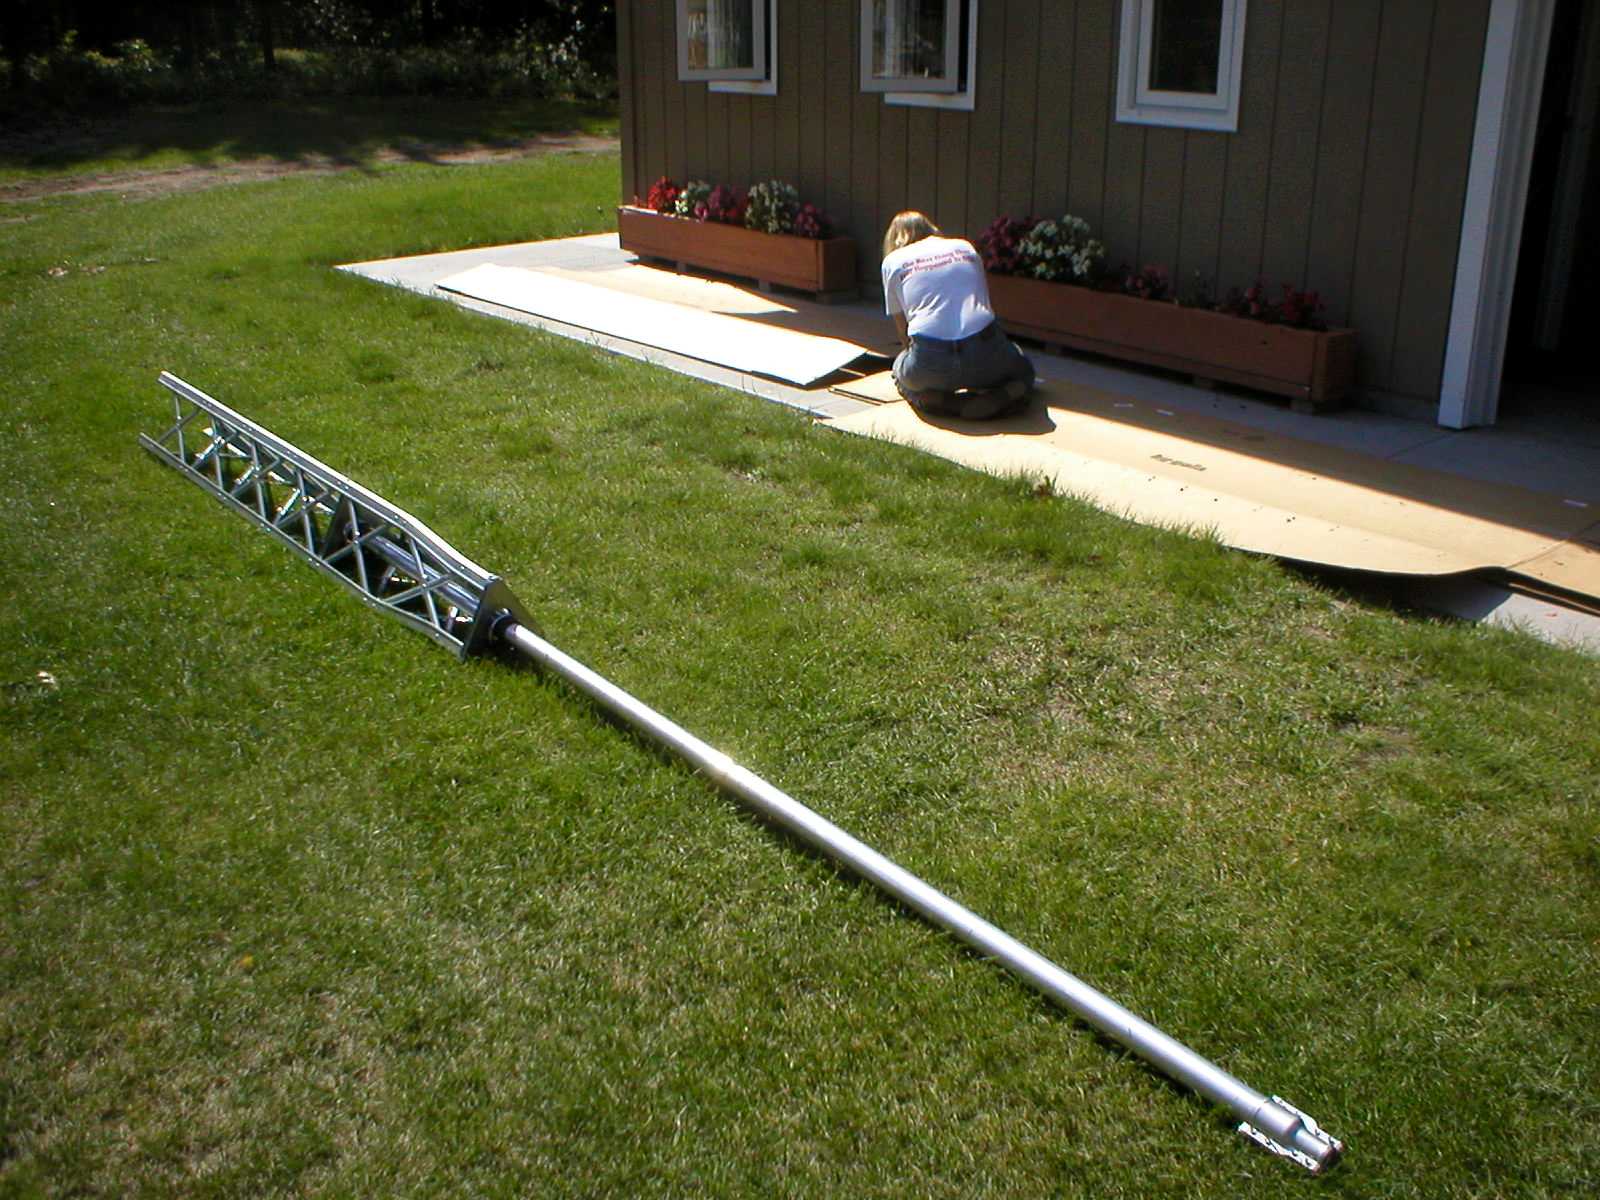
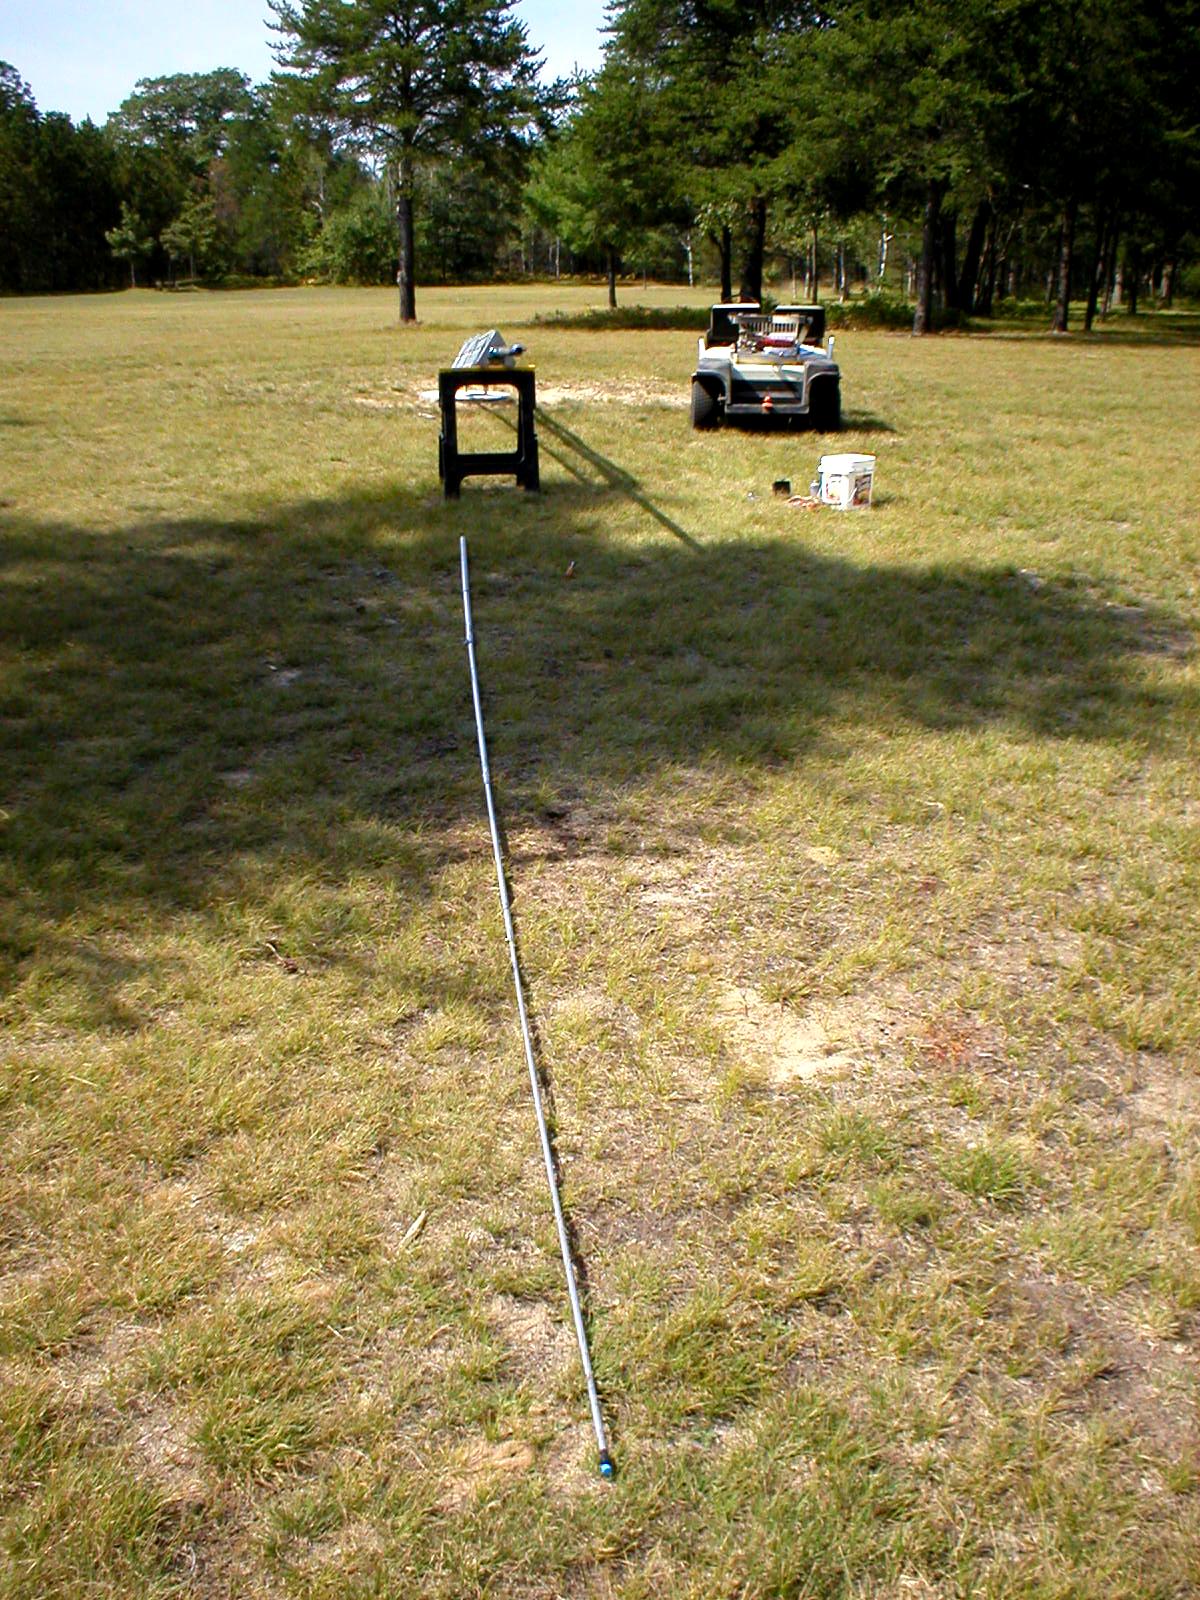
Start of top section and whip construction.
Checking plumb of tower to set final plumb of whip - level base required.
Start of whip construction.
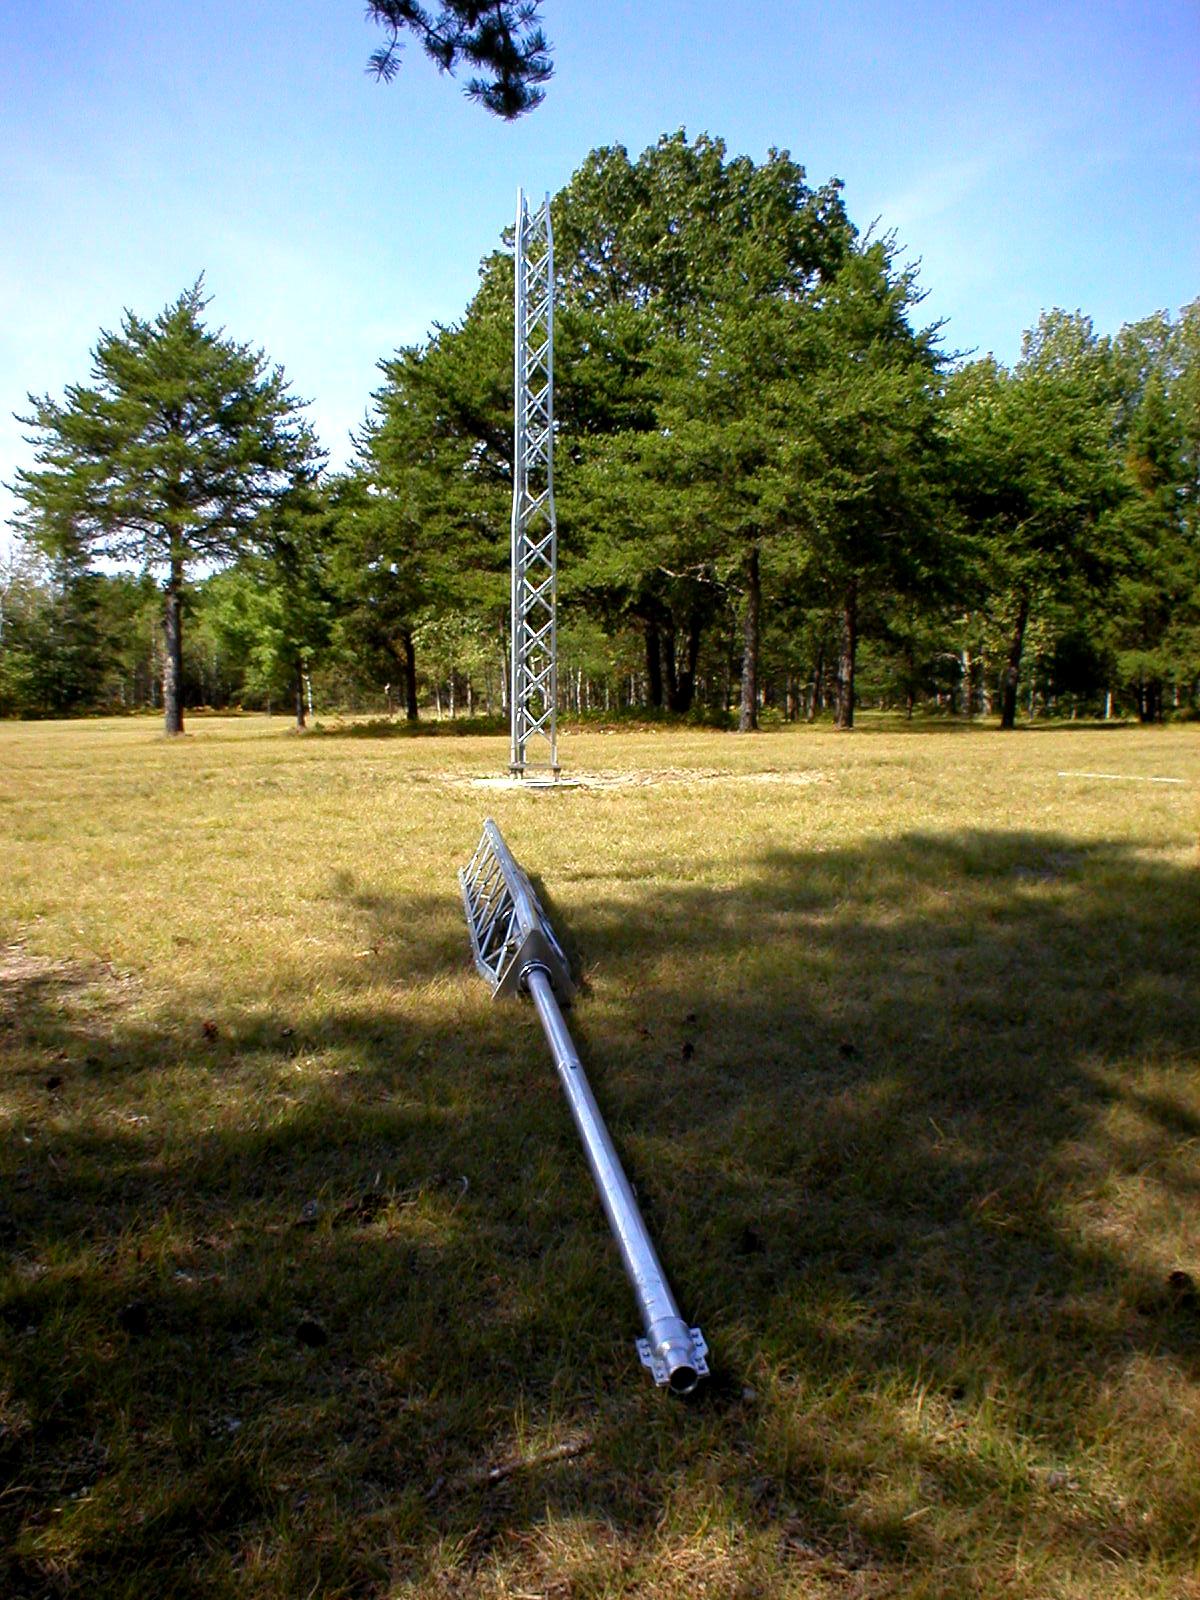
Top section ready for installation.
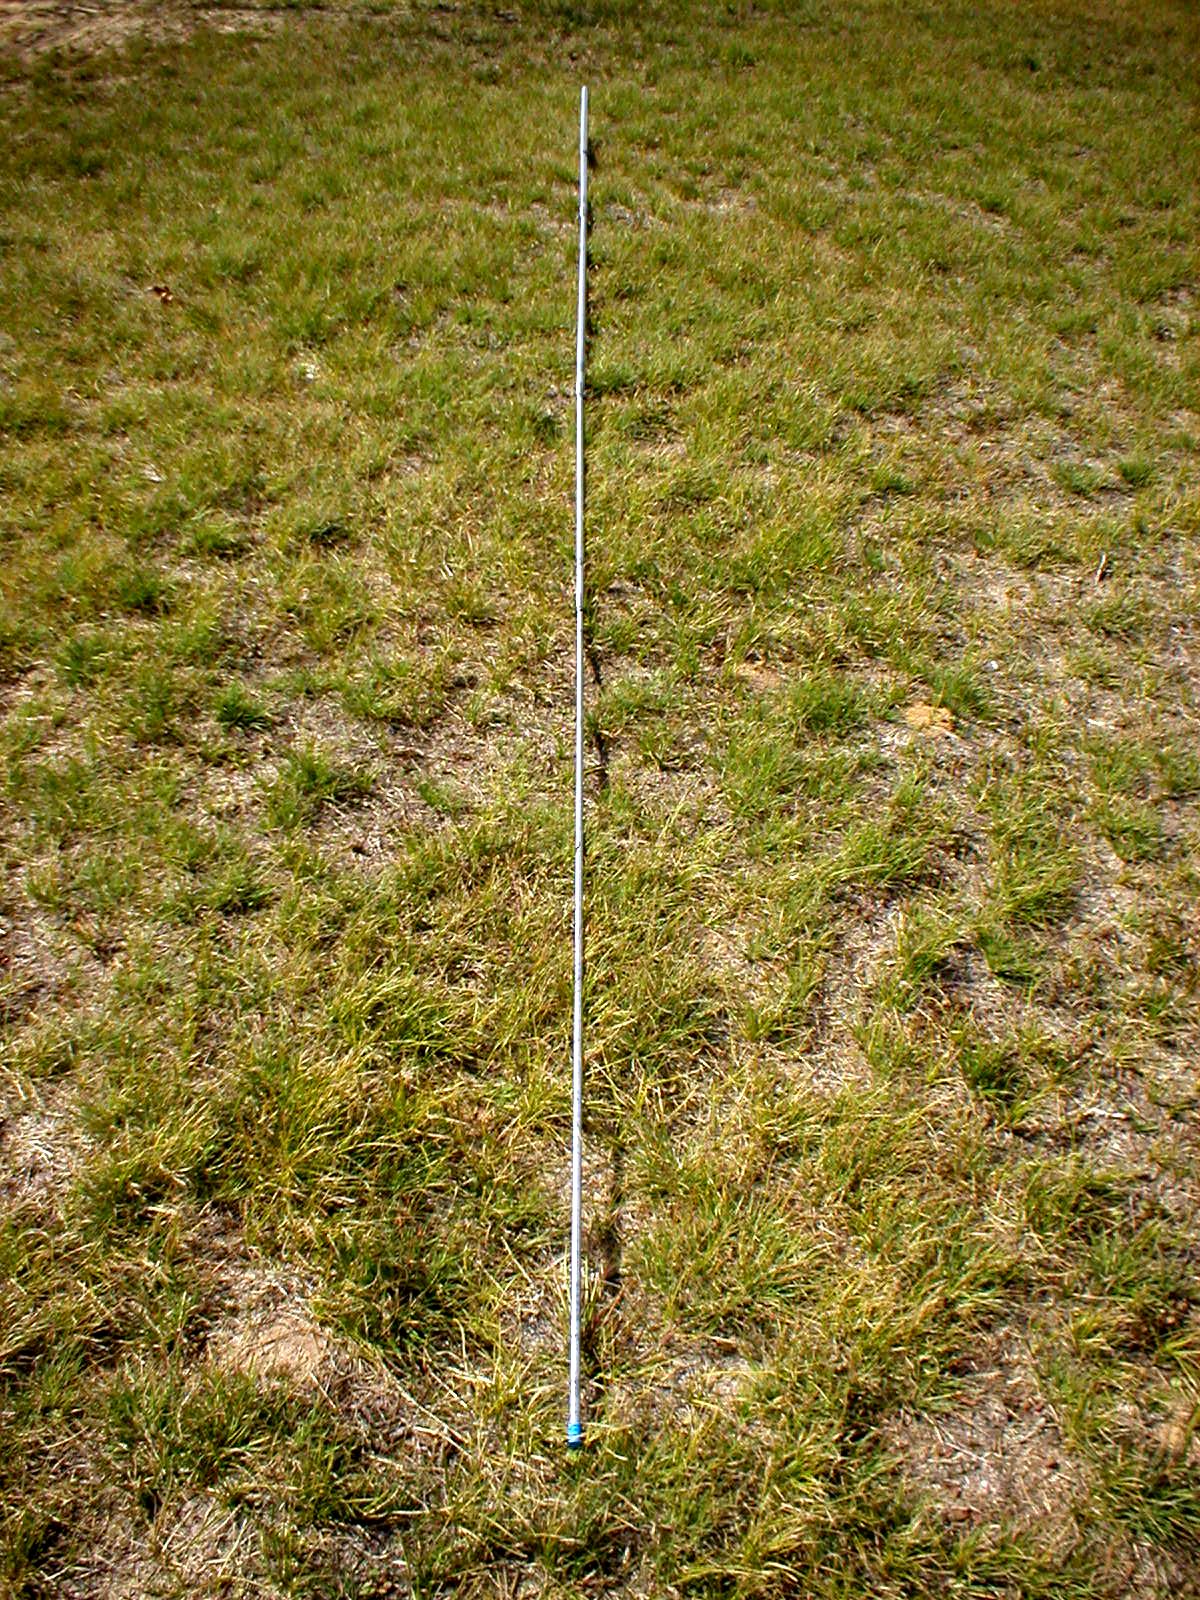
Whip ready for installation.
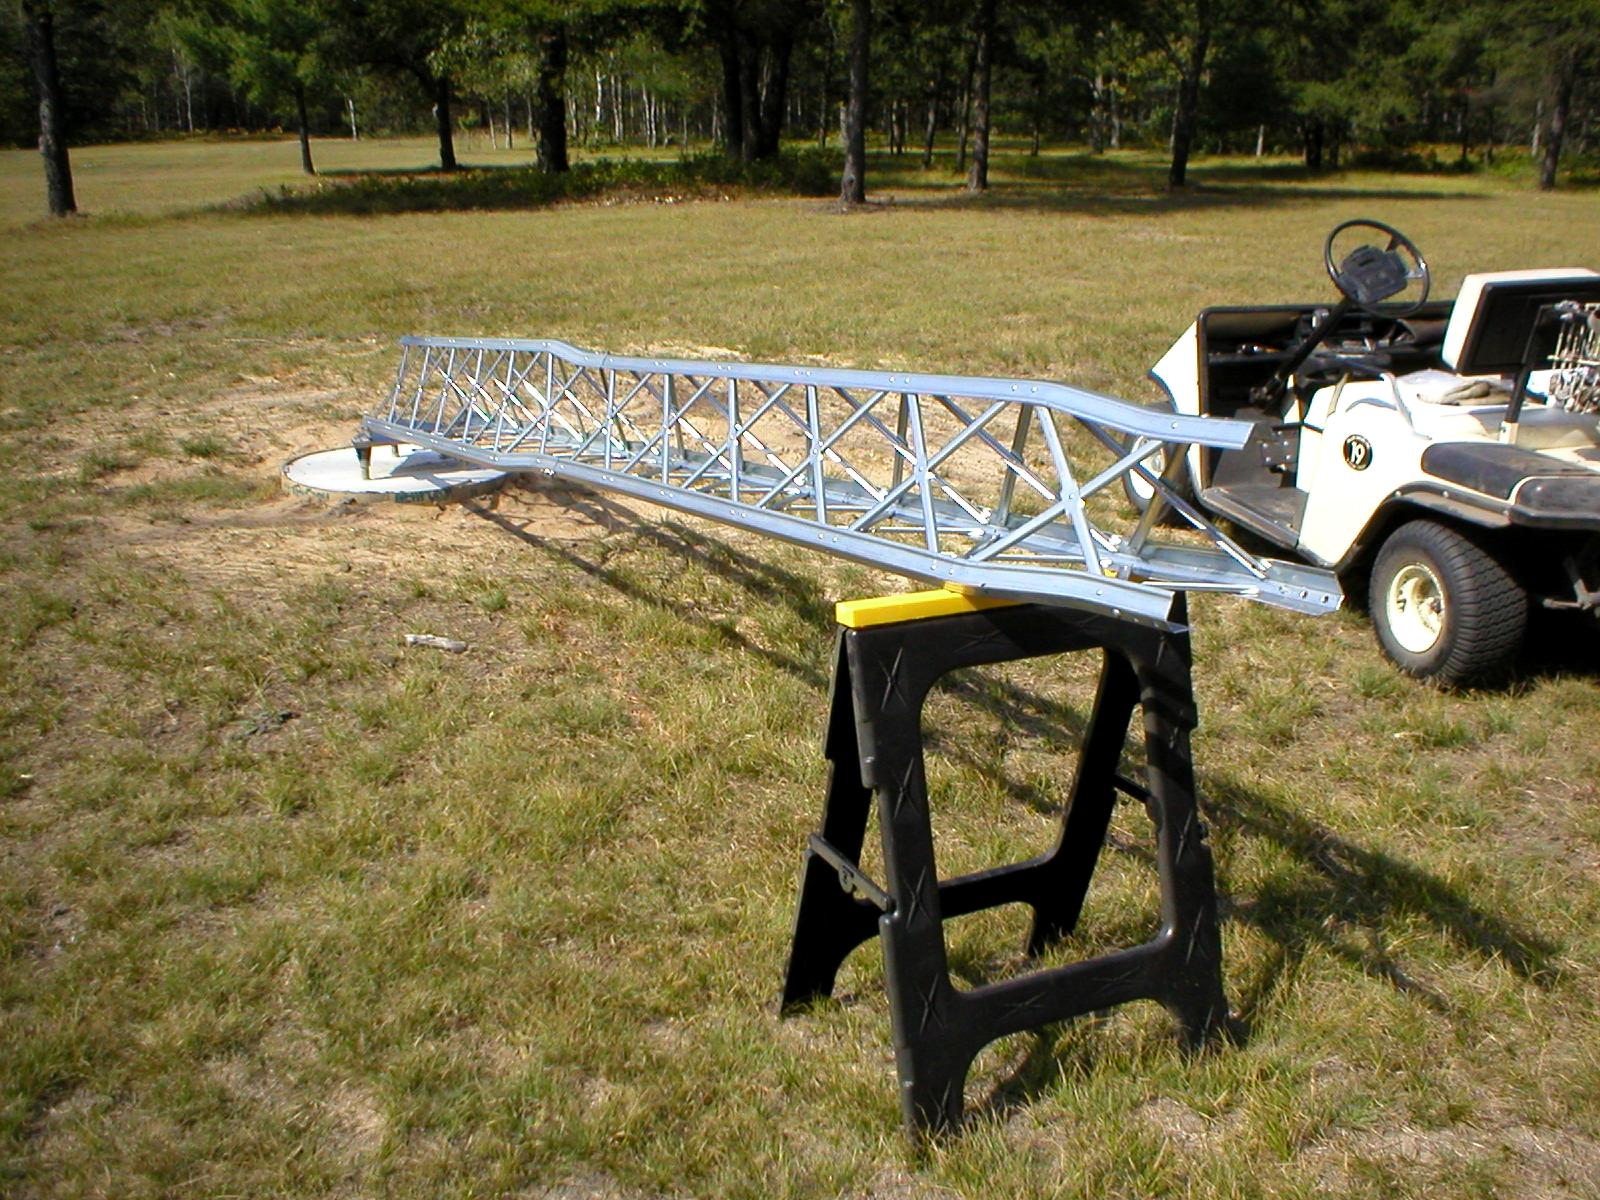
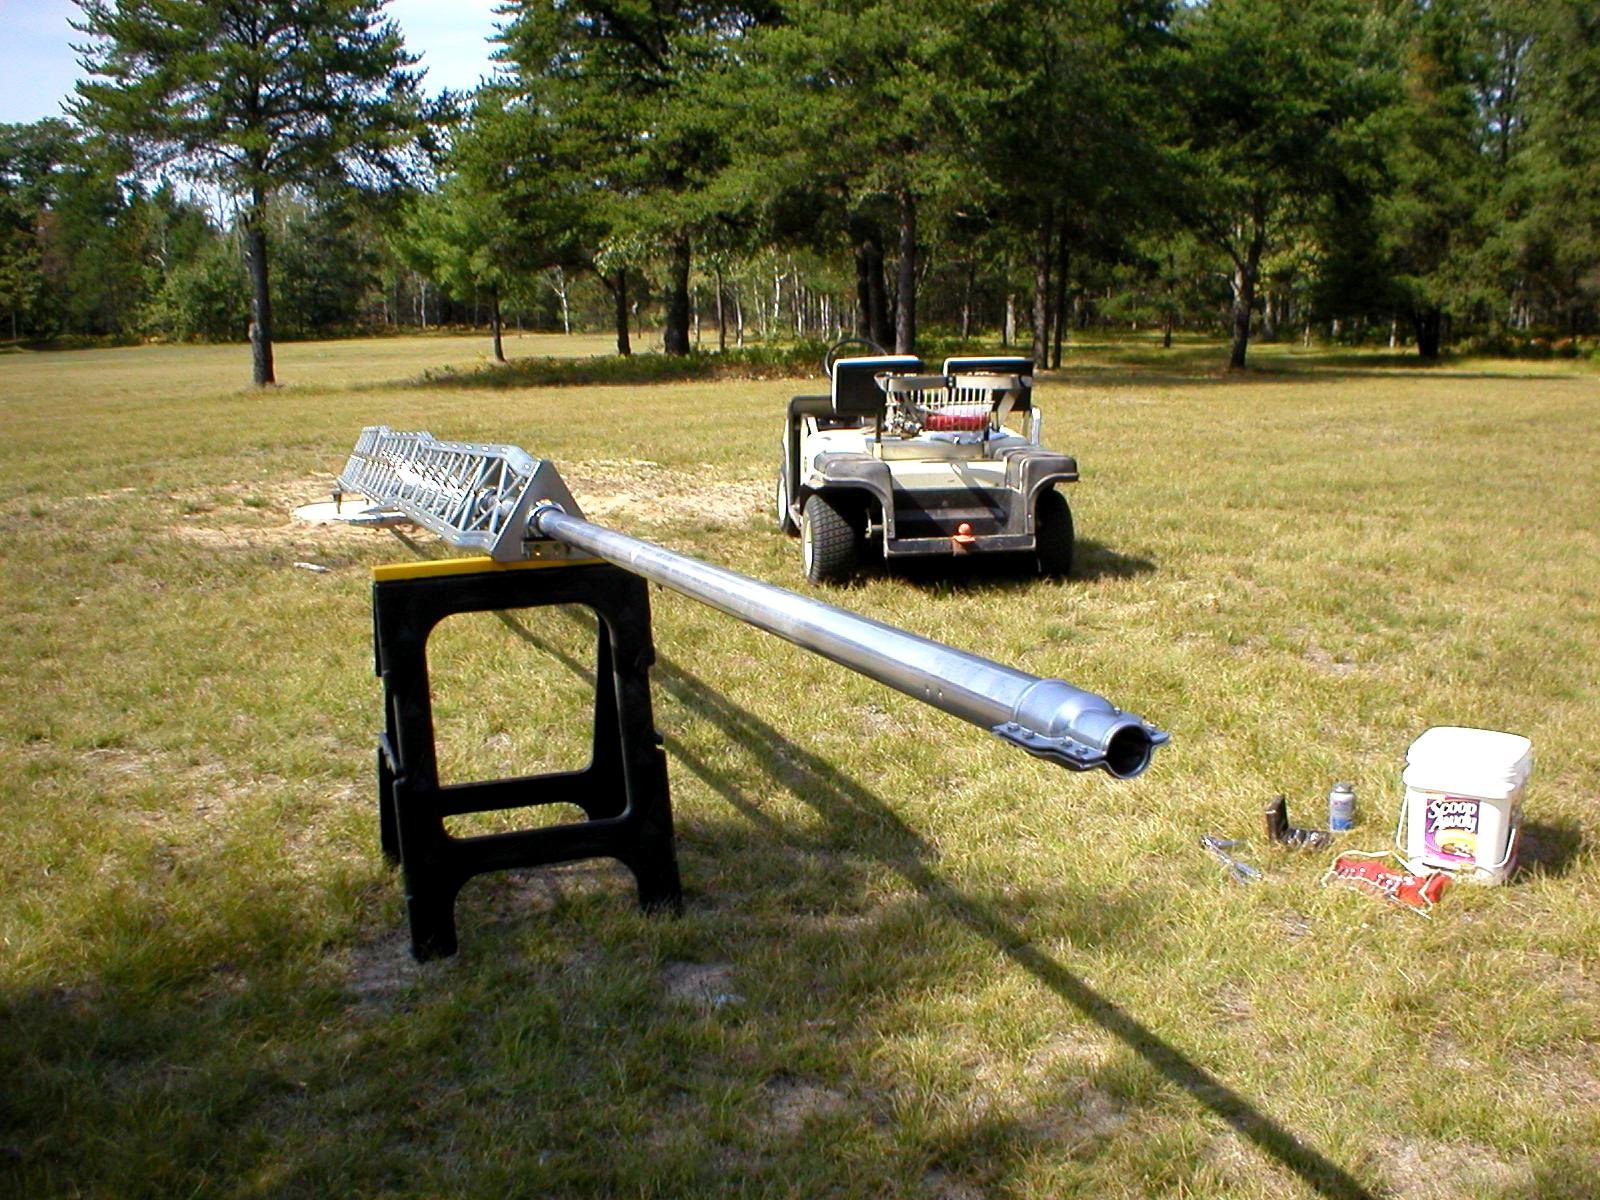
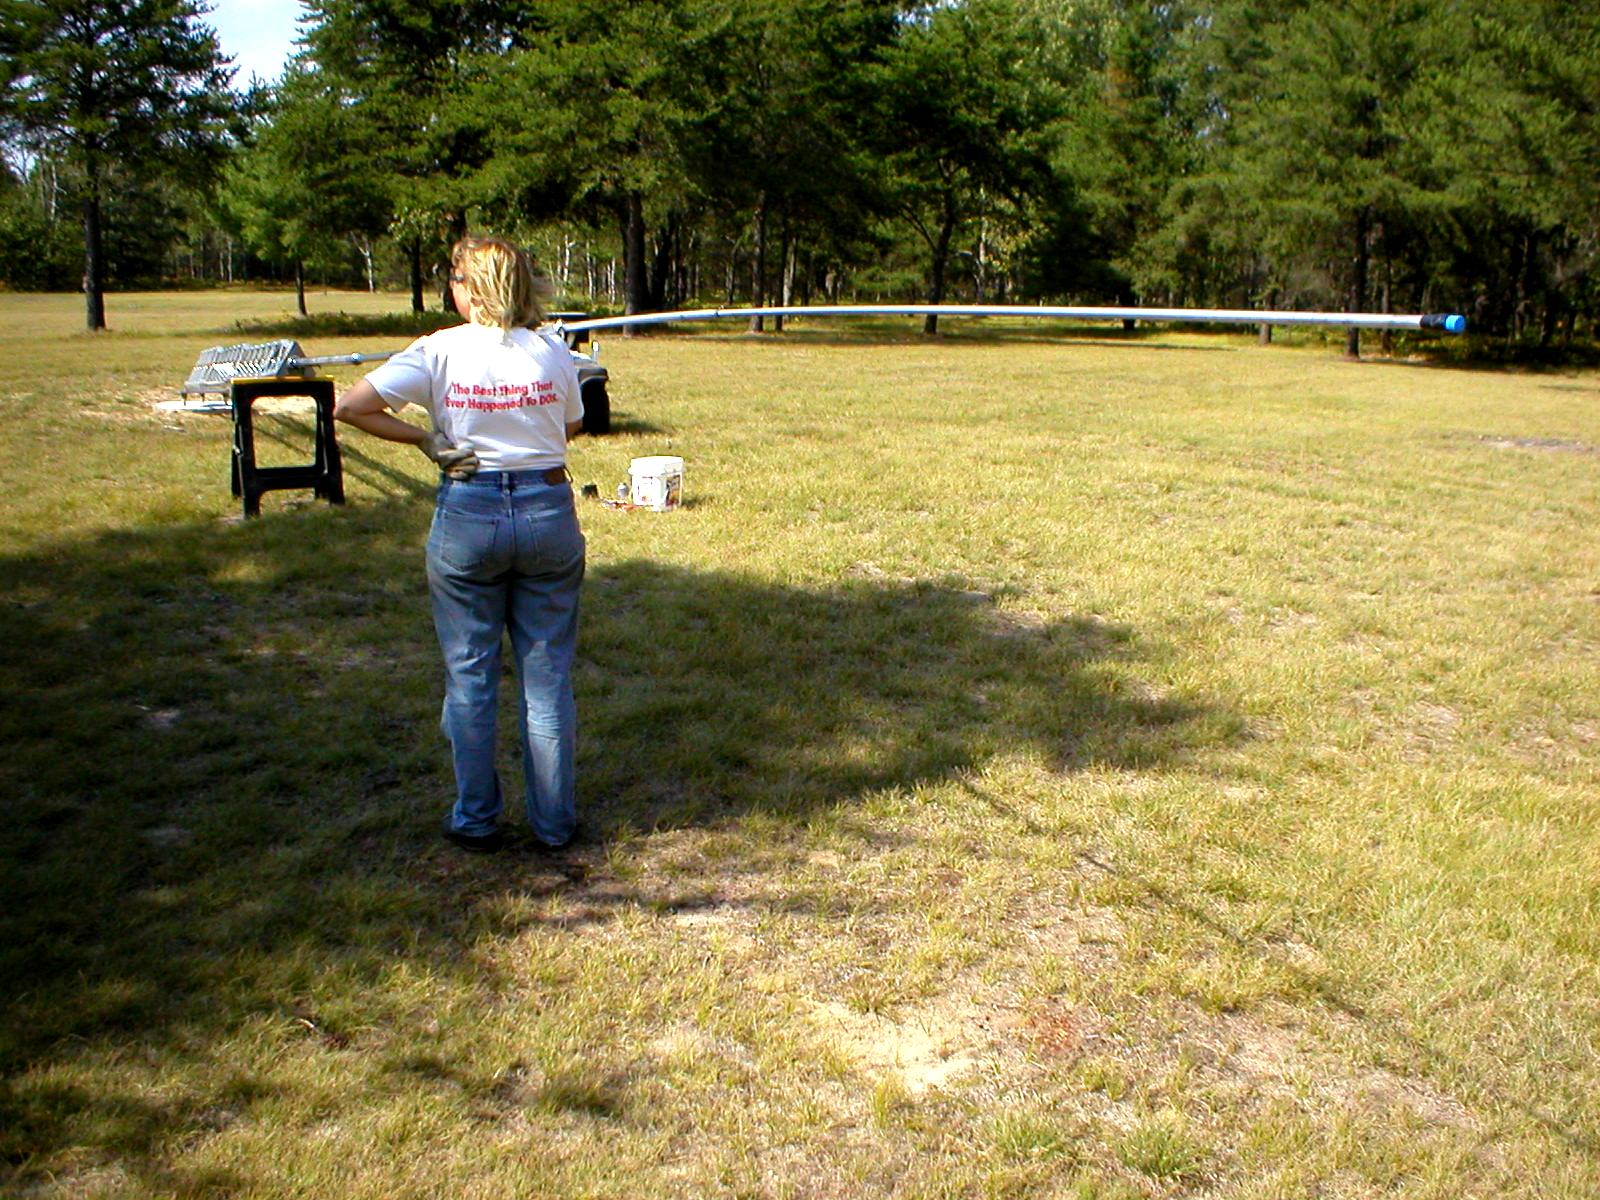
Construction completed and ready to walk-up tower. Easier with two people
of different height.

First one done - two to go. Gets easier with subsequent operations.
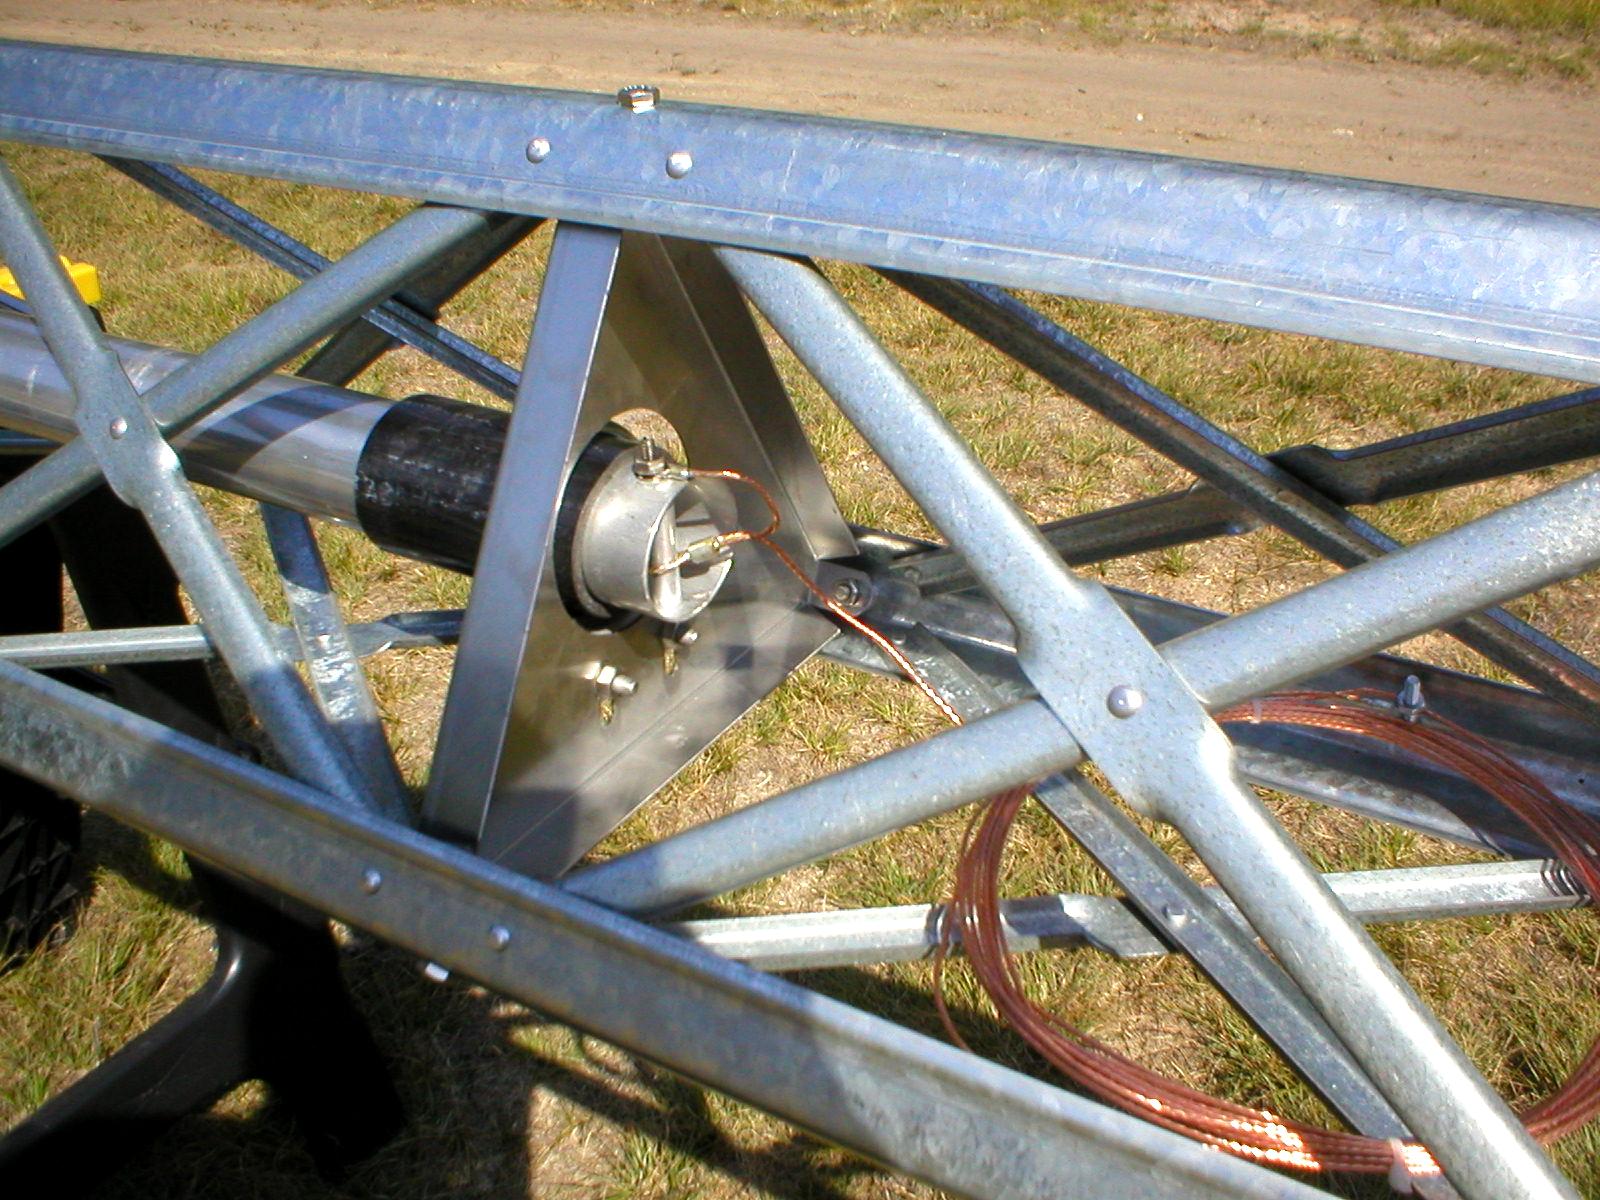
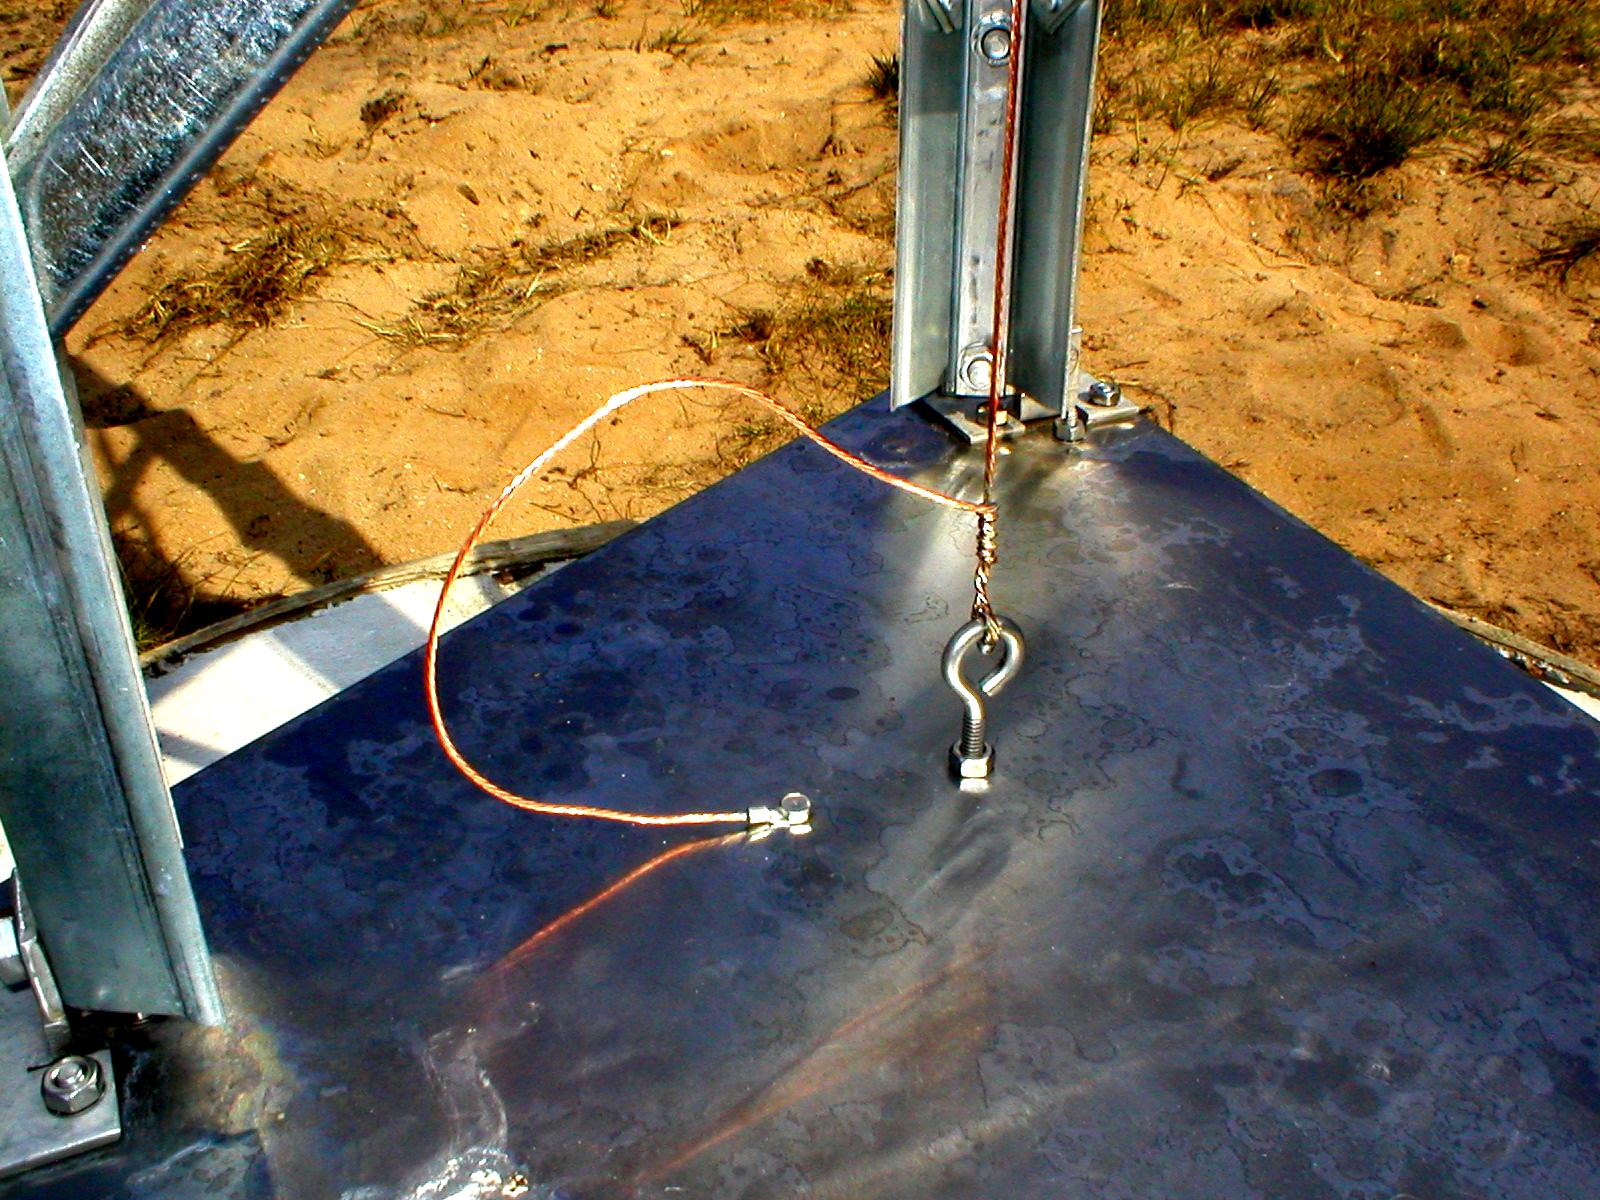
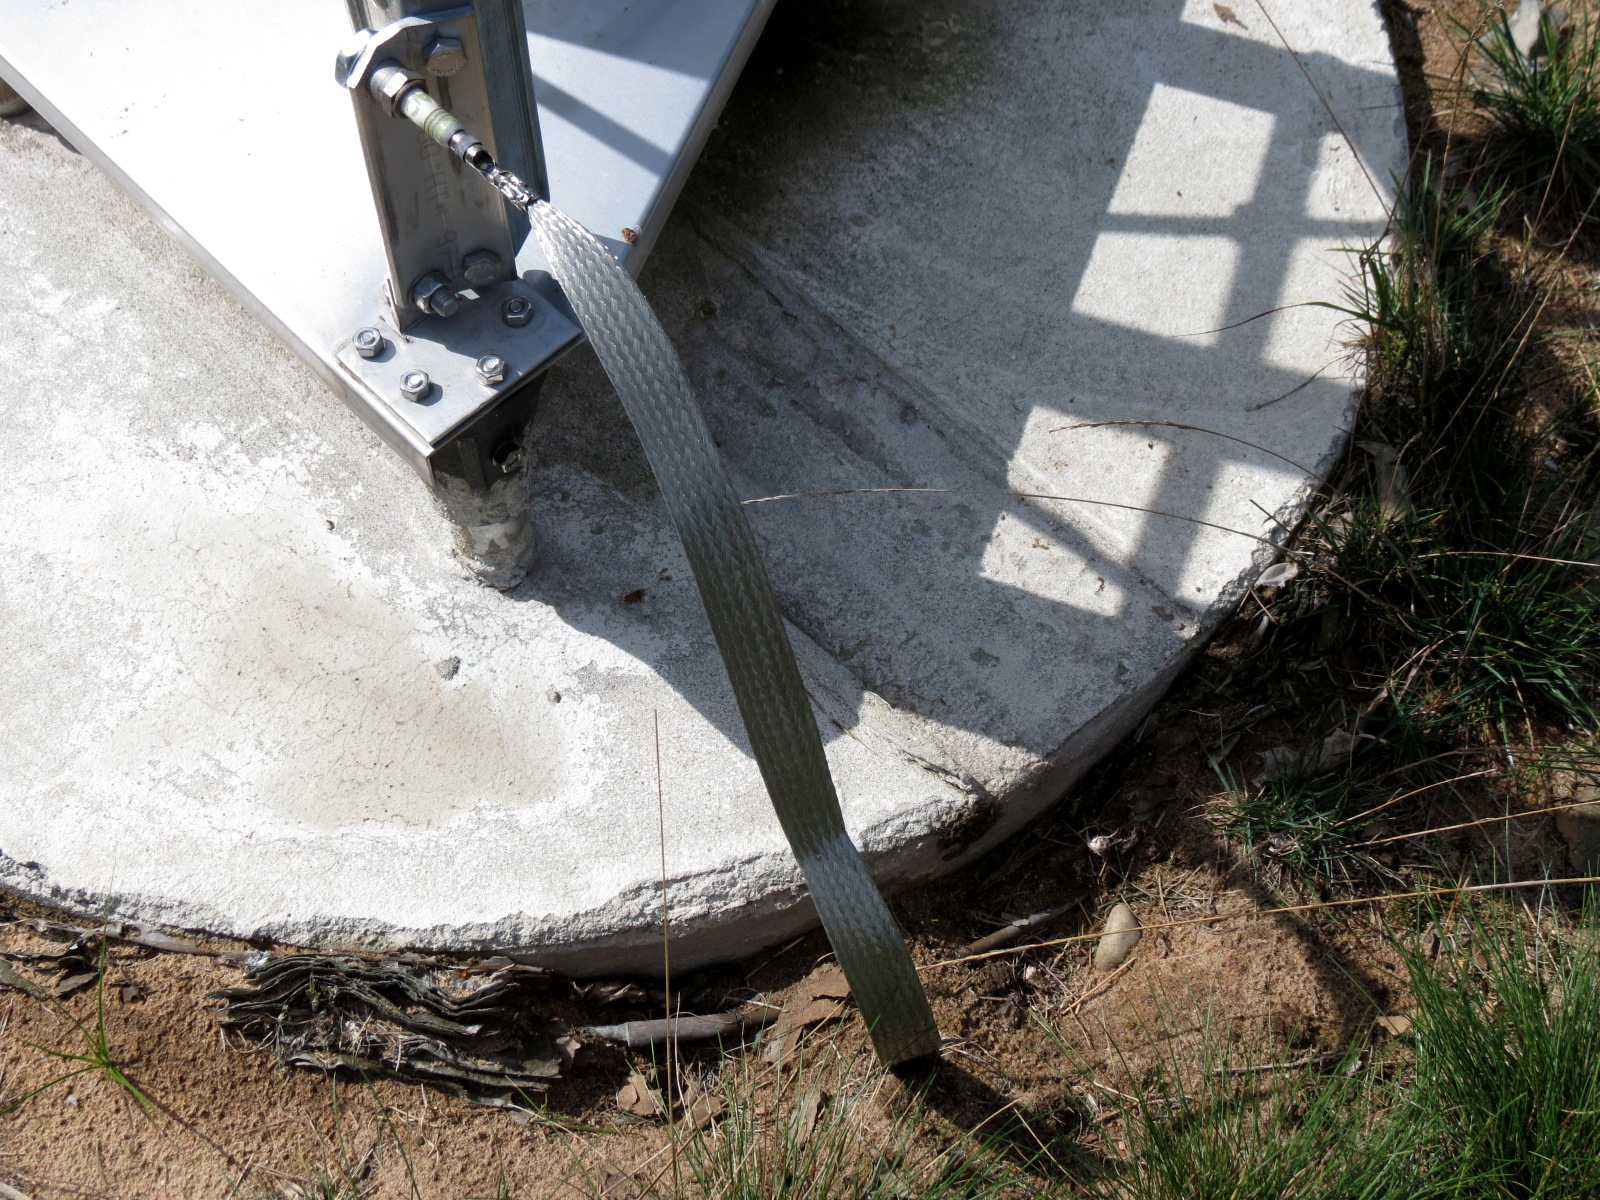
Installation of shorting wire. Found that the stub and screw should have
been put in before tightening U-bolt.

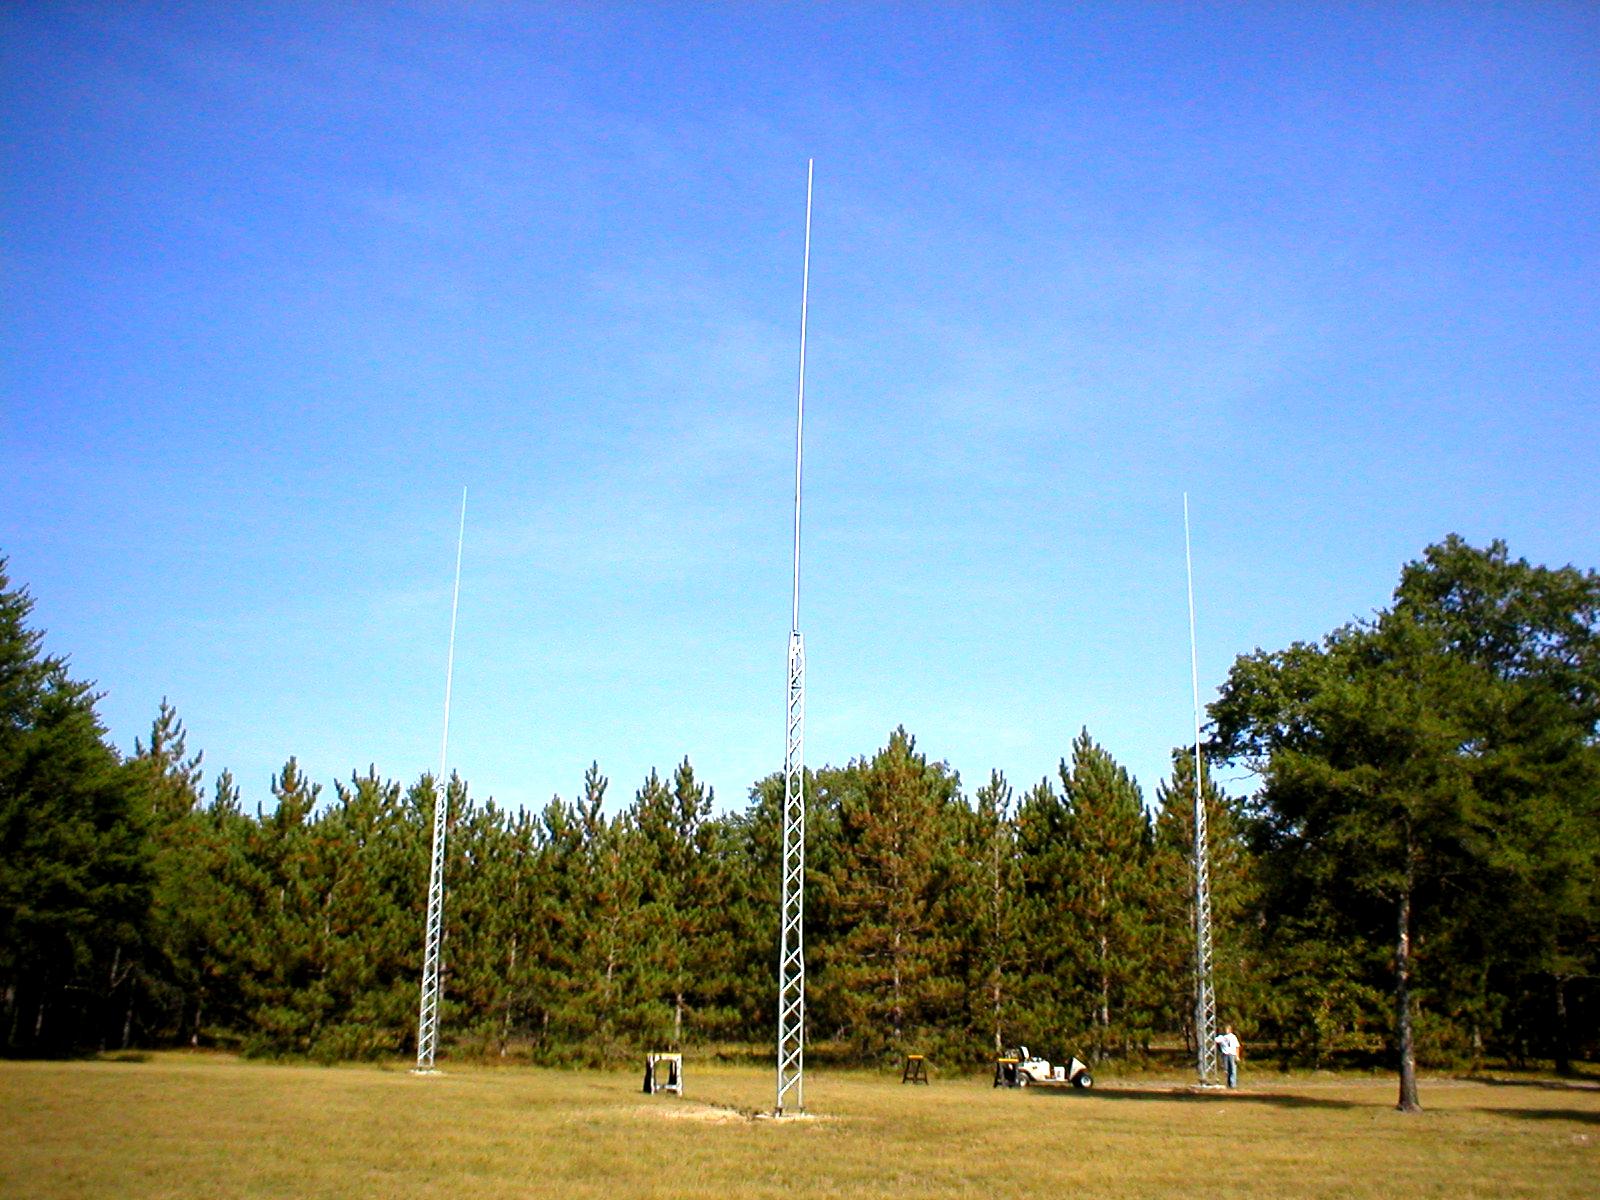
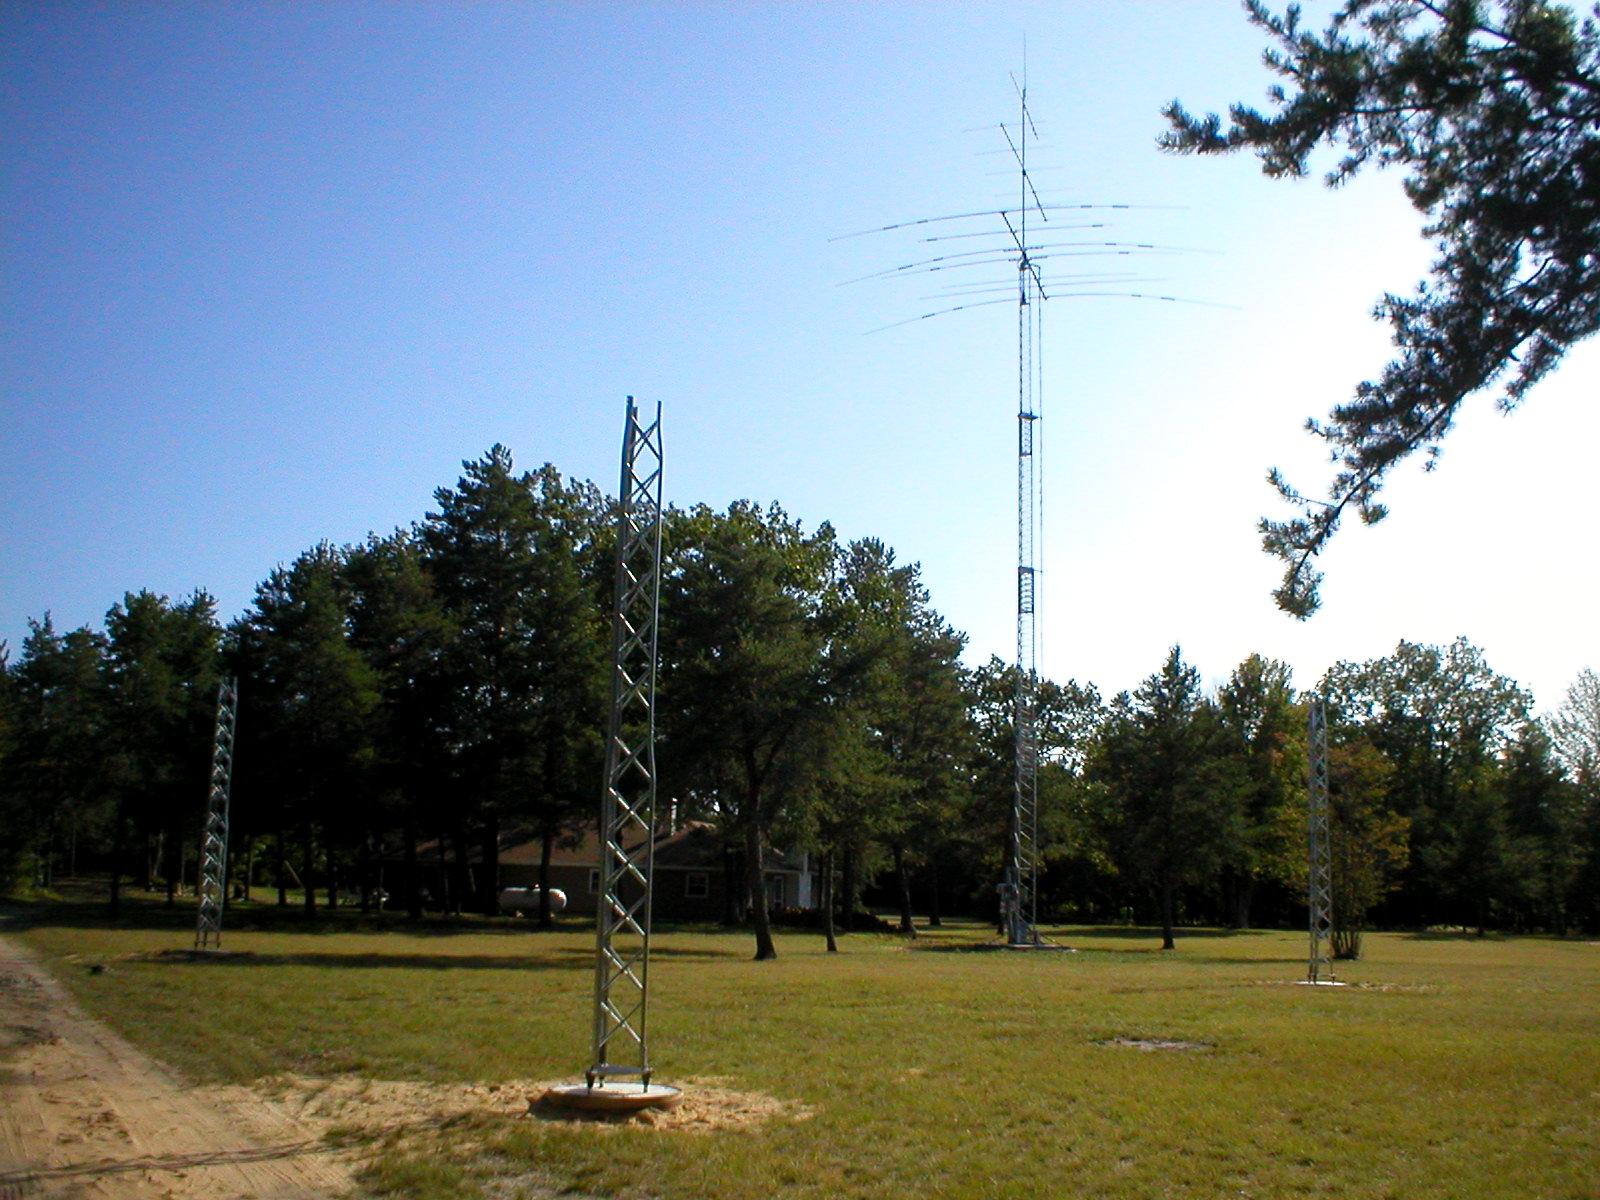
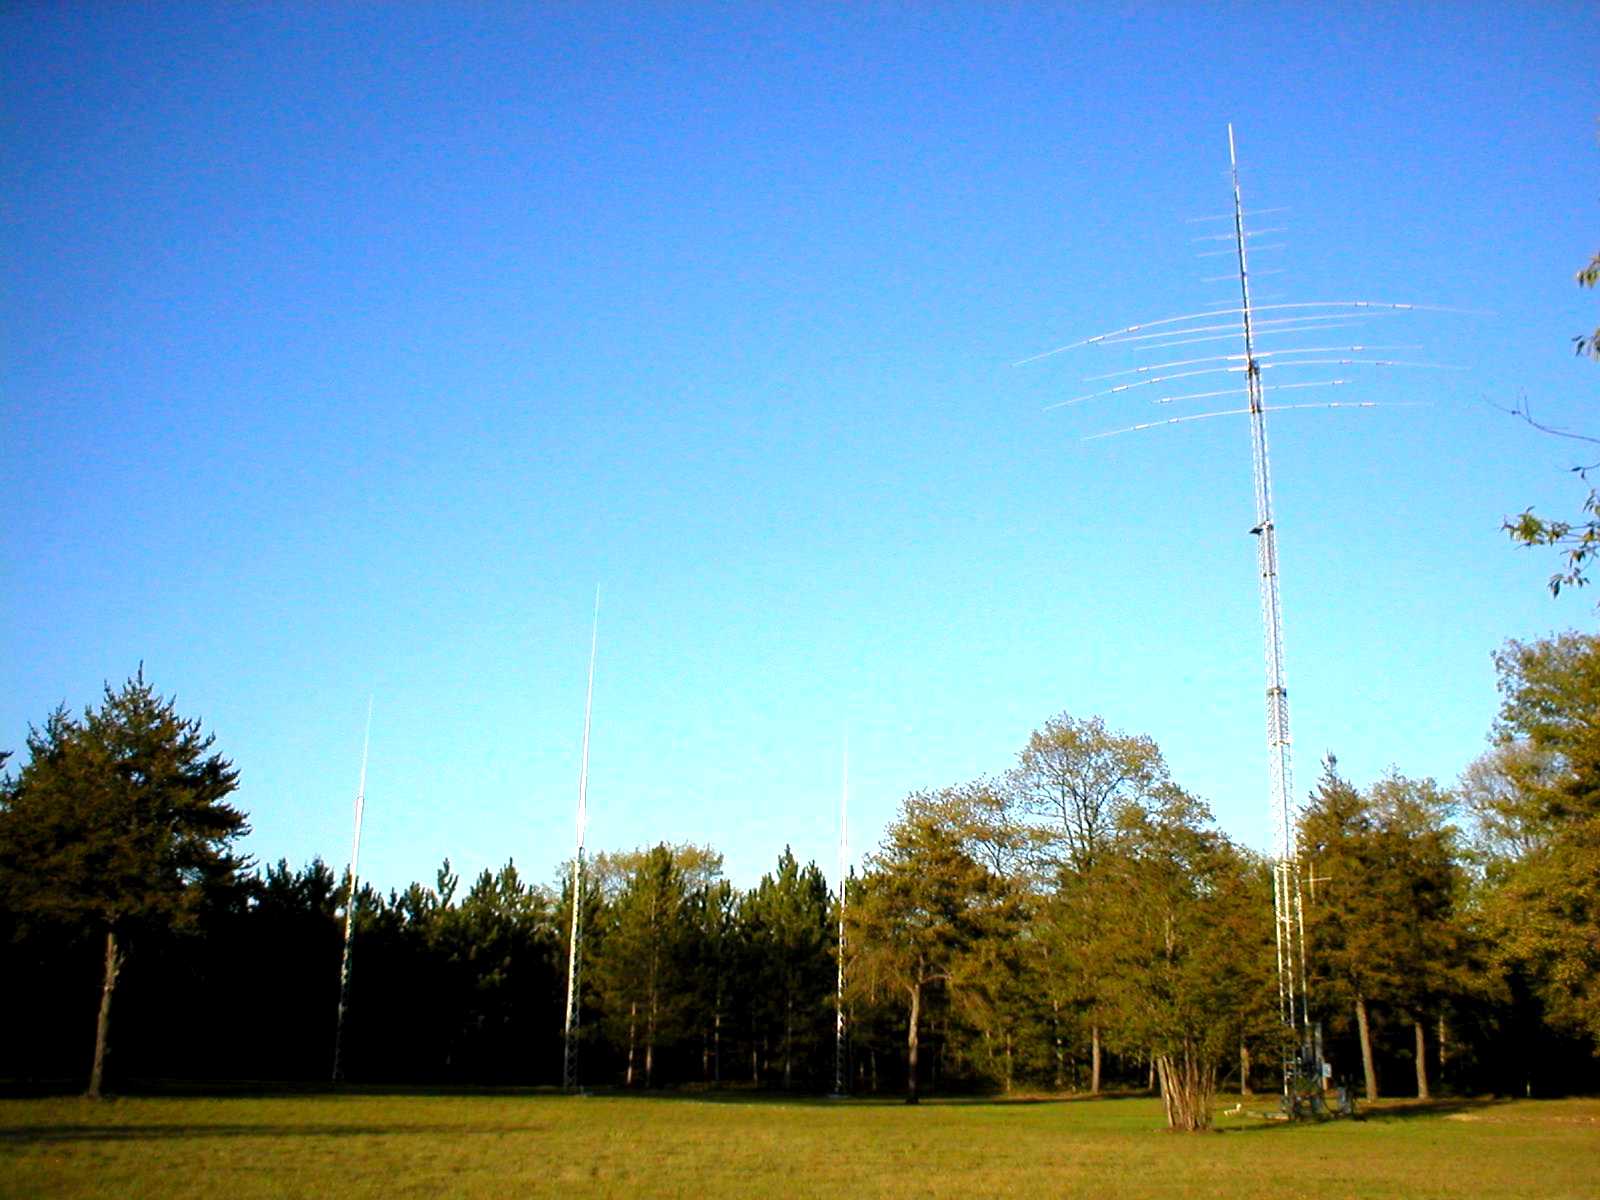
All upright. No stubs installed as for use with 80M and 160M only. Barb
sure looks tiny here!
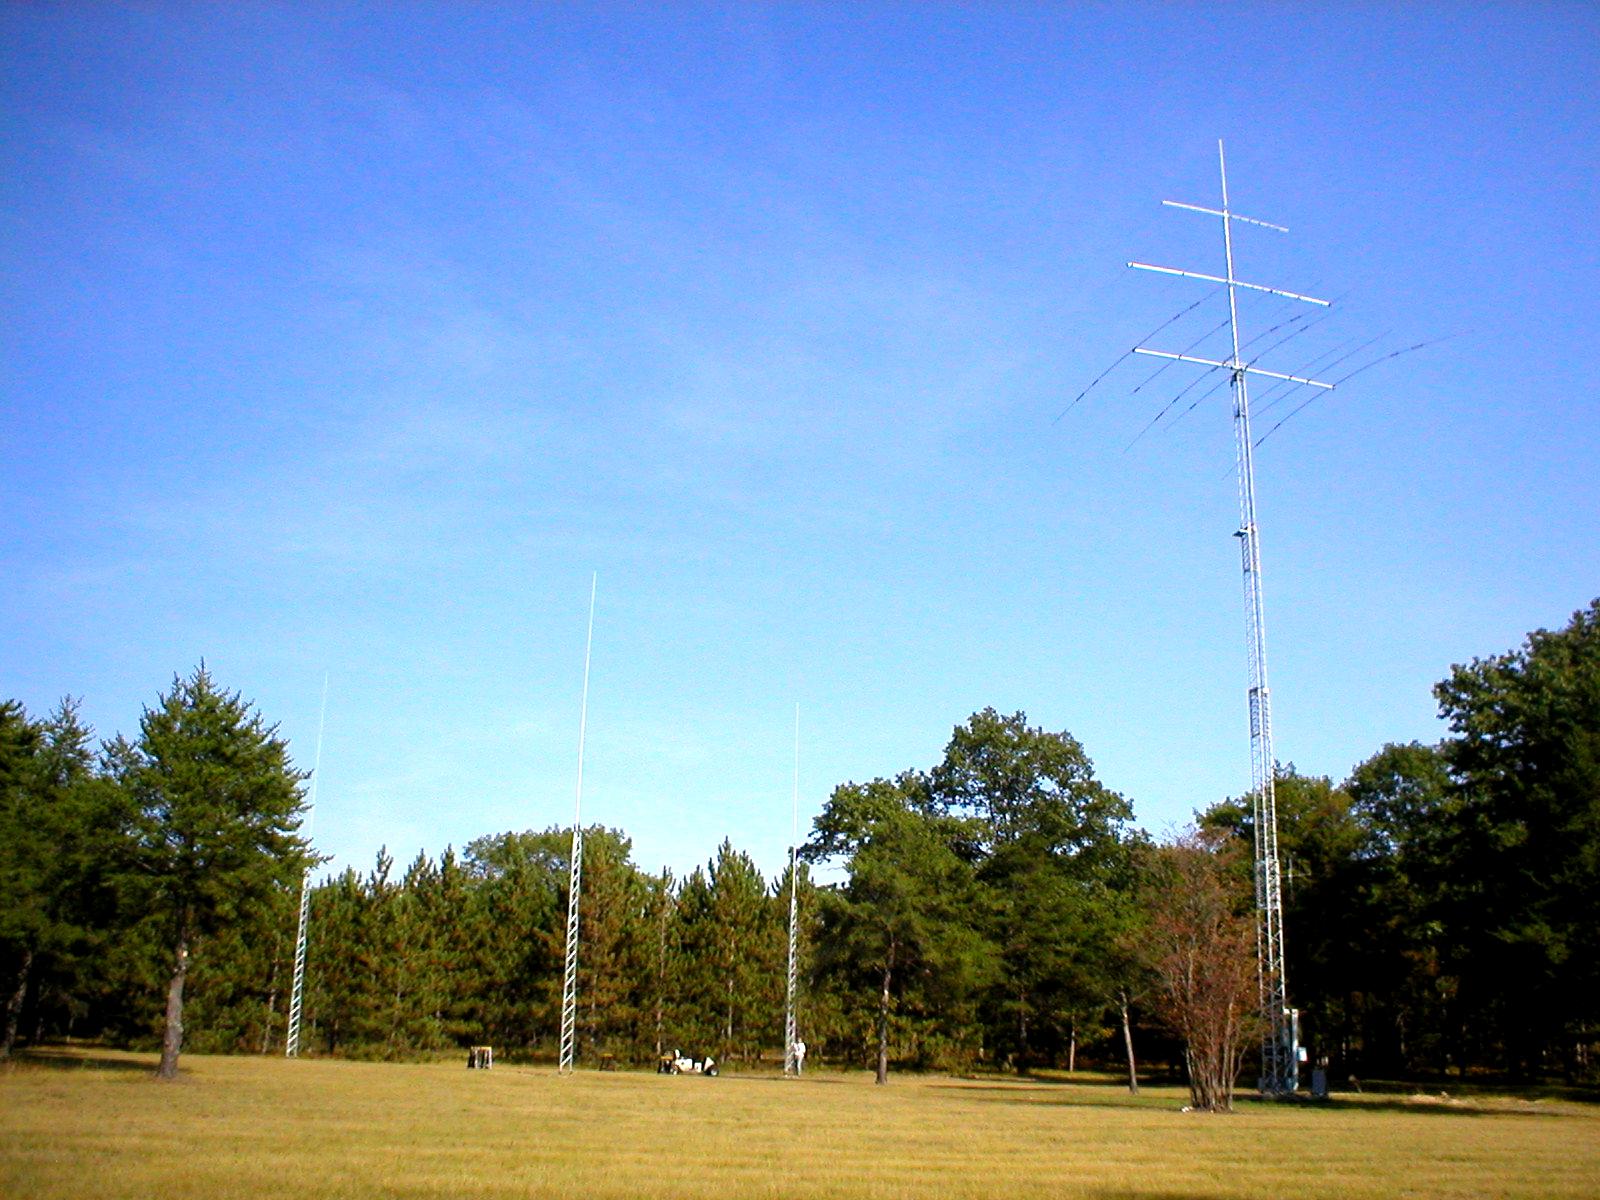
Looking much better at this point! Barb is still tiny. Big beam is 25'
x 45'.
CONSTRUCTION OF TOWER SHORTING LINES
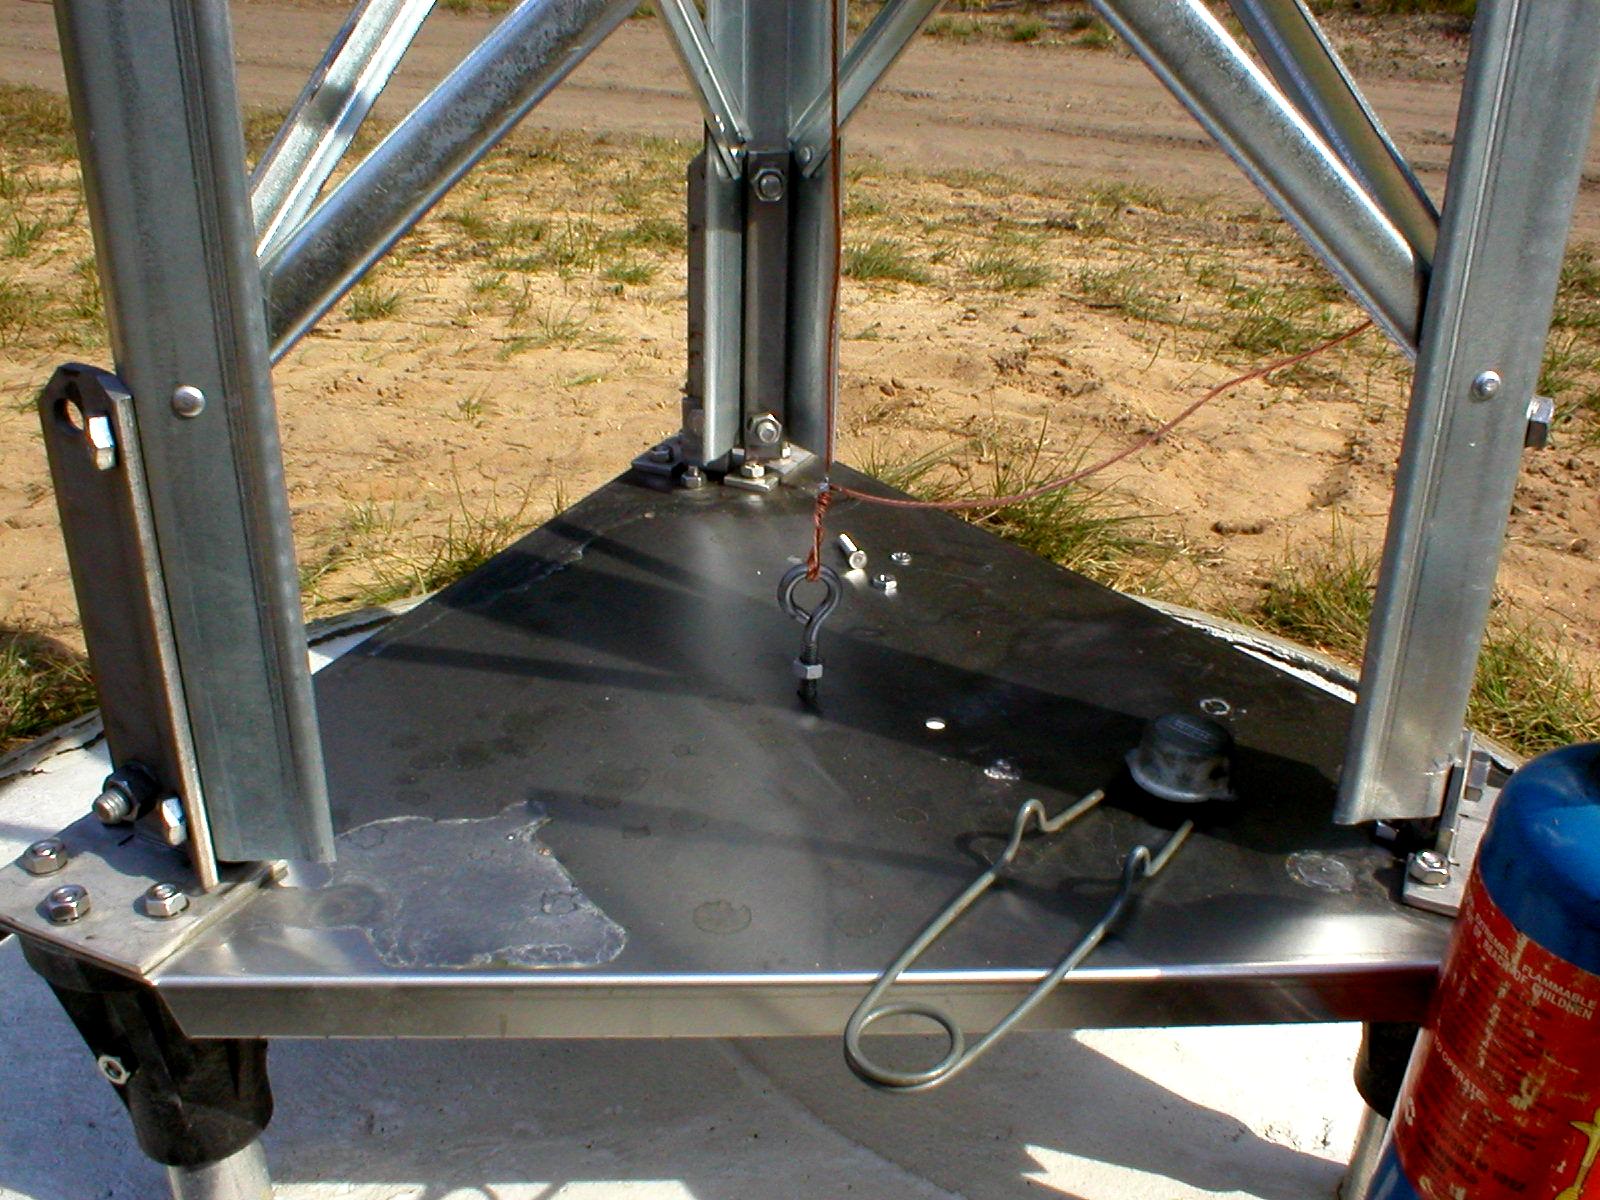
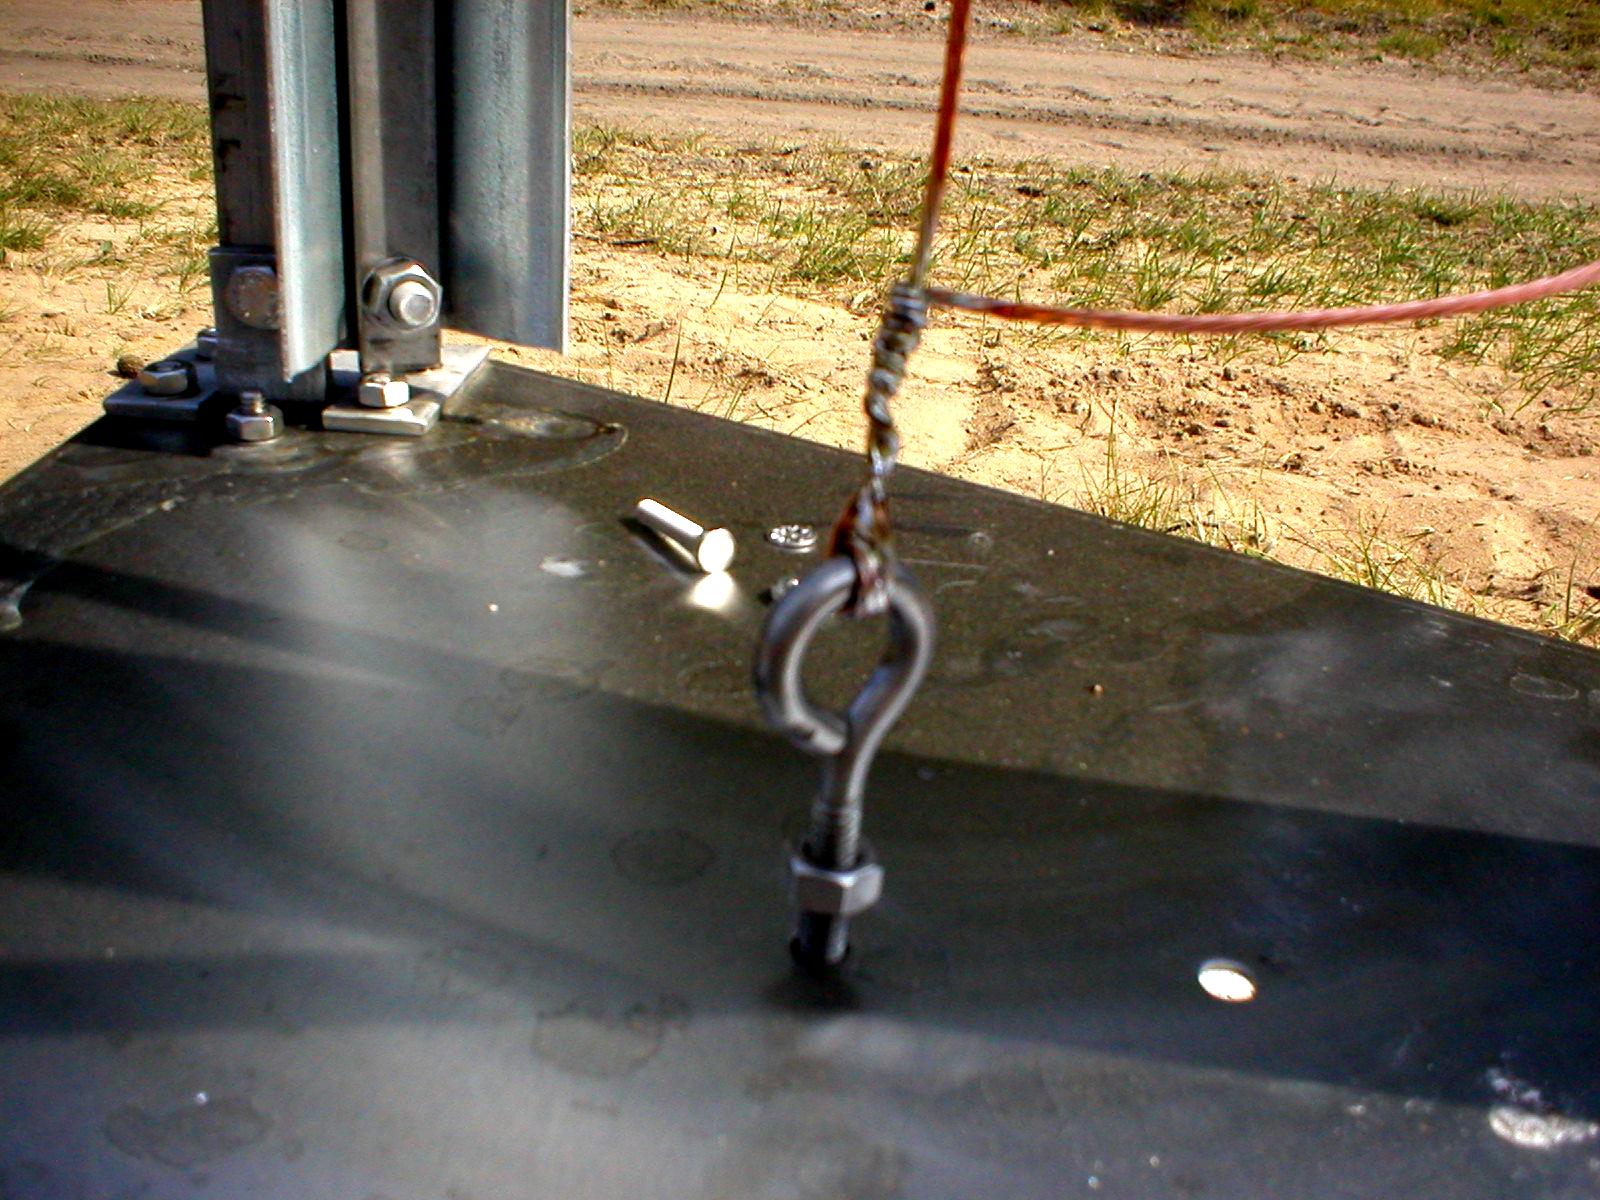
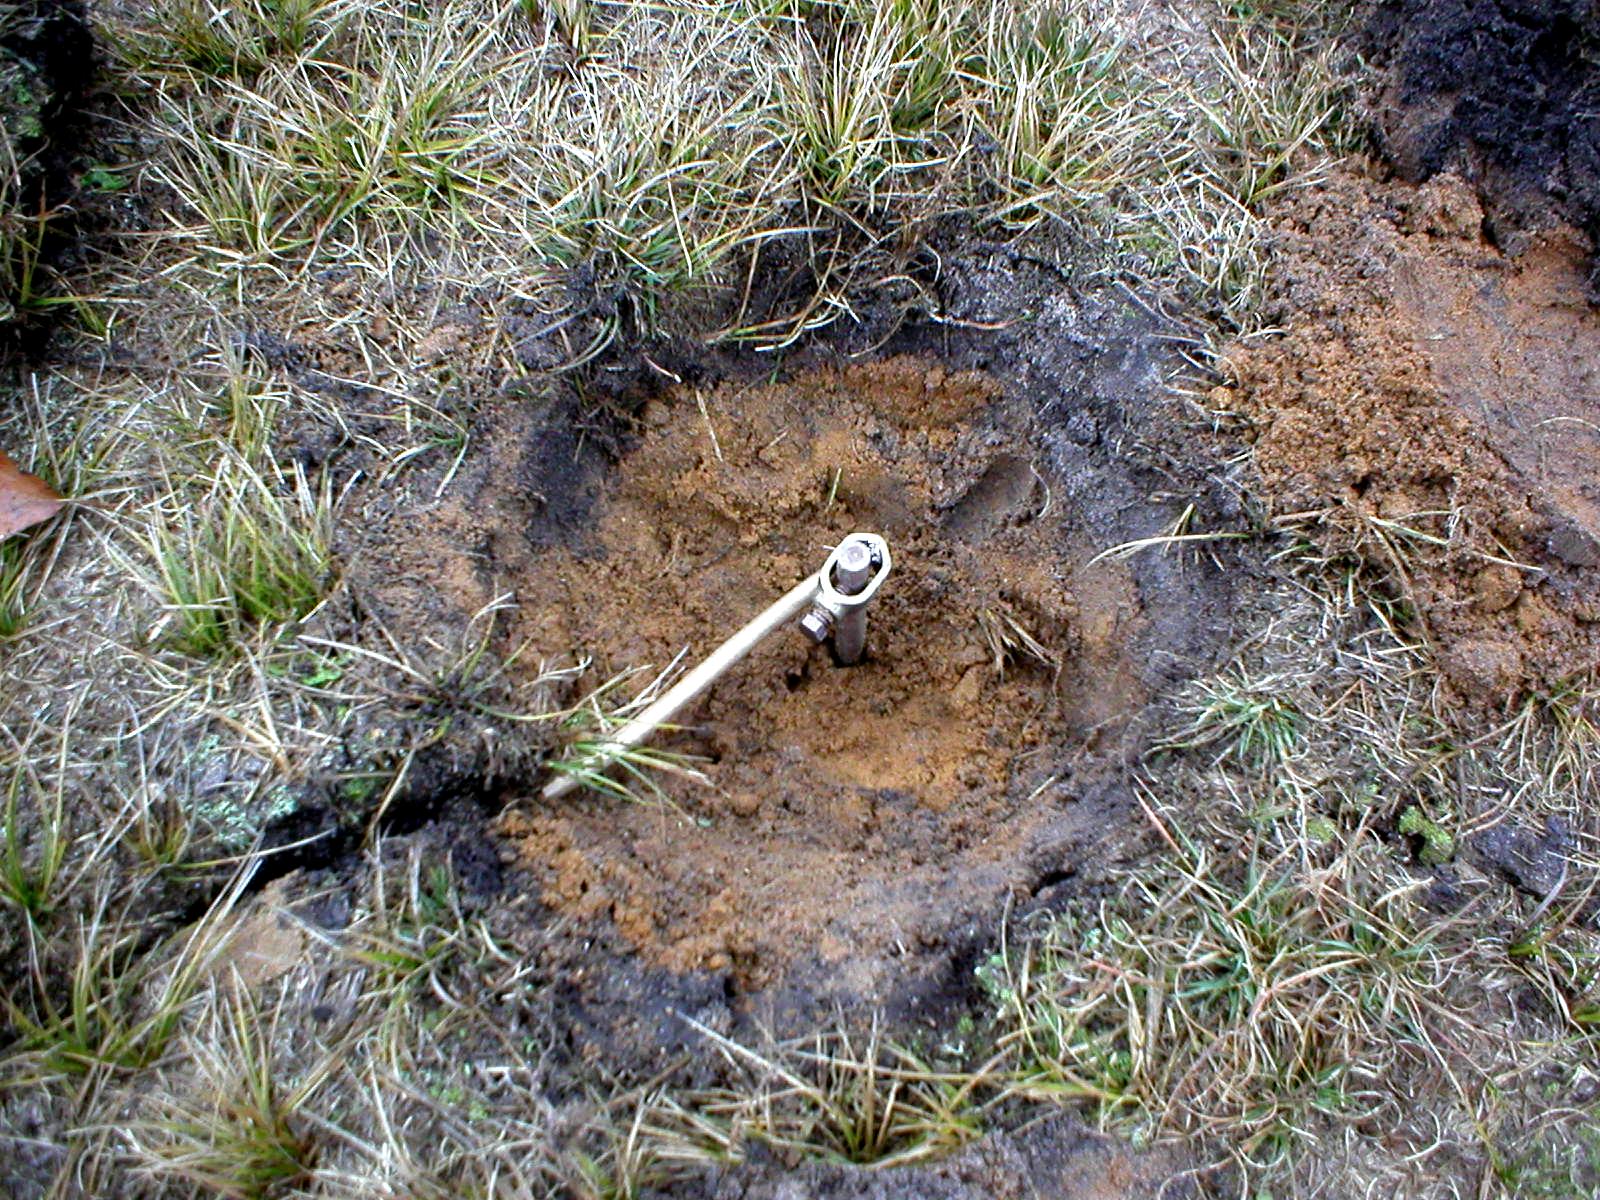
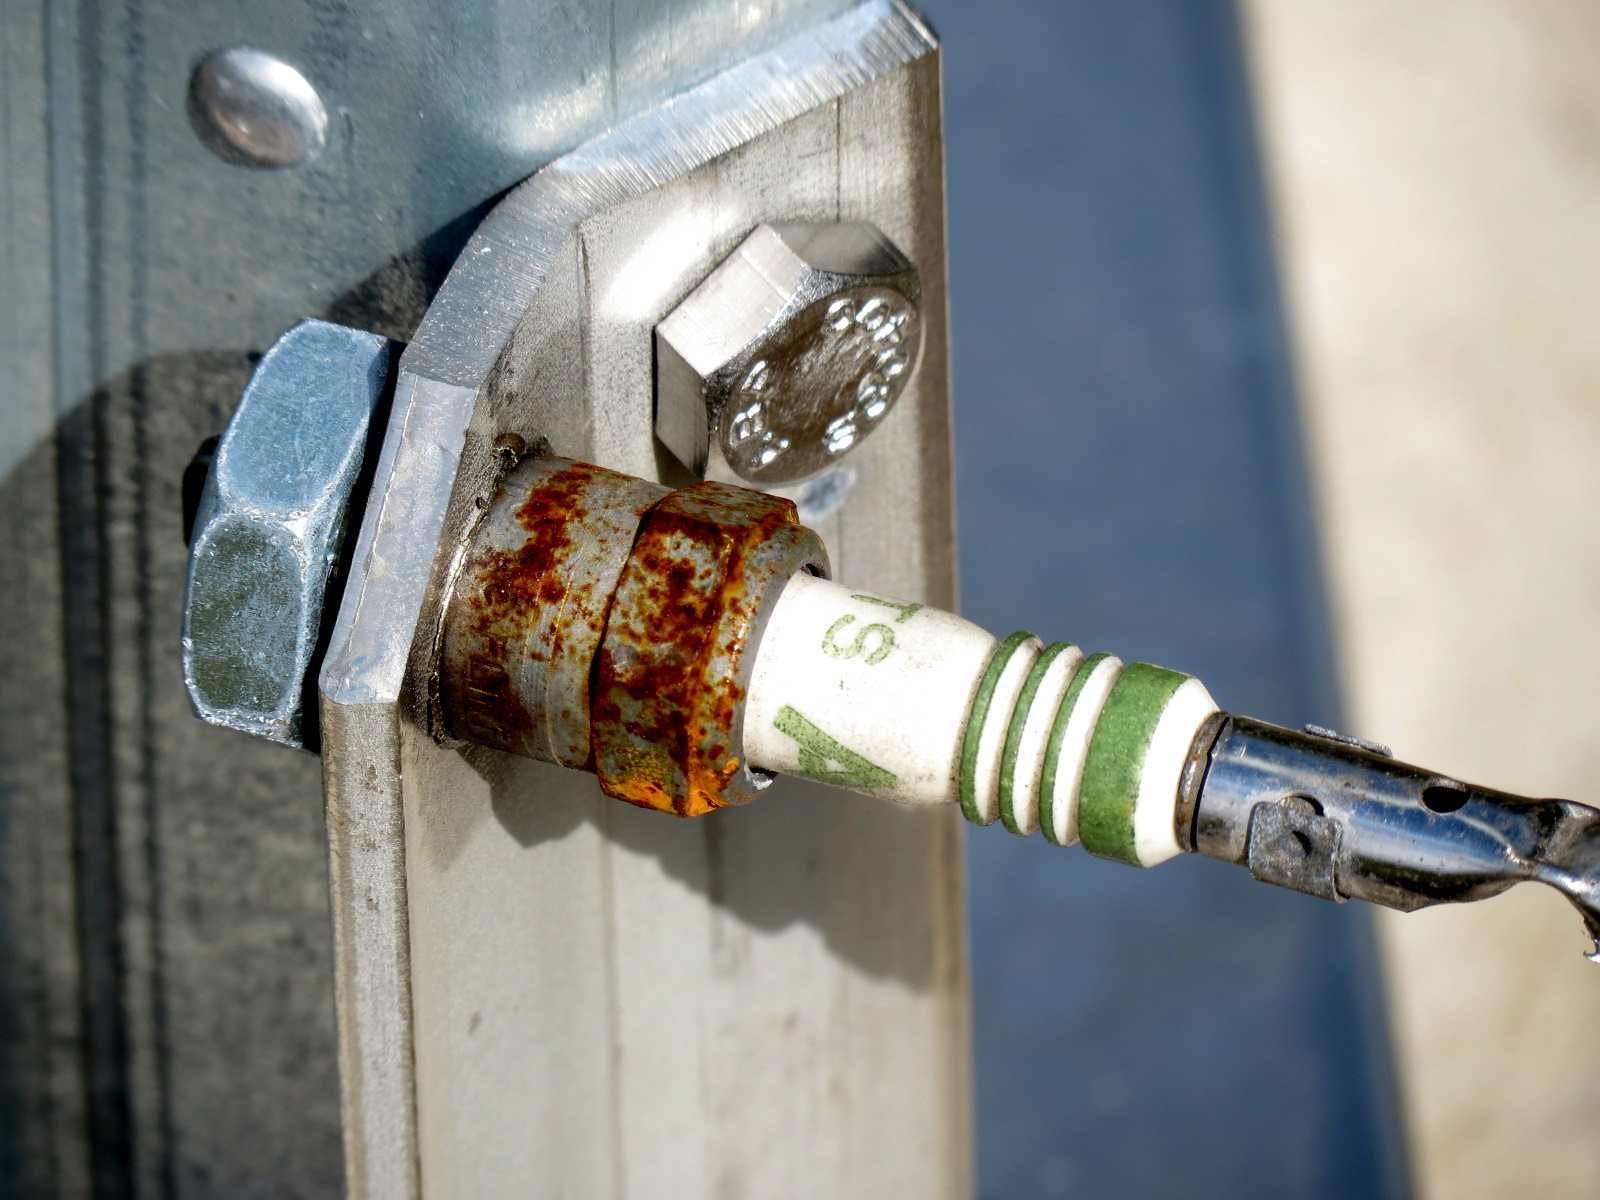
Eye bolt used for tightening shorting wire. Be sure it is fully extended
first. Soldering irons don't work. Use torch!
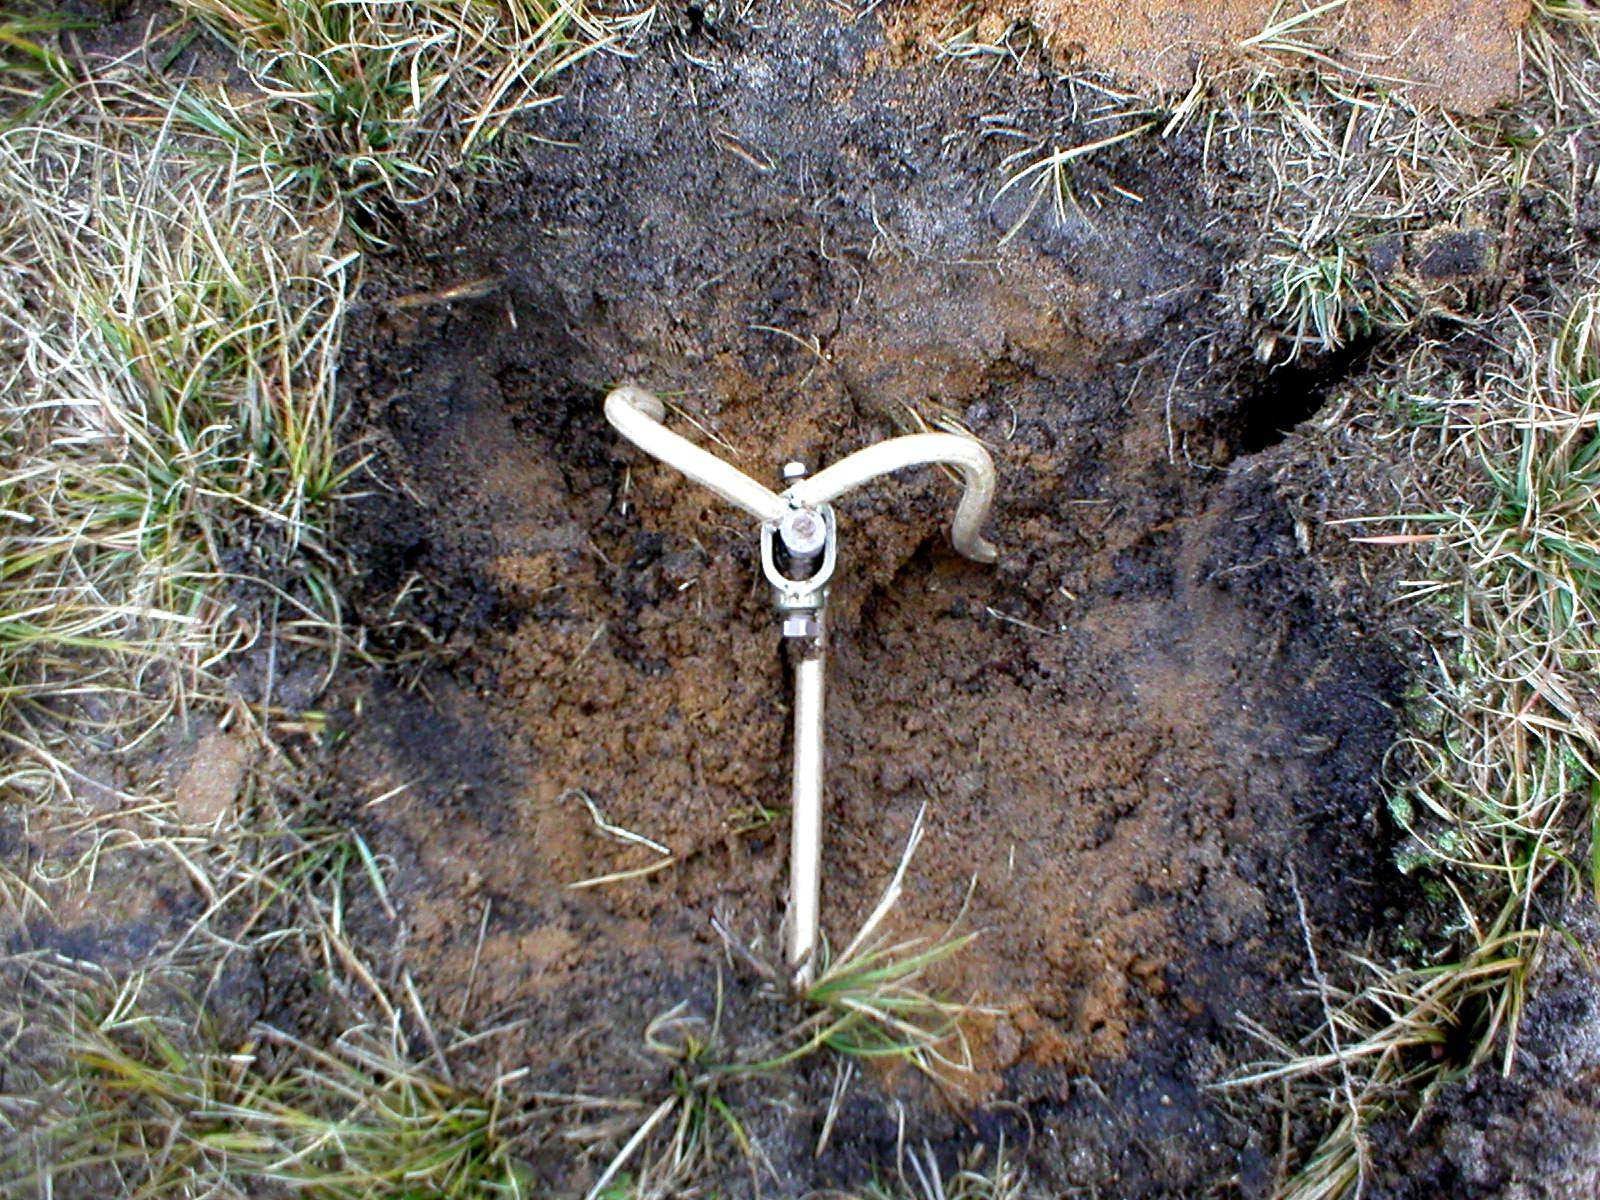
Don't TWIST wire. Turn slack end over vertical to avoid side stress. Make
taut, then tighten jam nut to secure.
Ensure adequate heat to fully saturate wiring. This also helps create a
bearing surface to reduce wear. Nice design by Hy-Gain.
LIGHTNING DISSIPATION GRID
Starting connection to central grounding point joining towers.
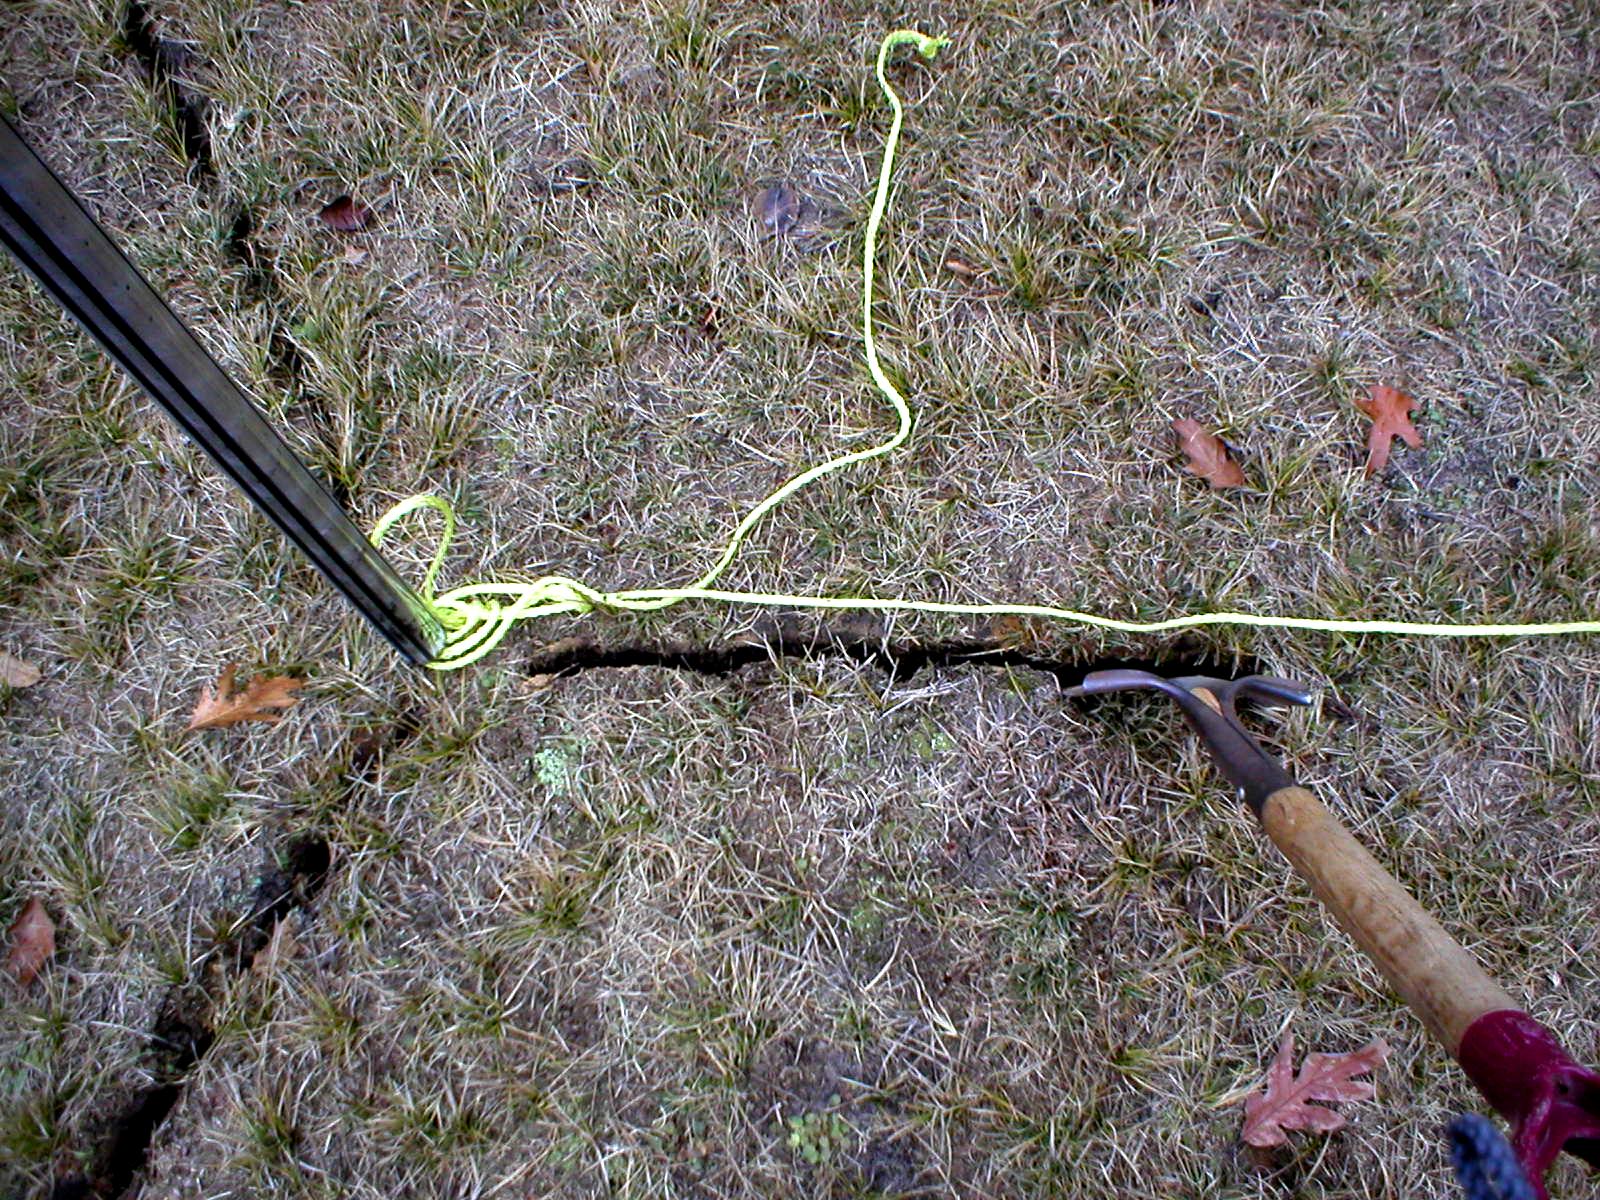
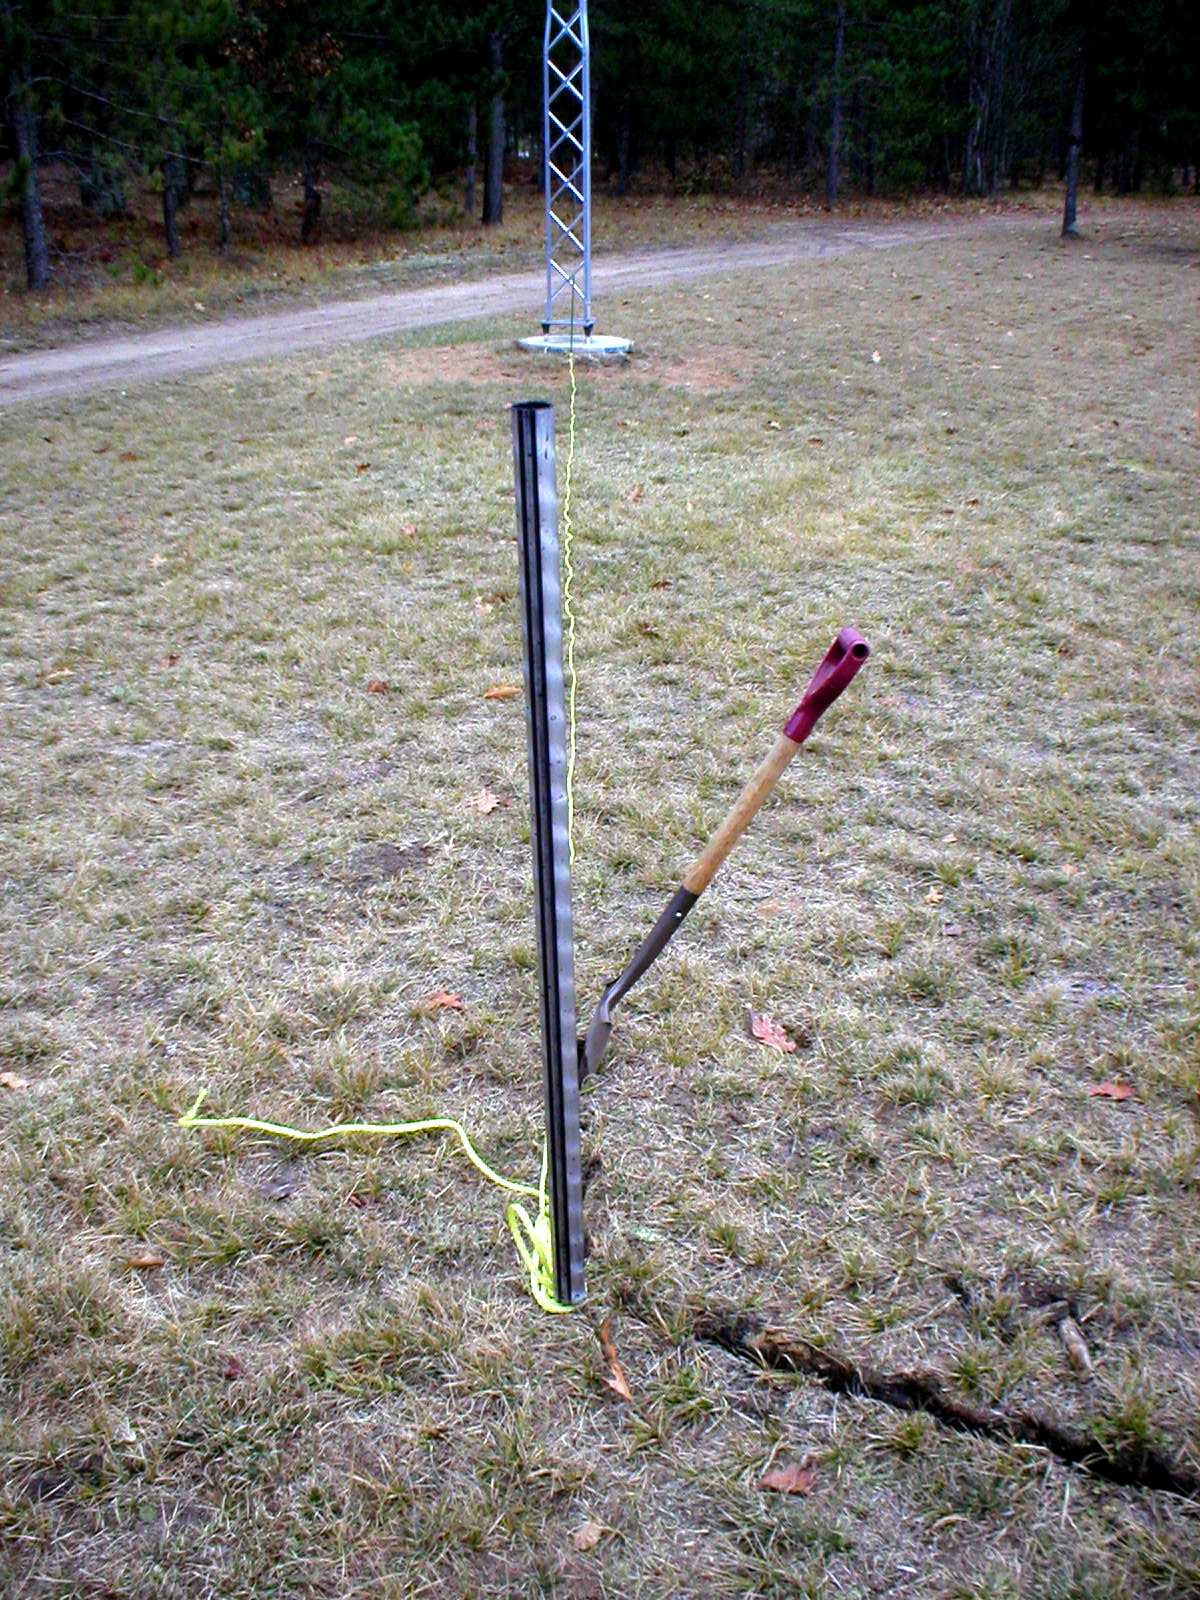
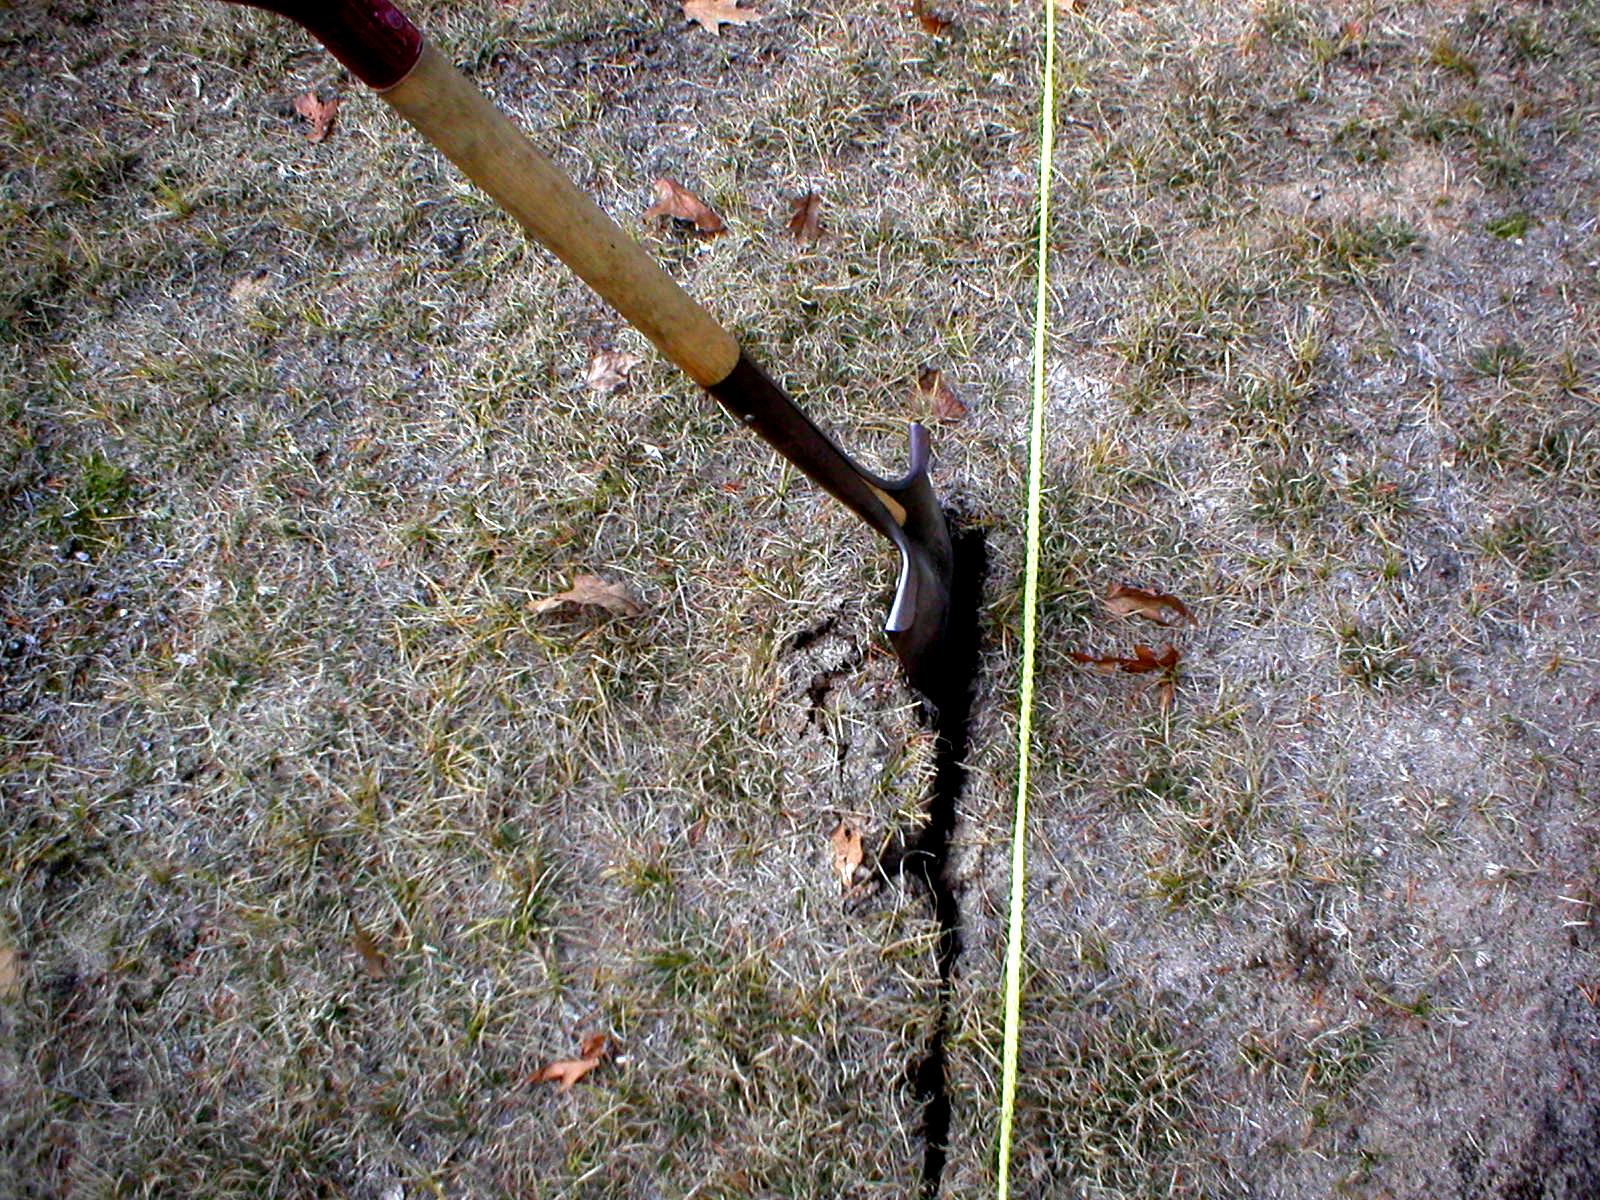
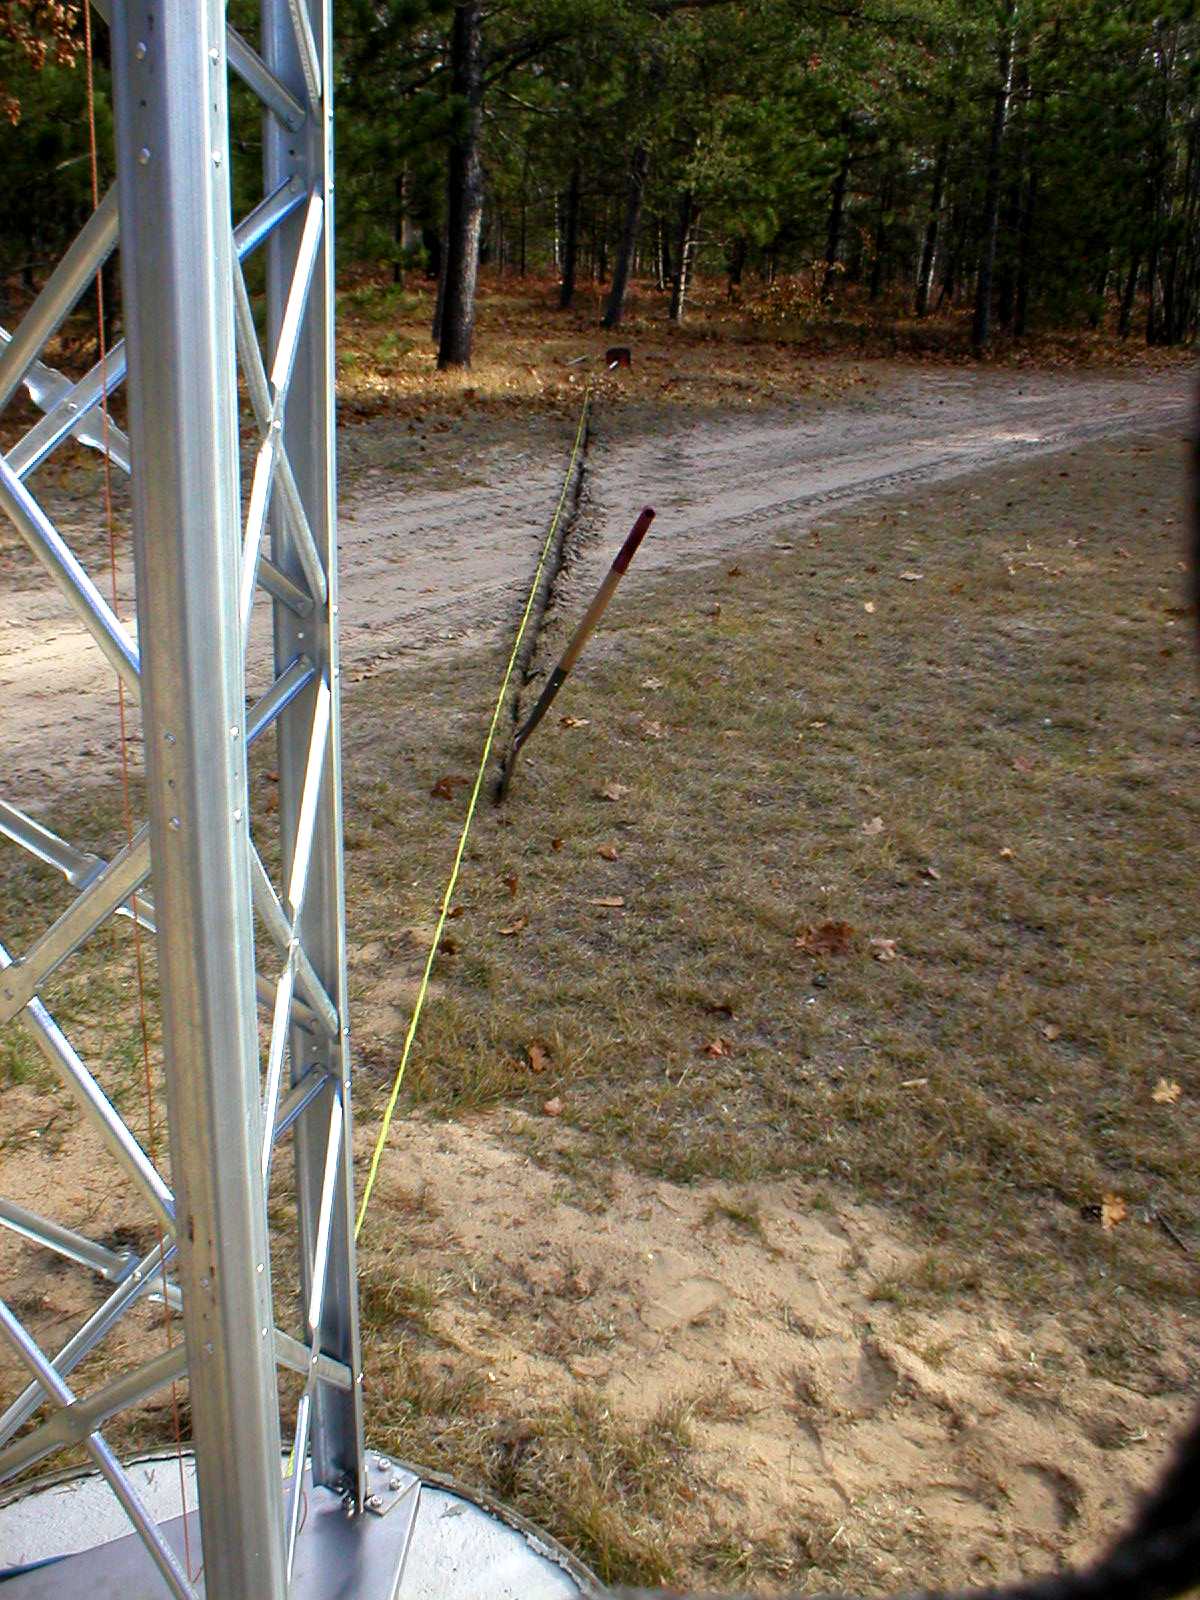
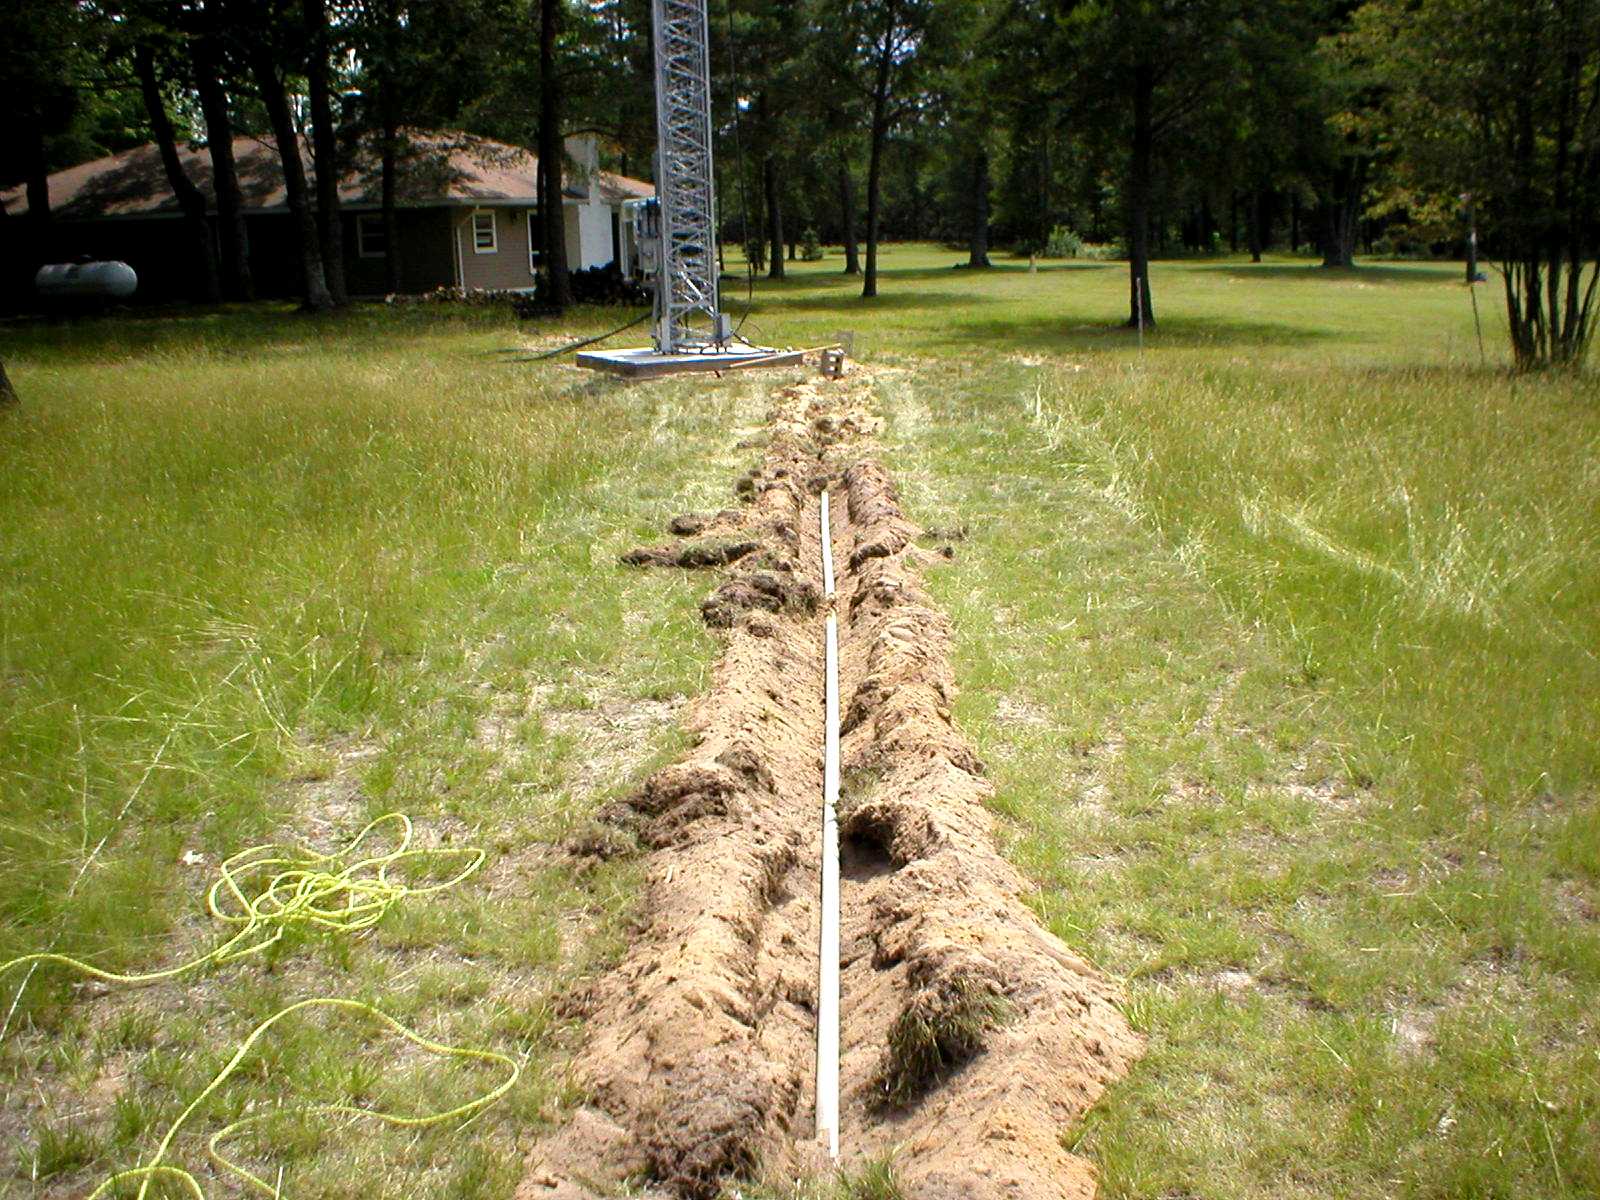
Flat shovel used to create deep split for receiving central bus wires.

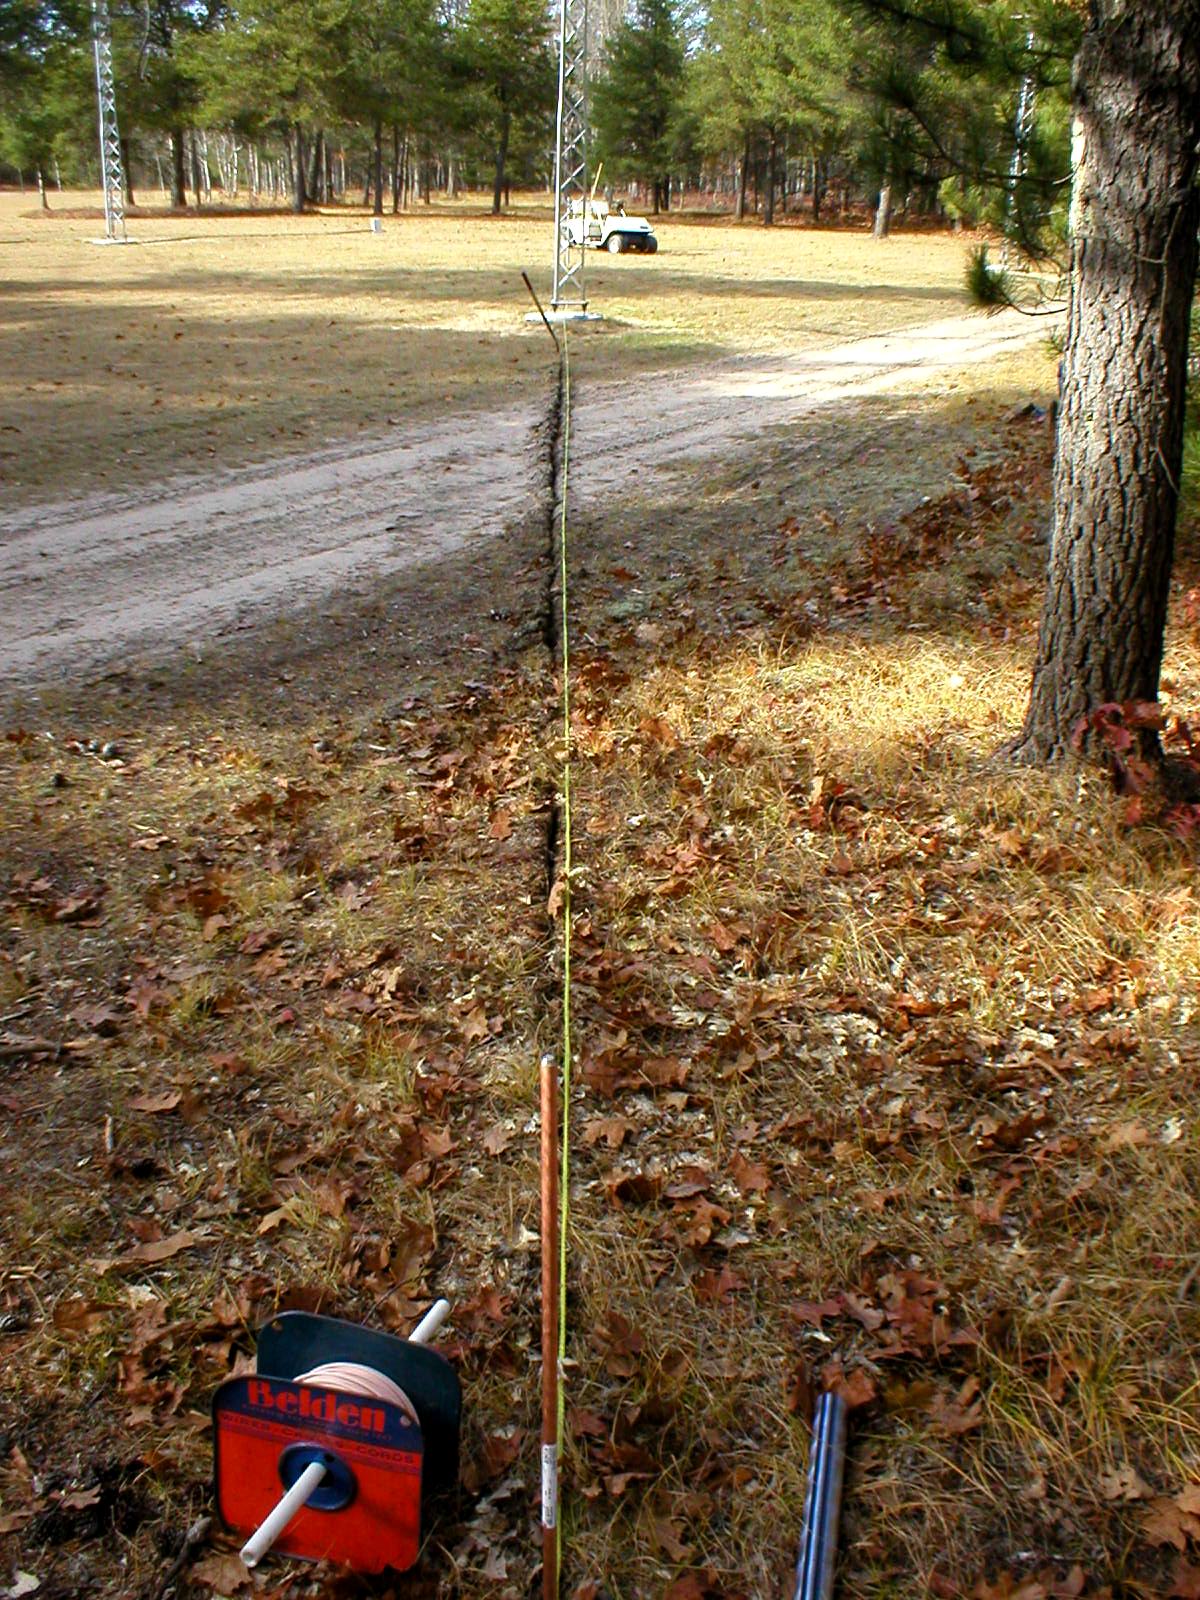
Use rope as guide for straight trench.

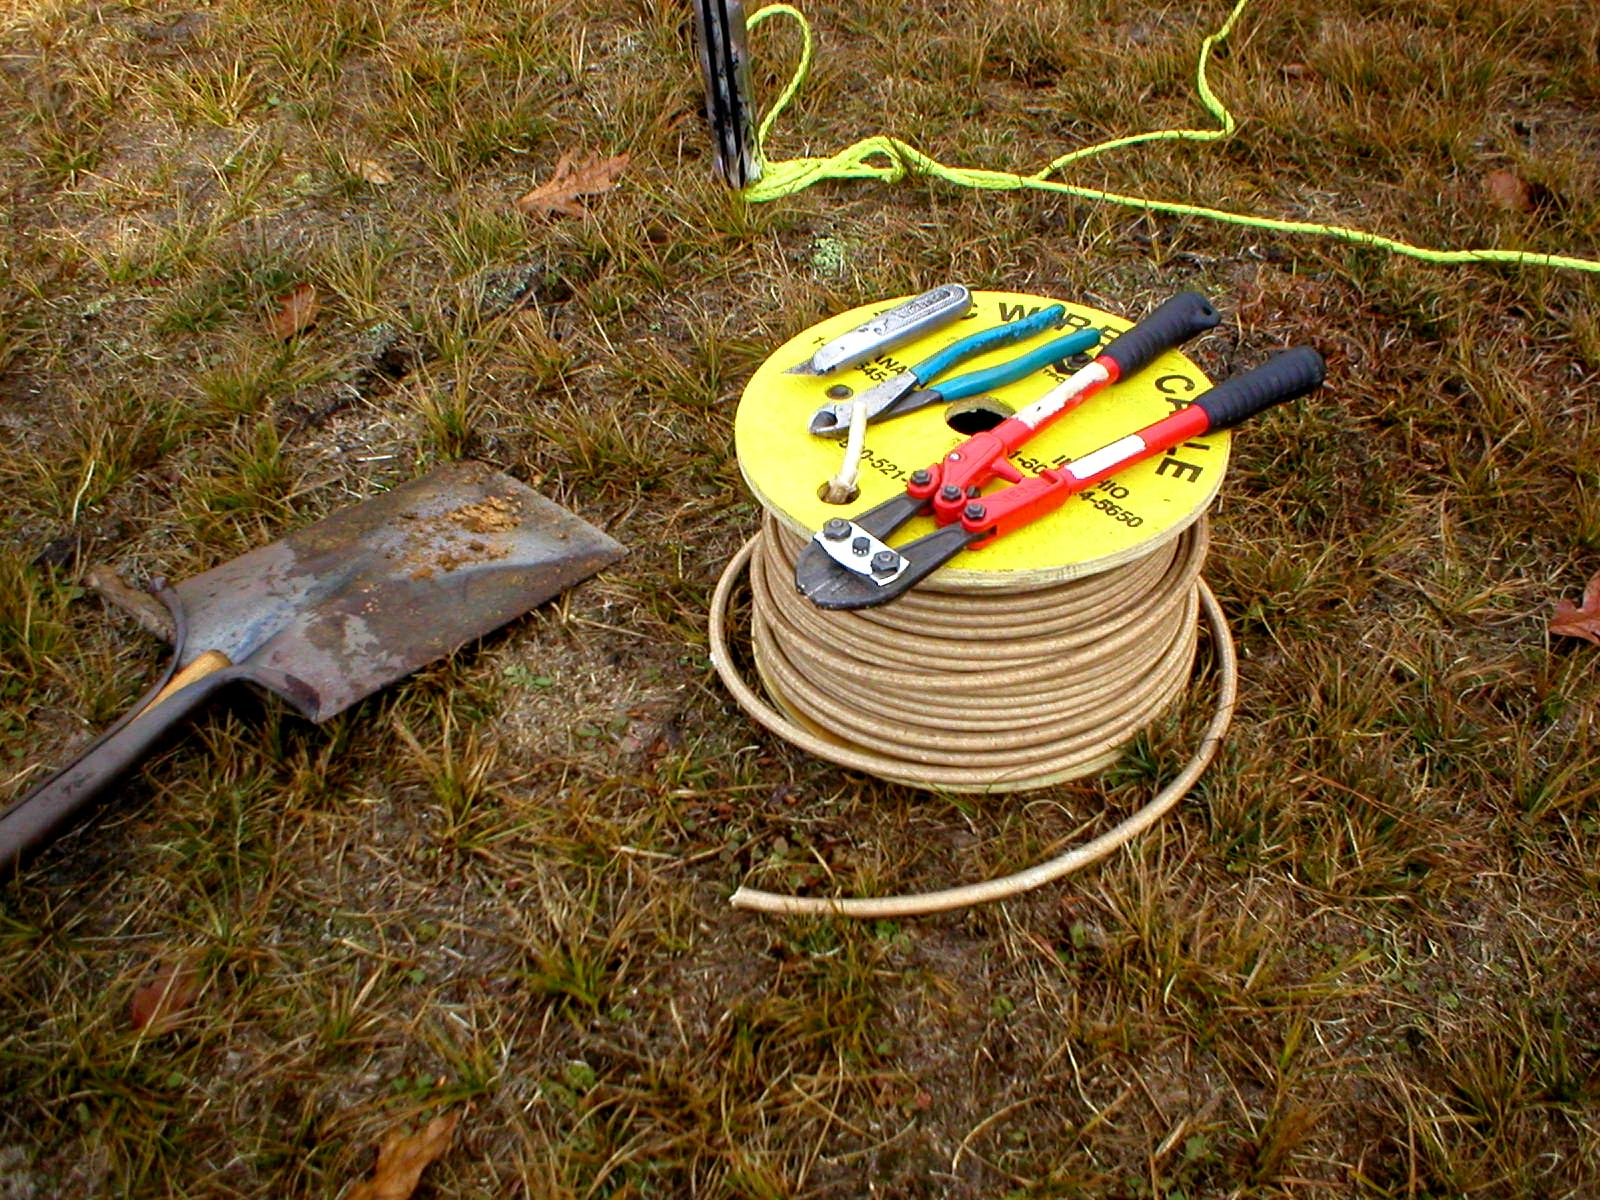
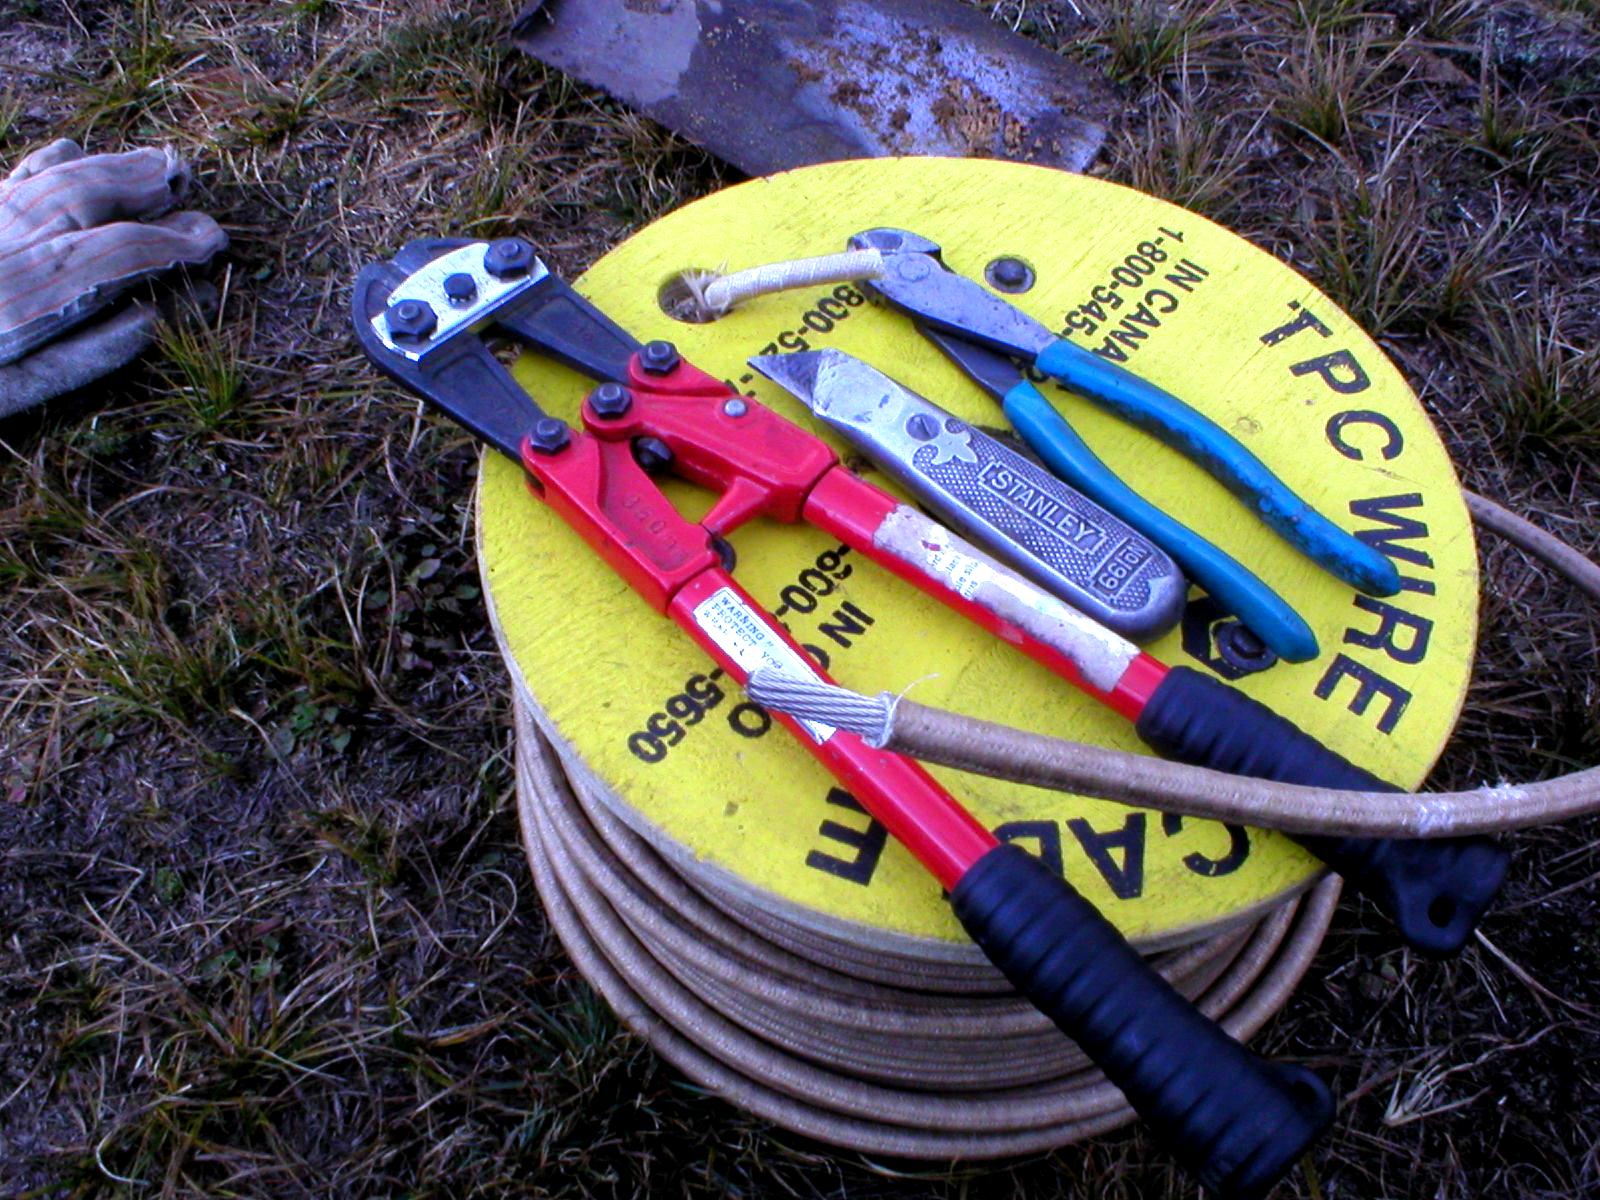
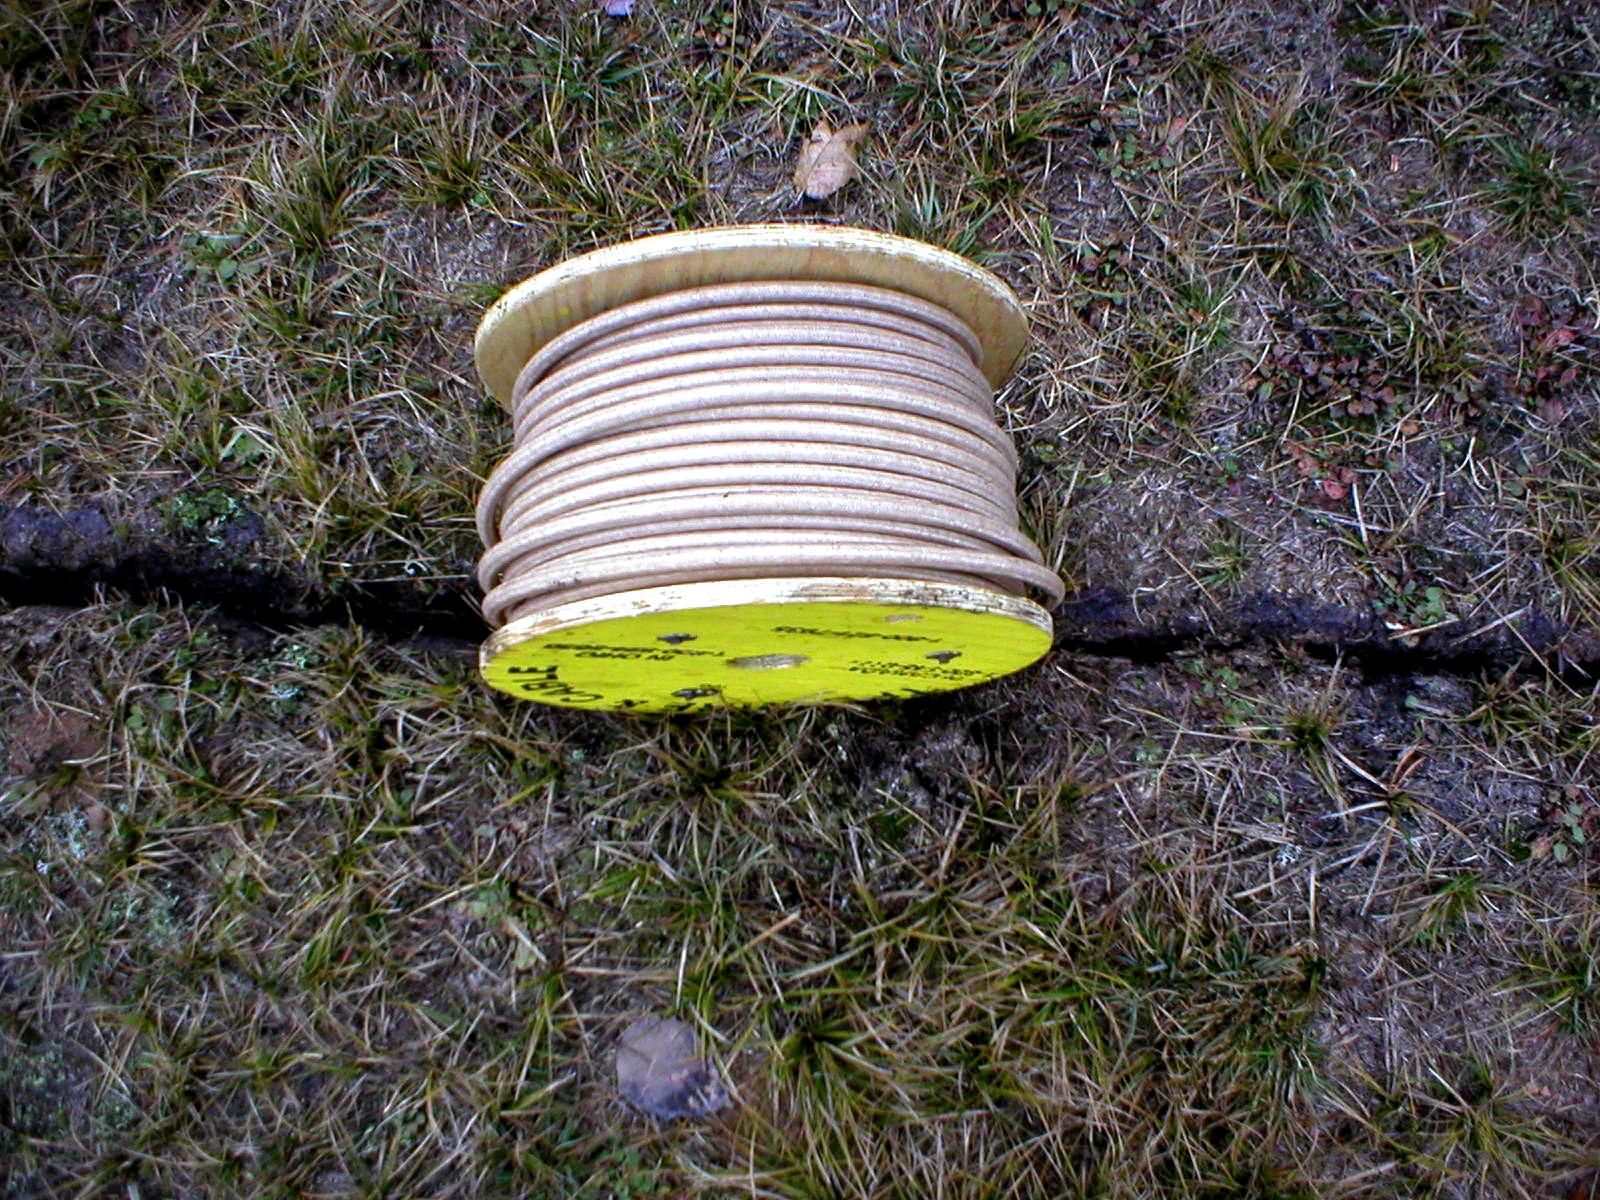
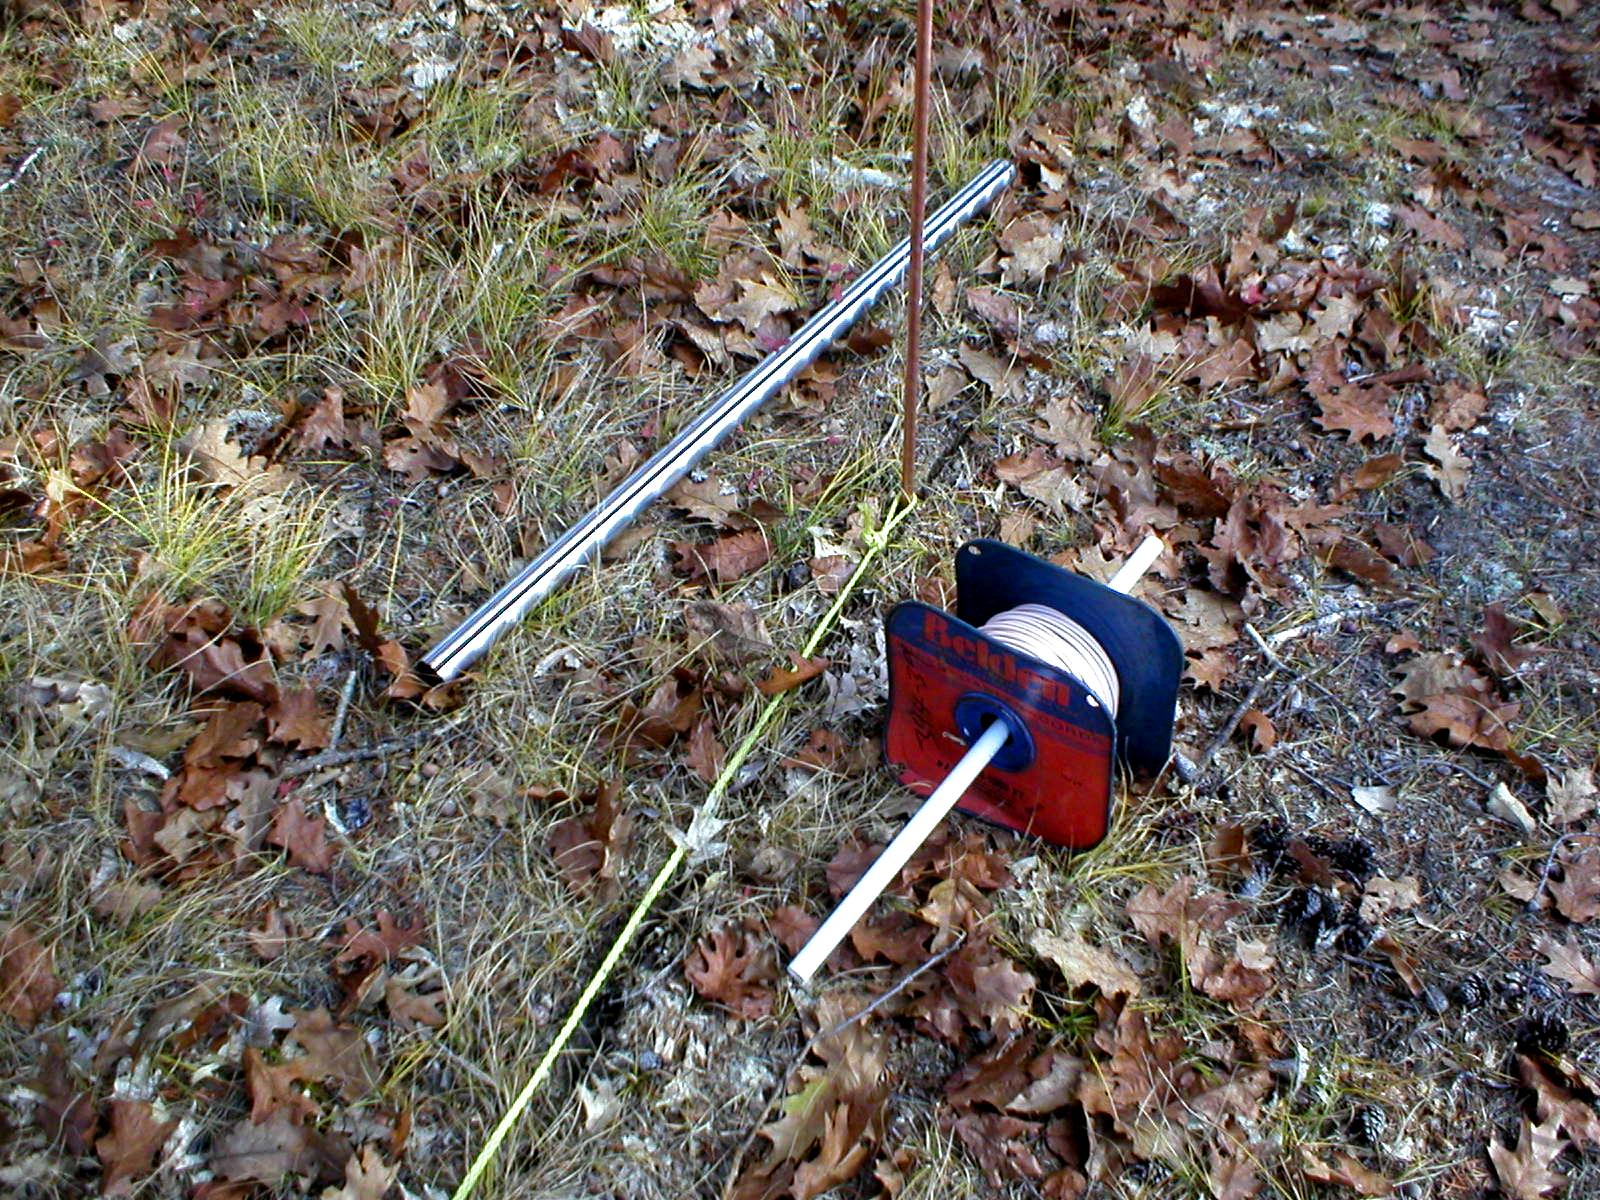
#1 wire used for heavy current capacity from lightning hit.
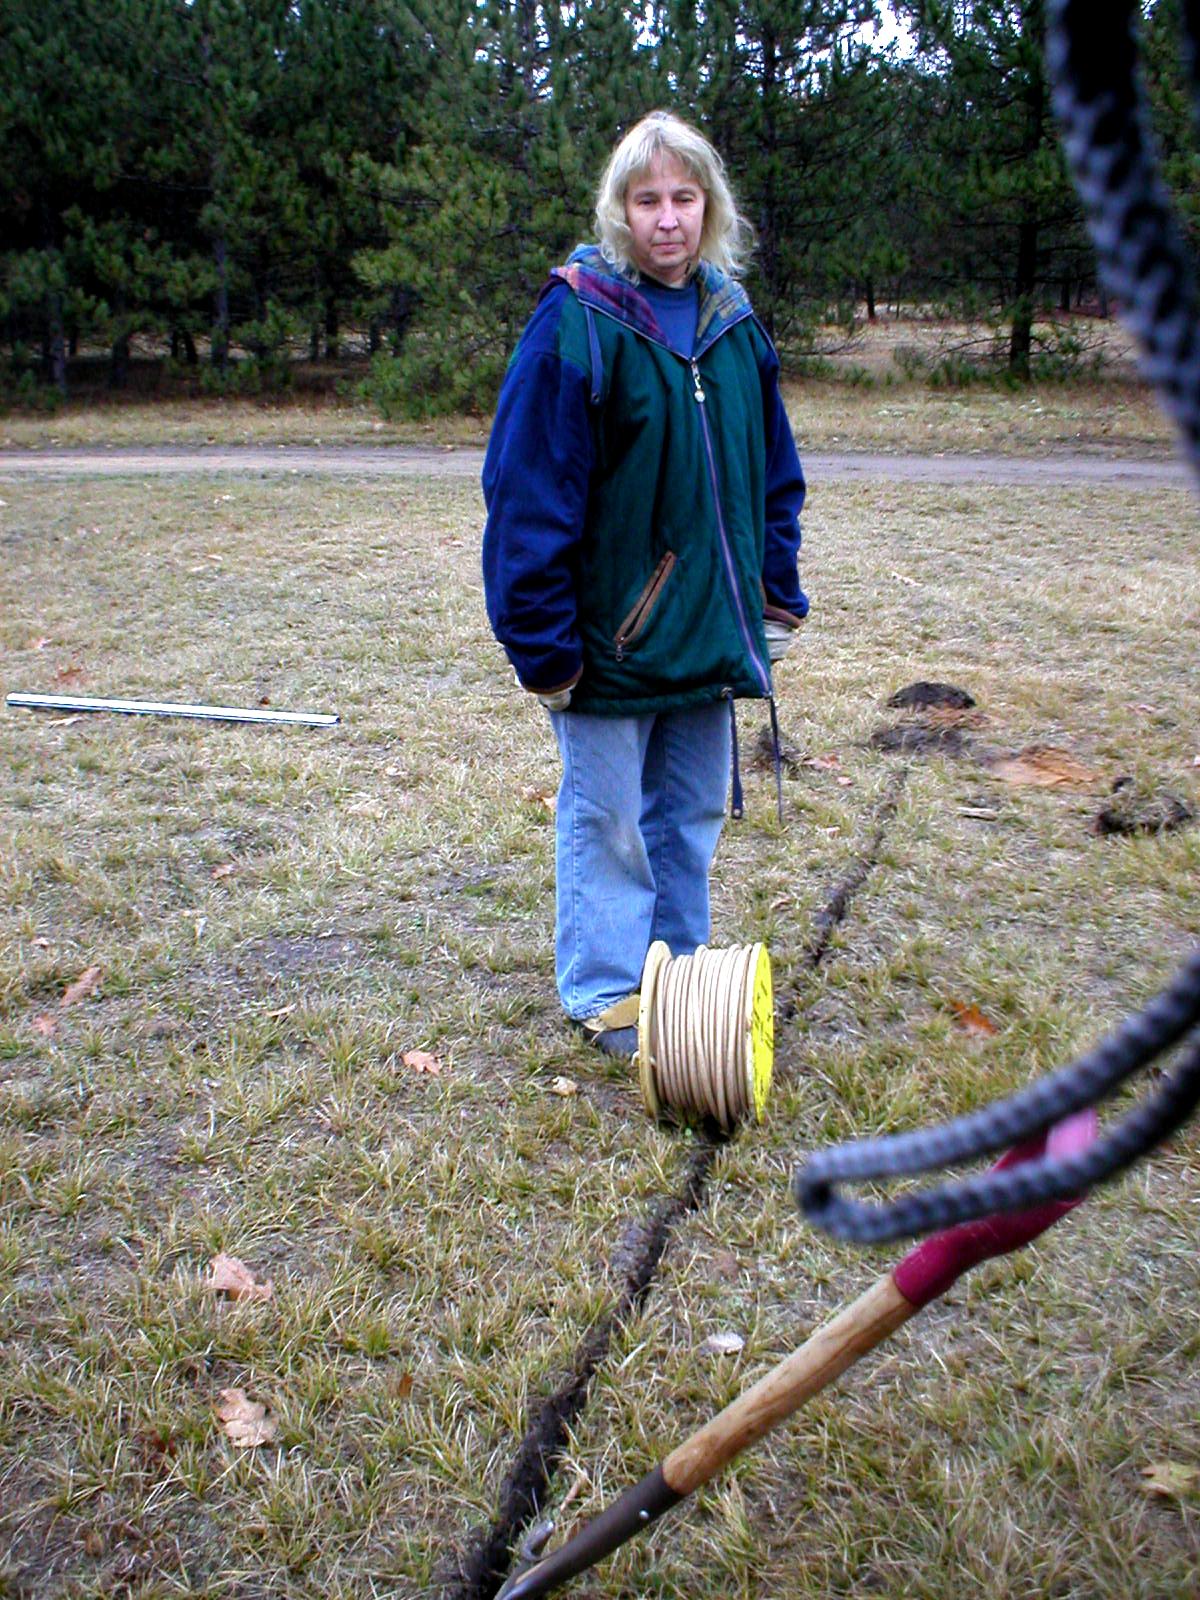
Running big wire from central point to tower bases.
Burying heavy wire to bottom of trench.
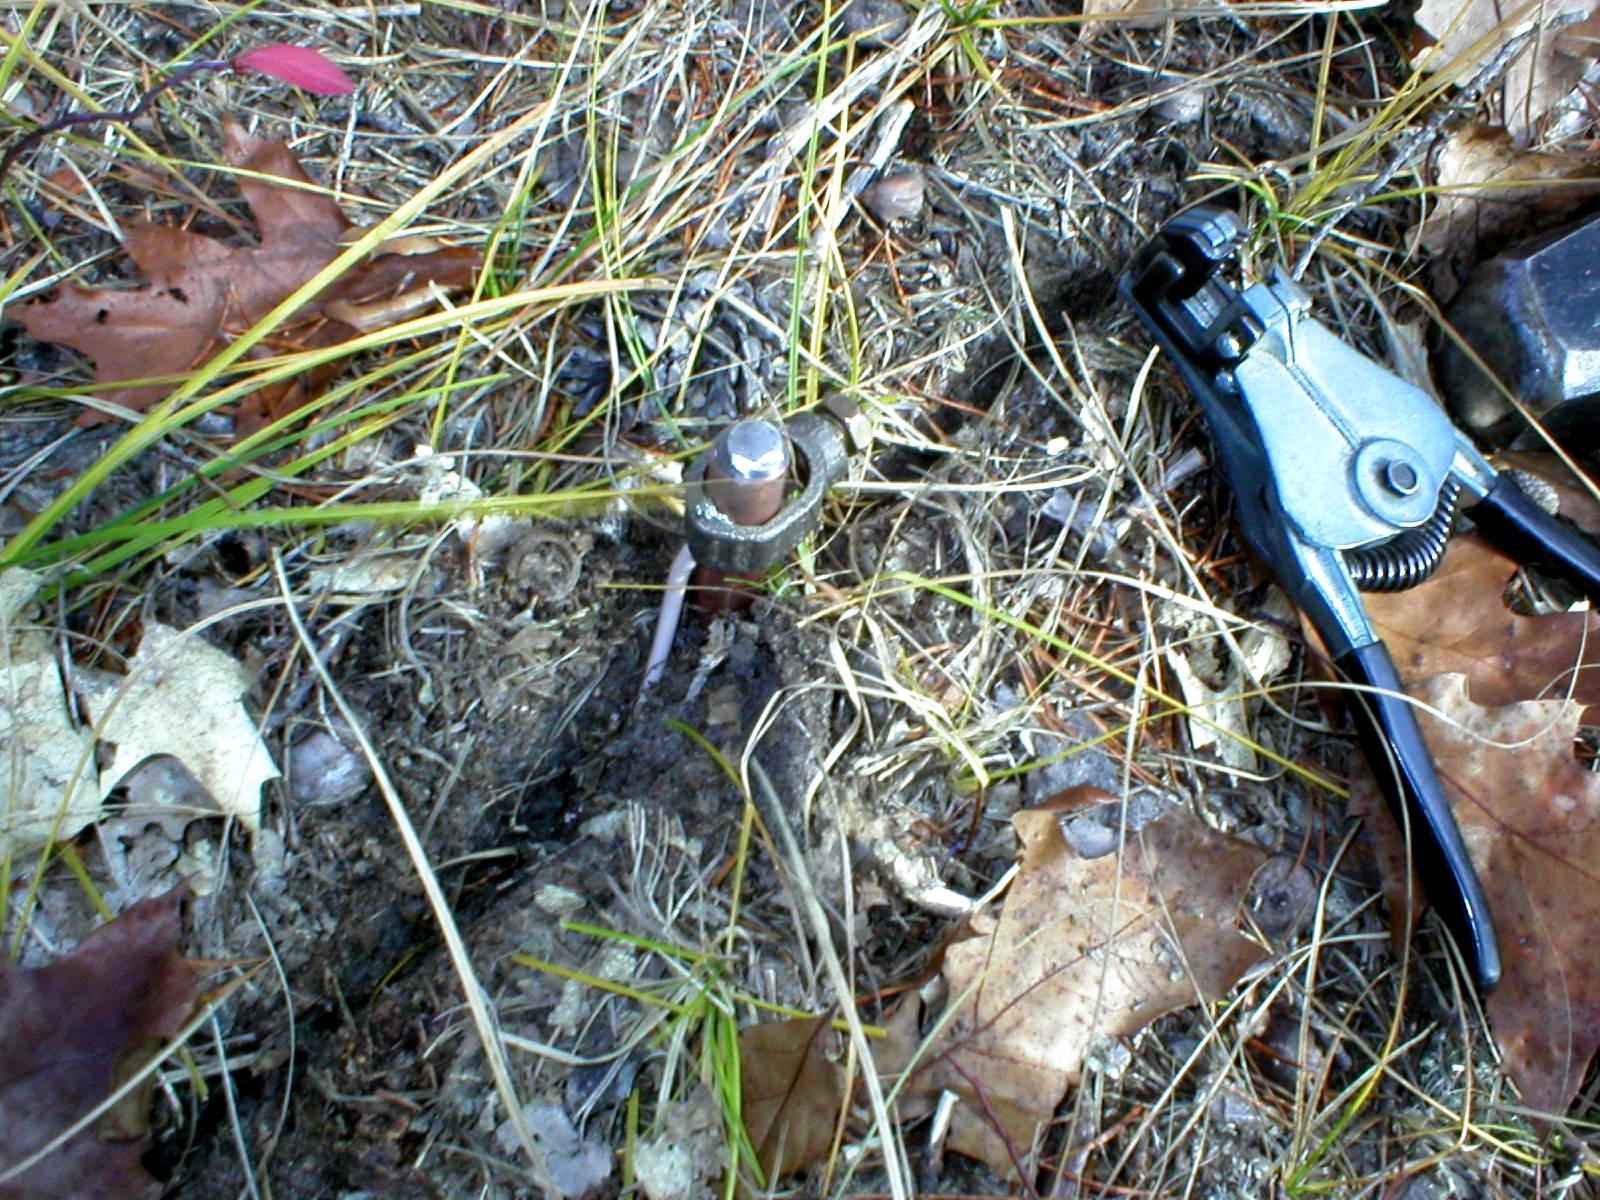
First bus cable bound to central ground point - Will swing binding clamp
to accommodate second clamp for remaining two towers.

Shovel works well to jam cable to bottom of trench - about 6" deep
- depth not required for counterpoise, just for lightning grid.
All three towers bound to central ground - 0 ga.
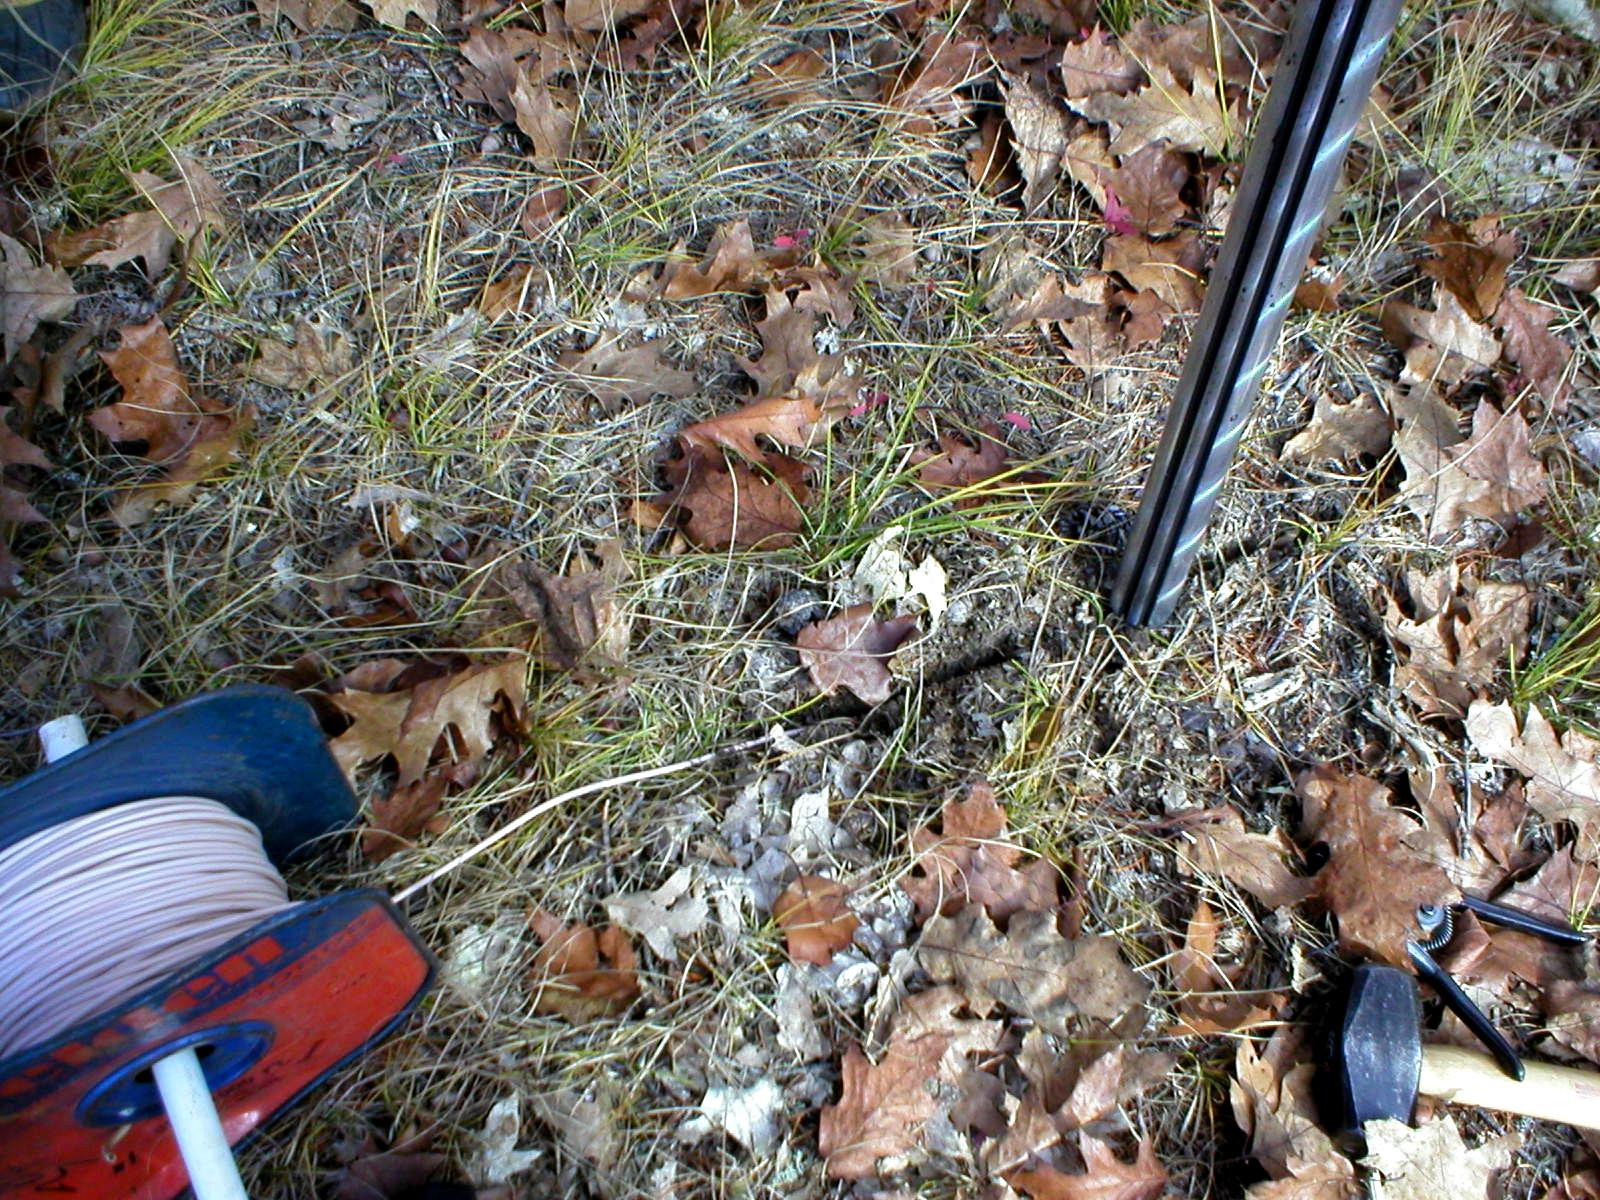
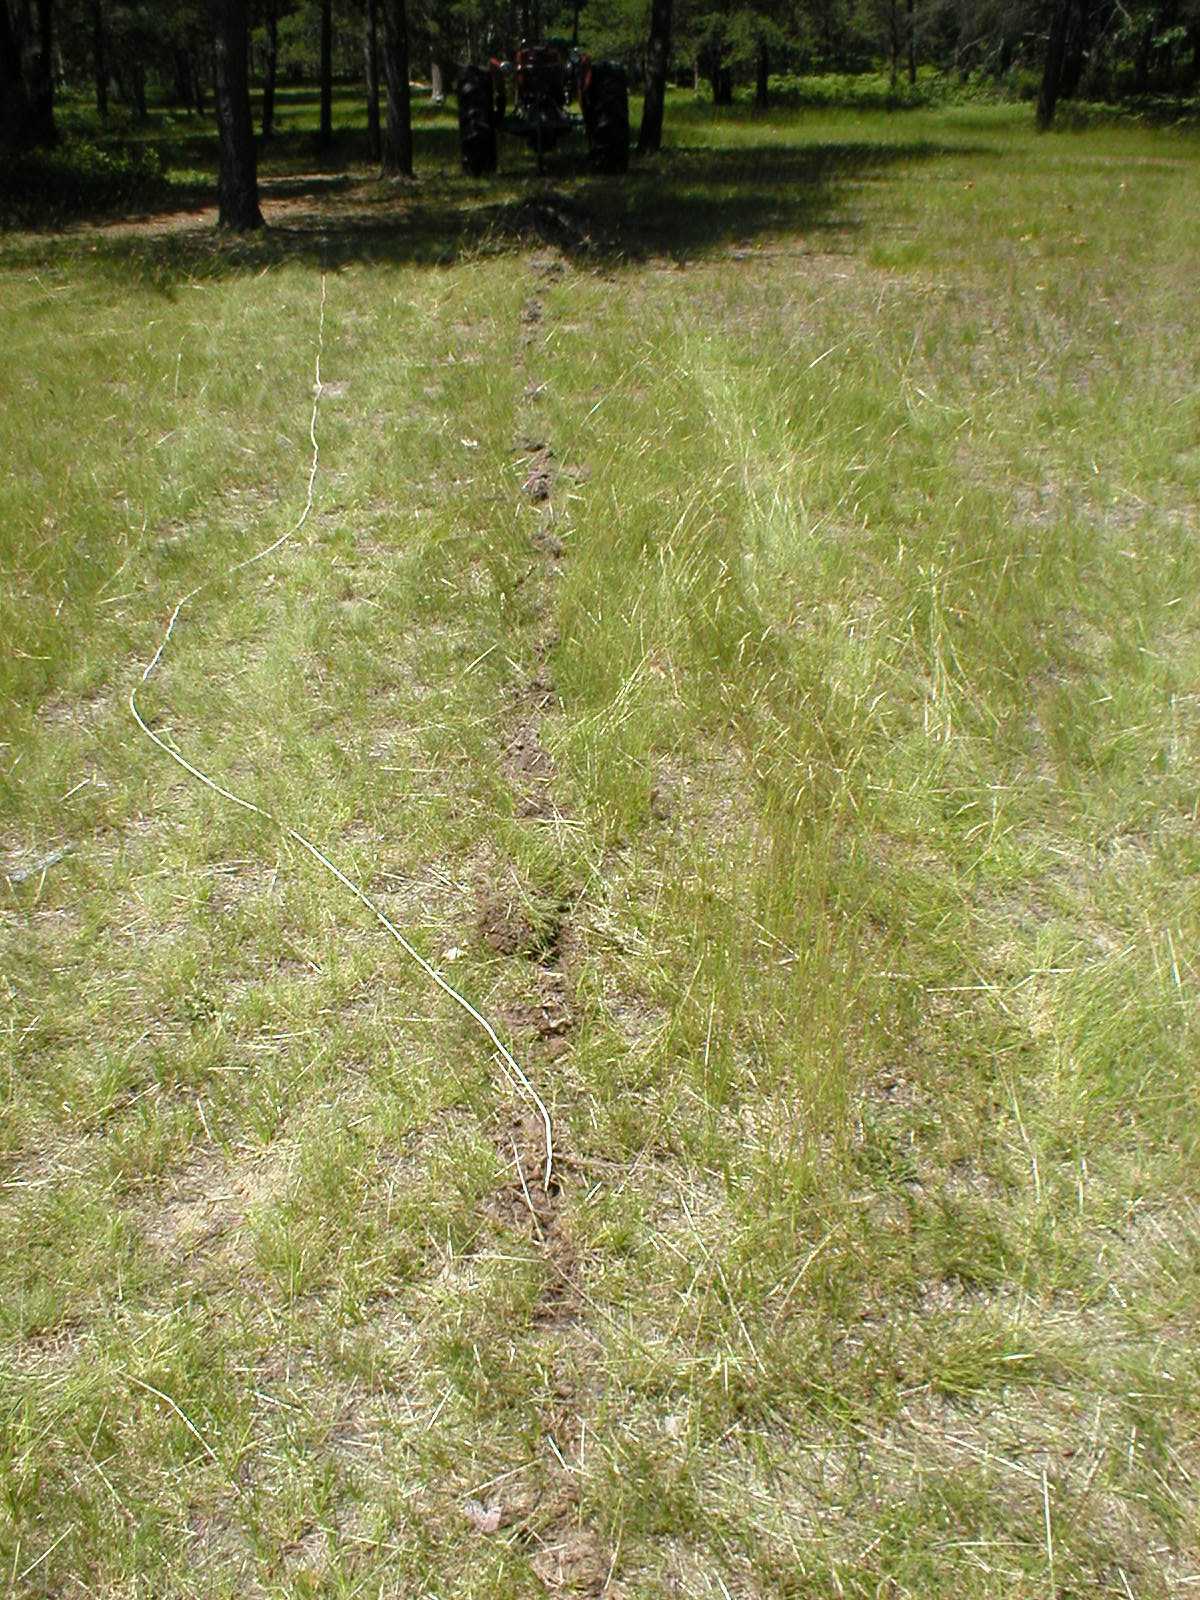
Starting trench for outbound grid wire - #10 for this one.
Wire bound at outward post - ready for pounding underground.
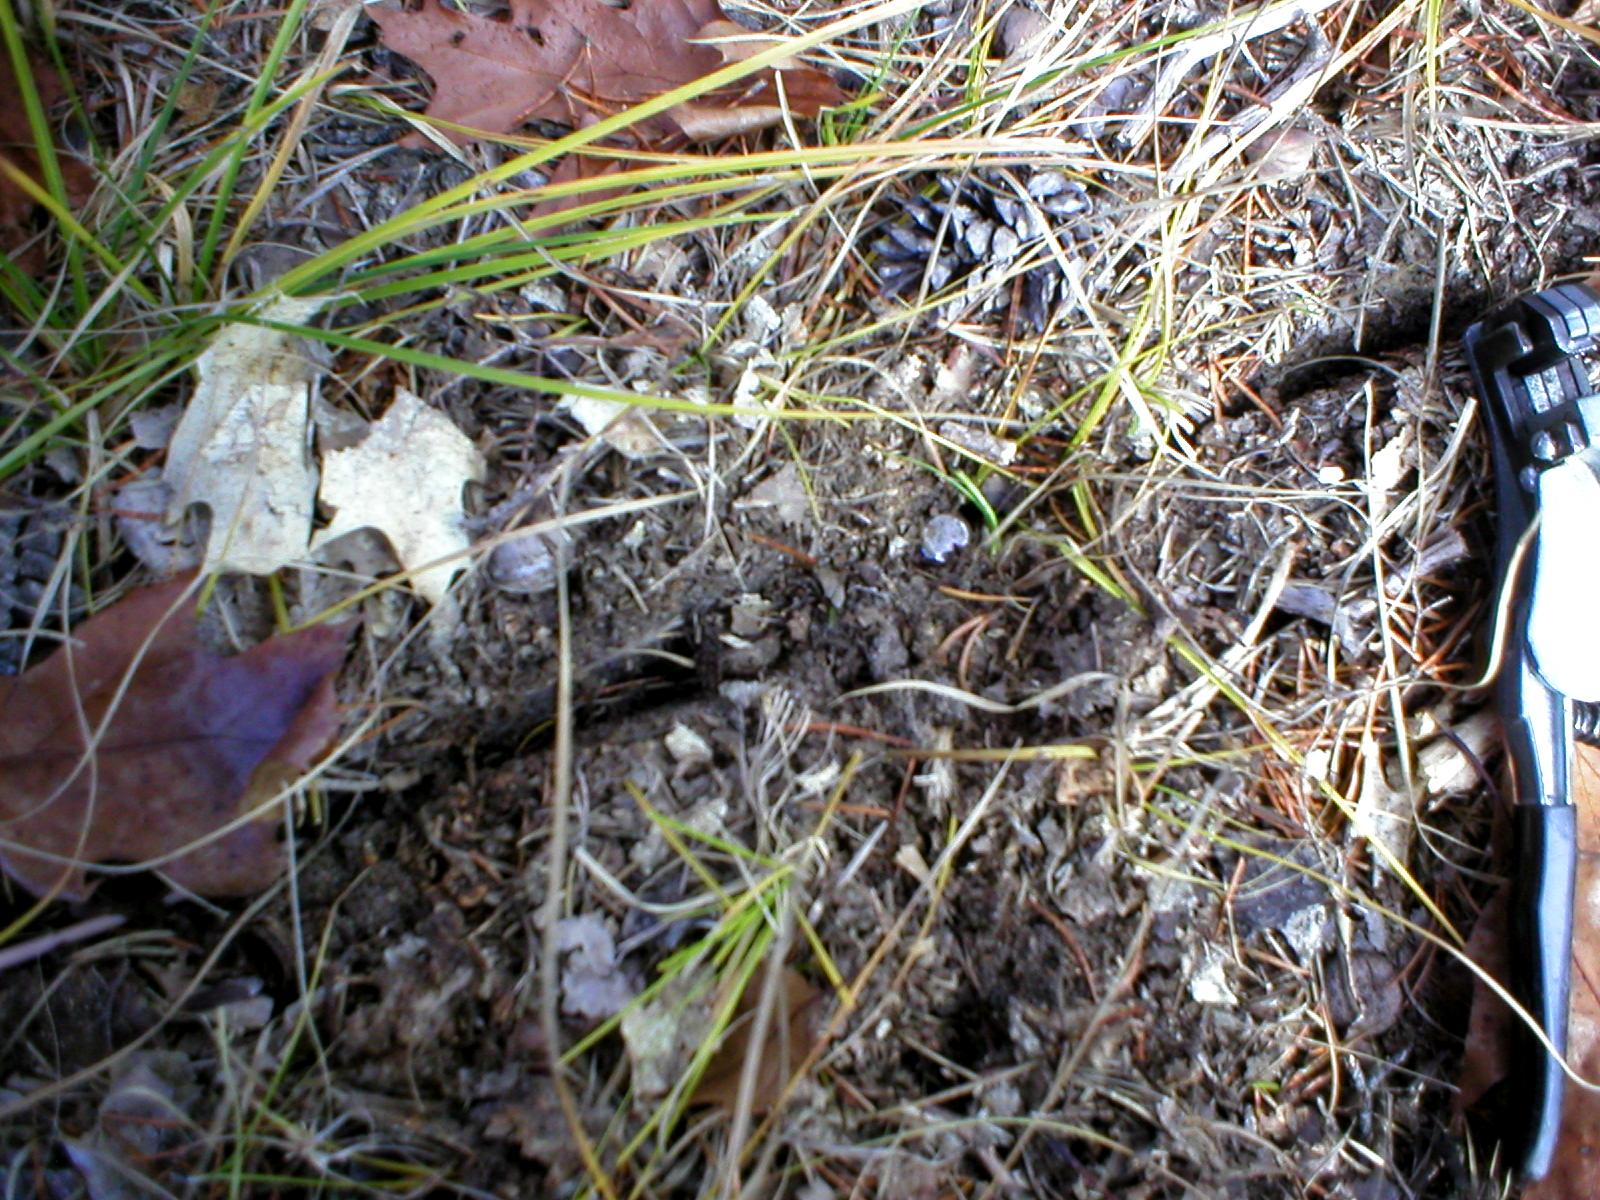
Burried below ground surface. If left above, if there's any way to trip
on something, I'll trip on this!!!!!!!!!!!
Marked with visible post until 1/2" pipe and flange can be driven
for surface visibility.
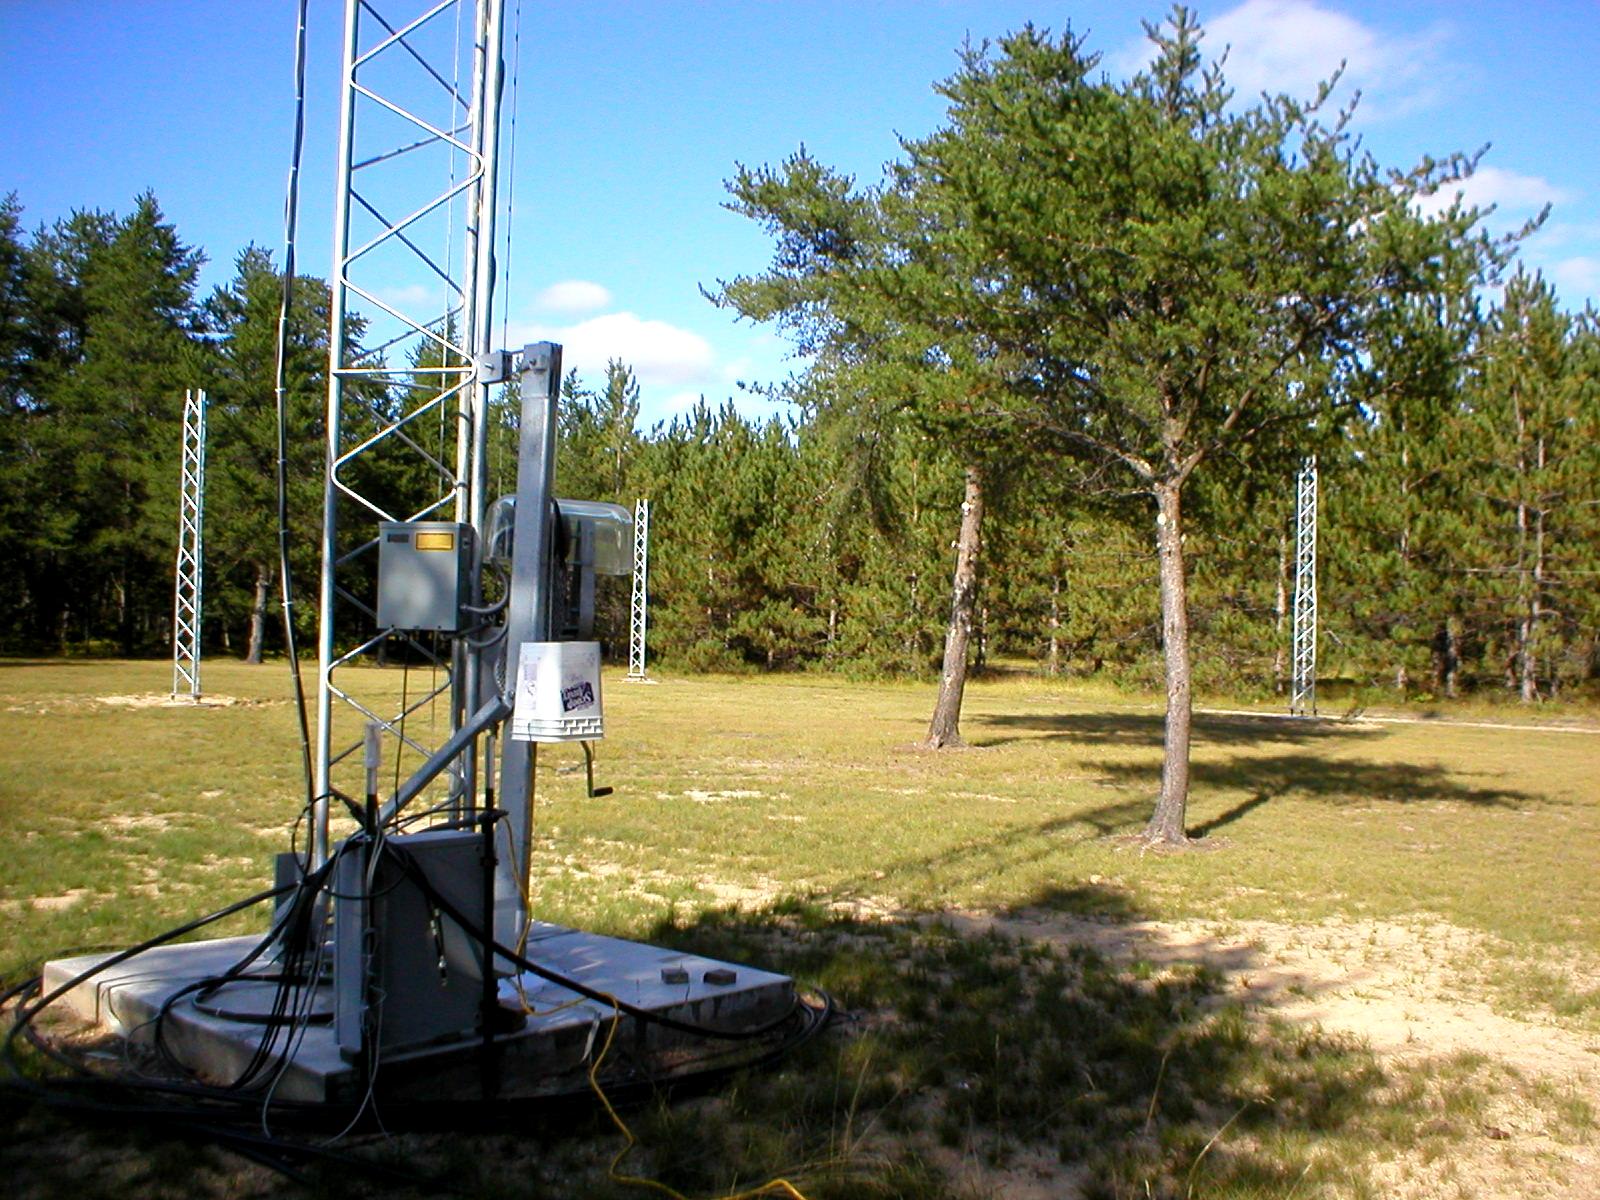
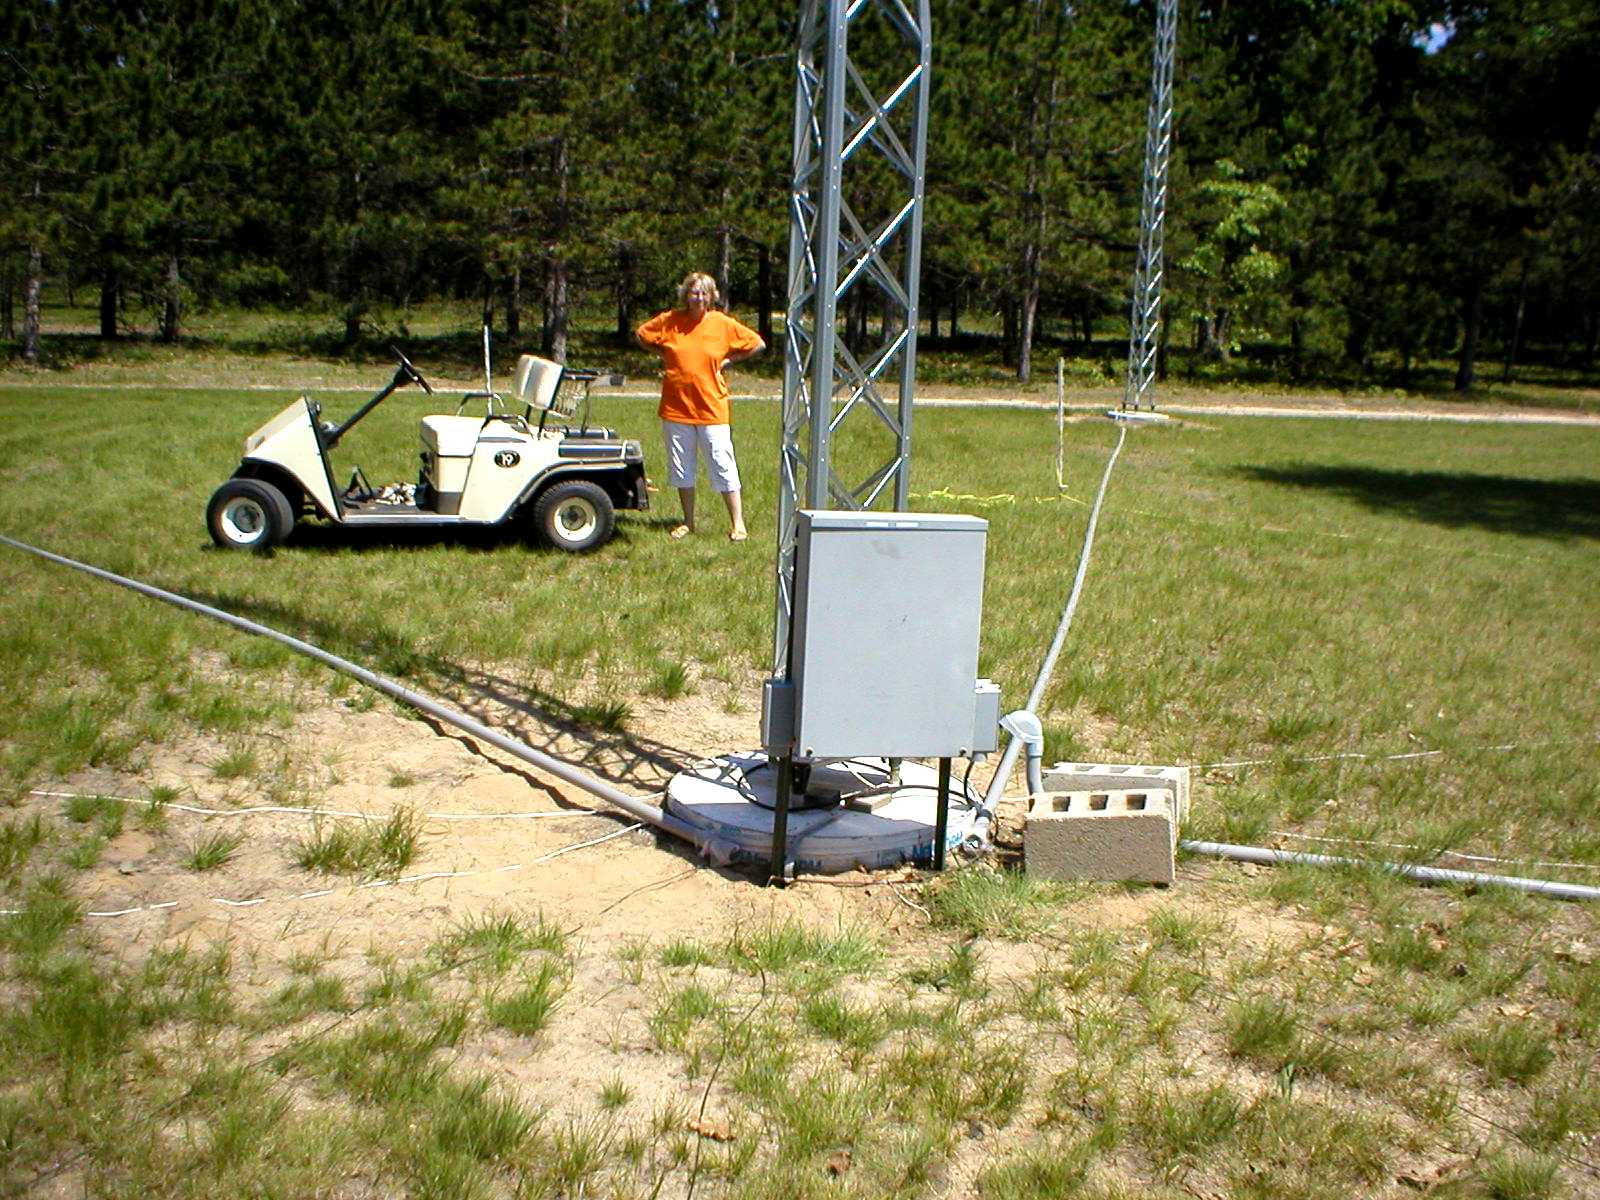
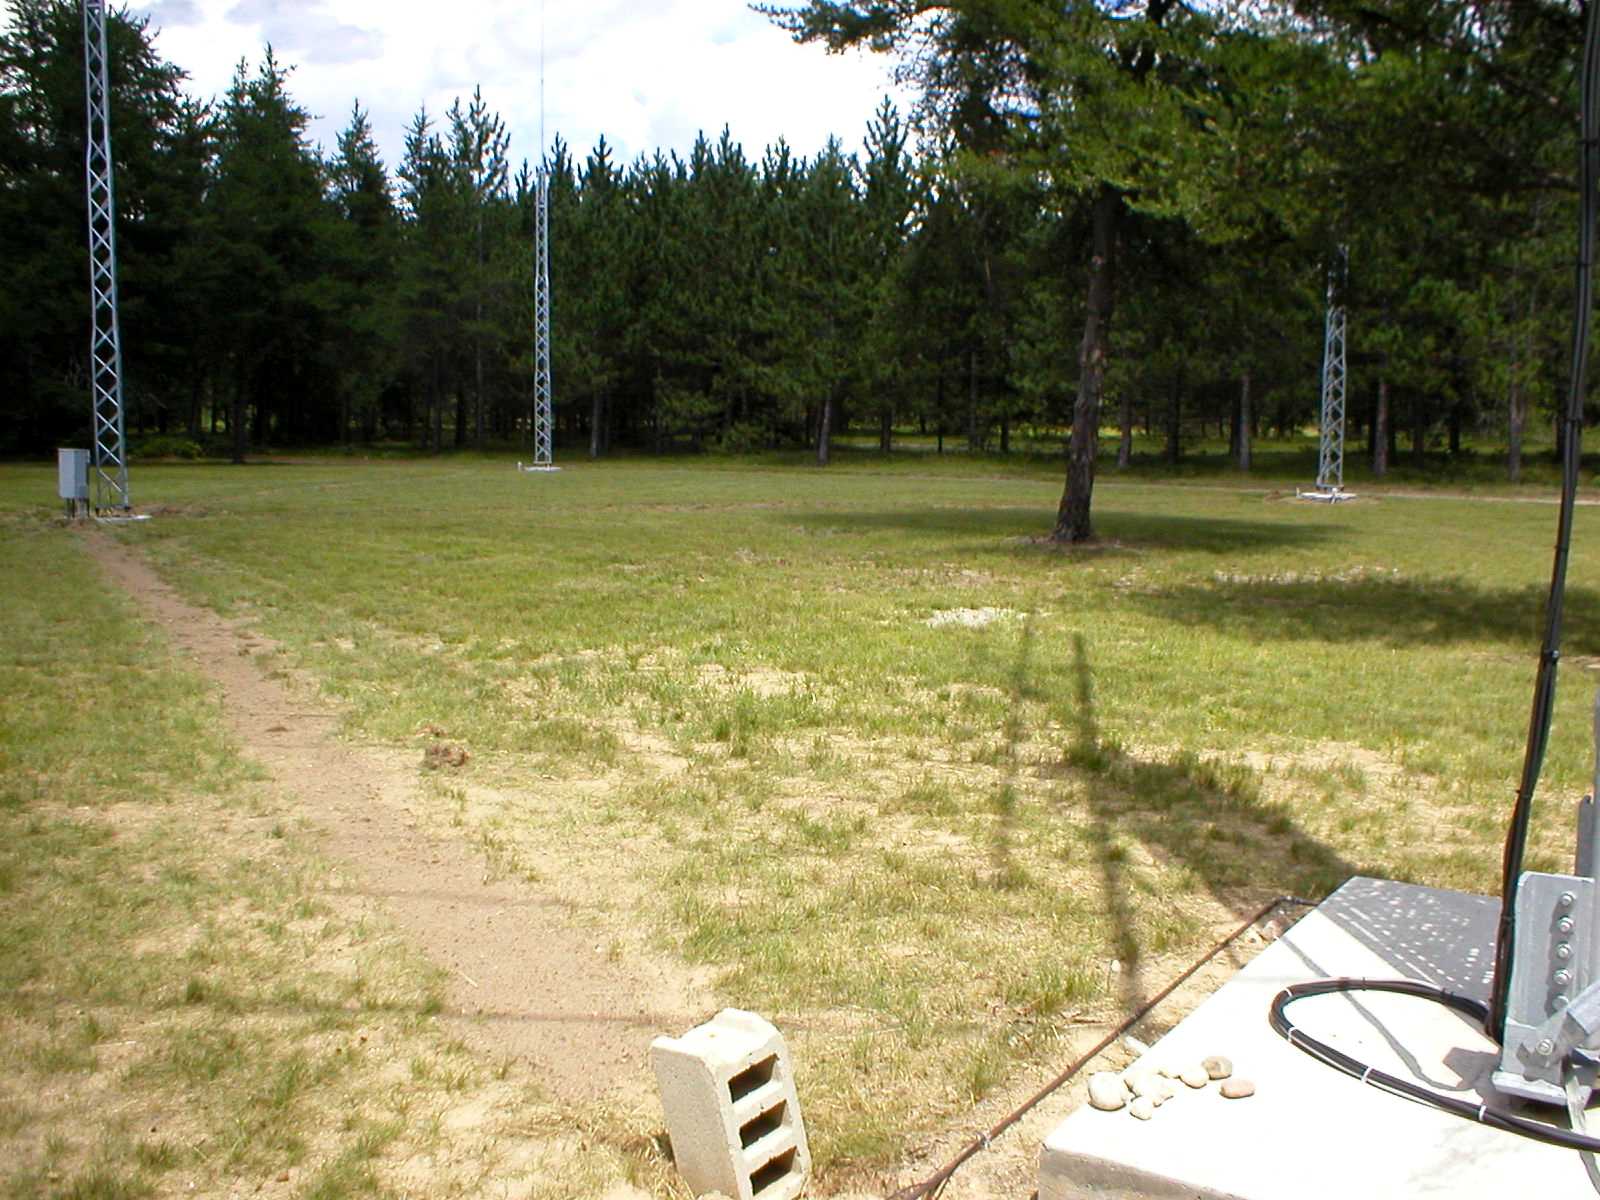
Orientation of Triangle array, looking 045 degrees to the NE.
This one is looking 225 degrees to the SW.
Using 1.5" conduits to allow plenty of room for coax.
Conduits from main tower and inter-tower laid out for marking ground.
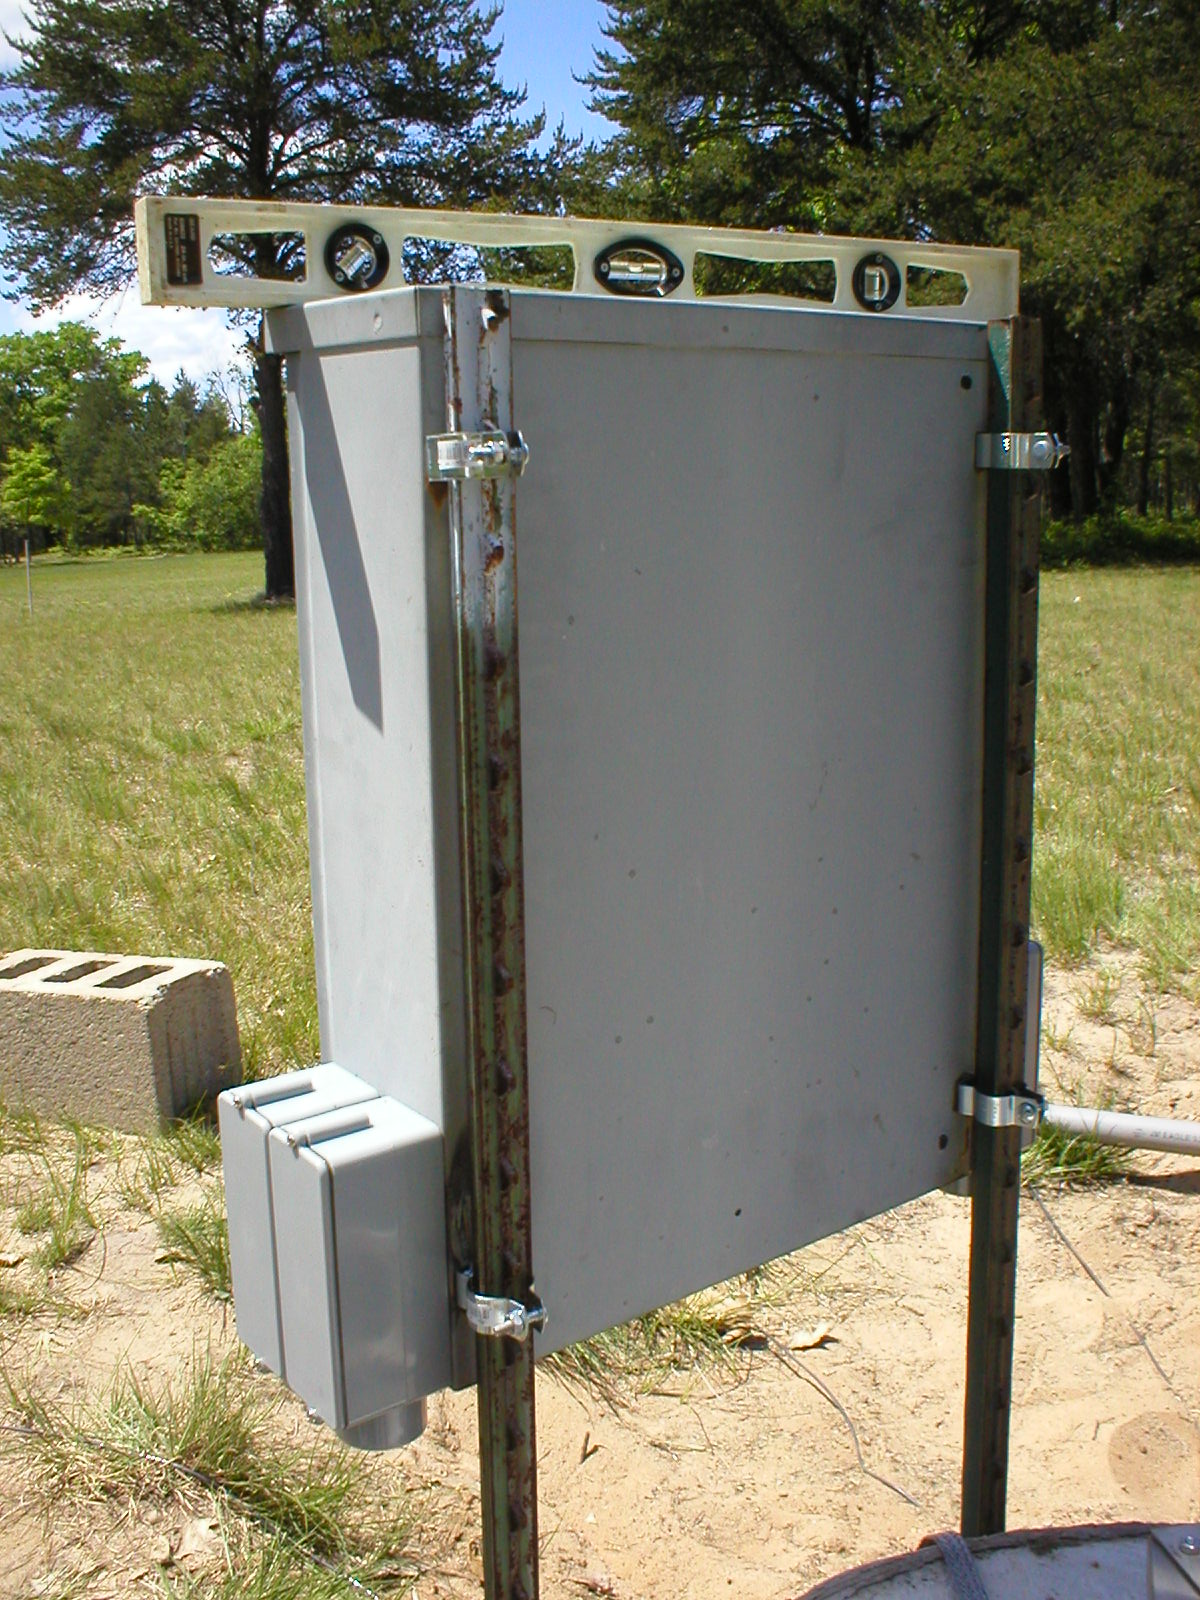
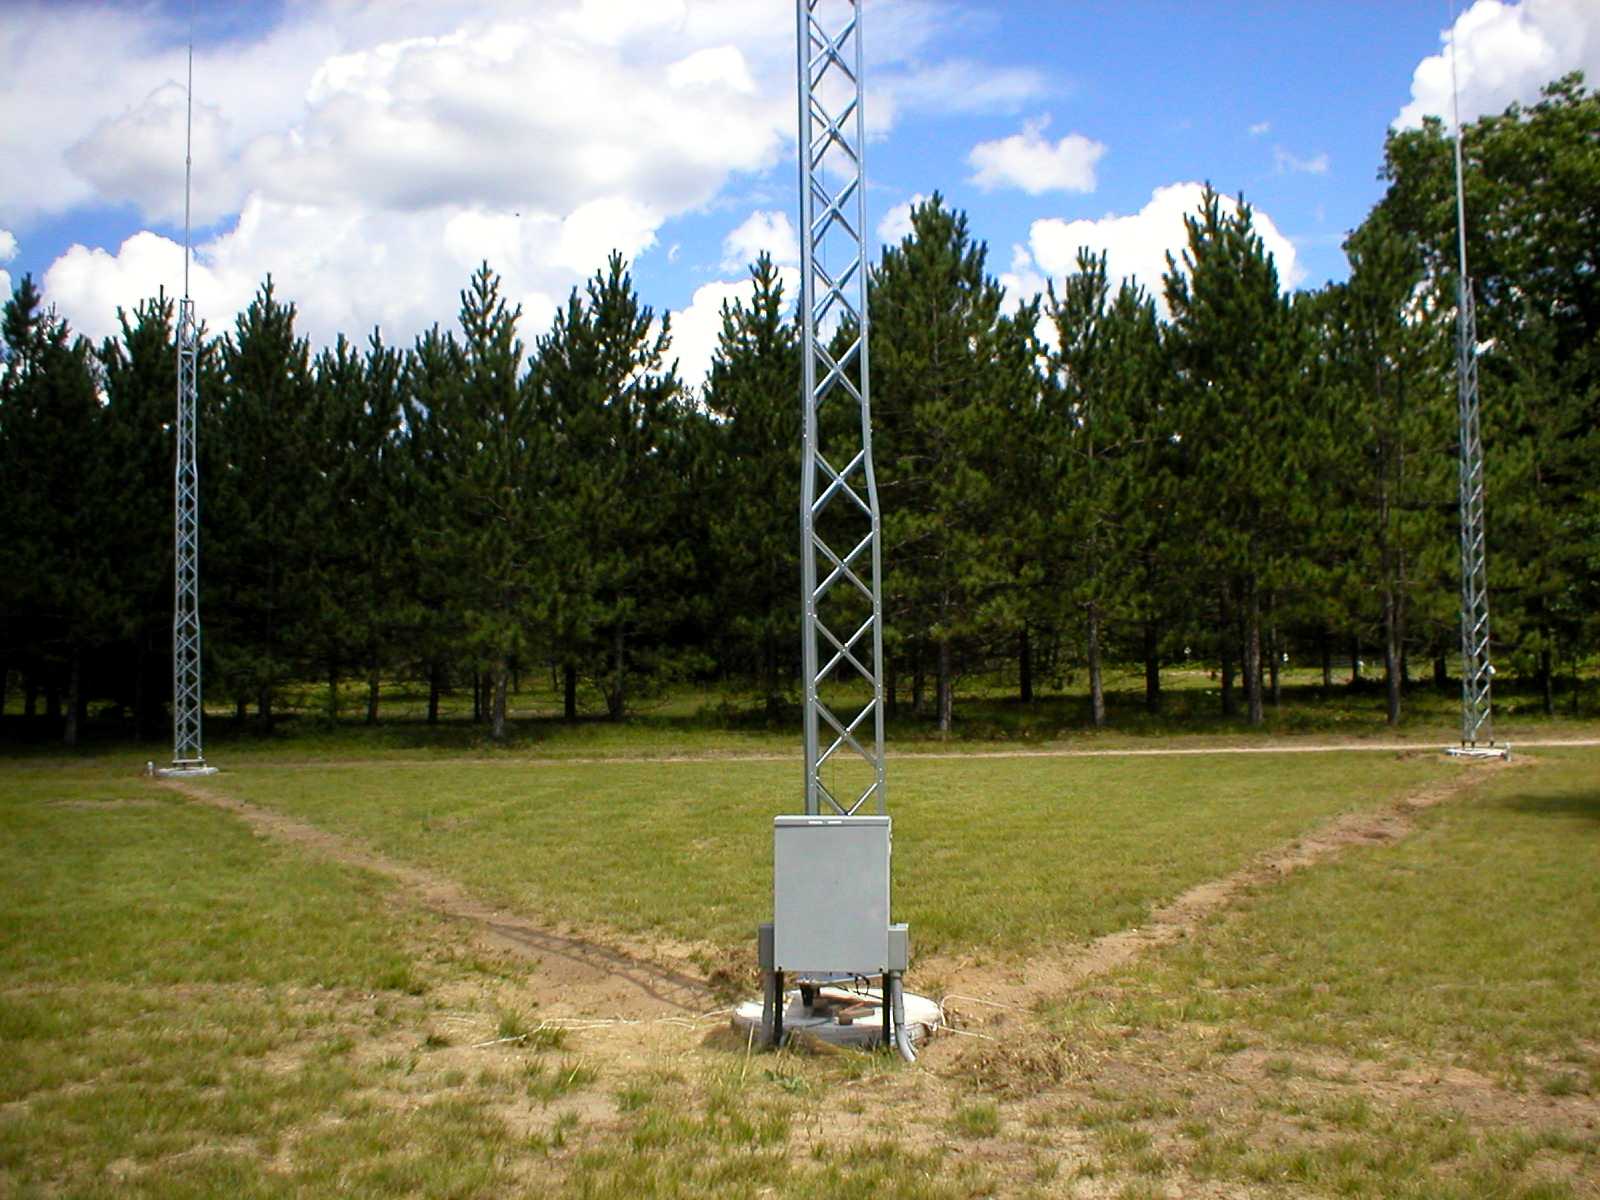
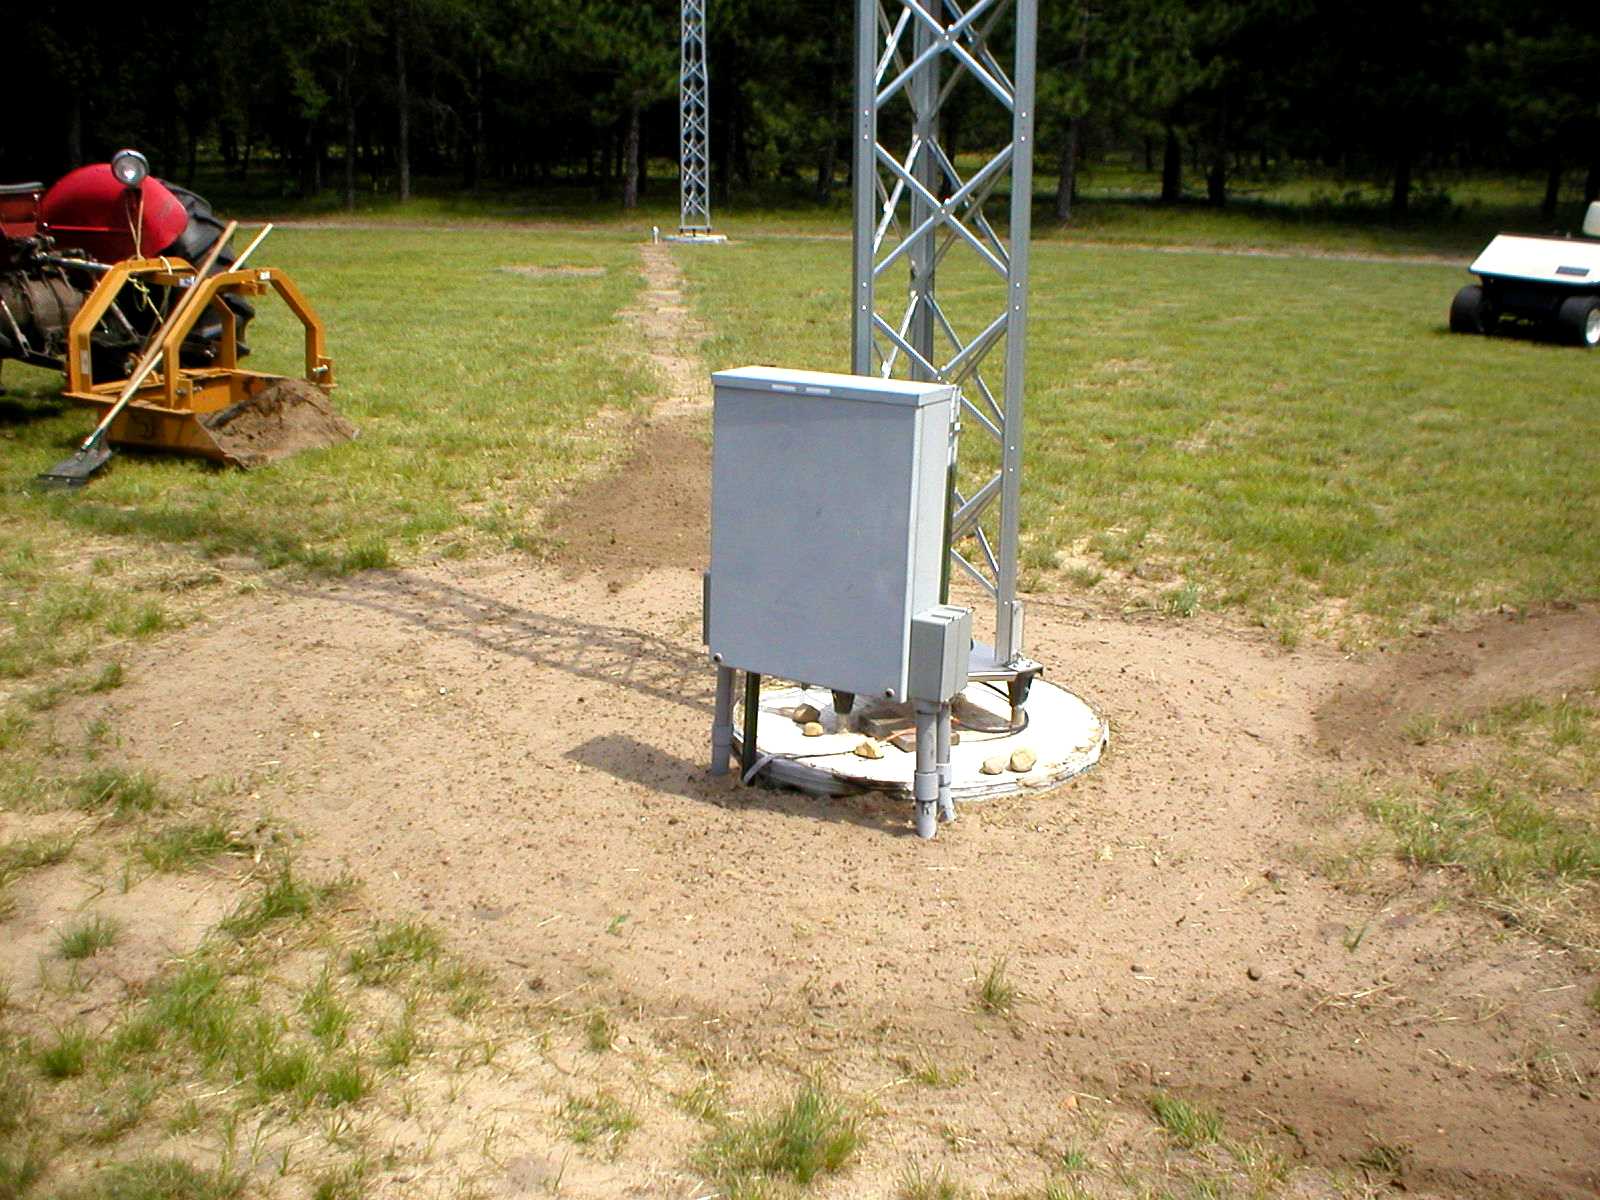
Initial post layout for NEMA 3 box for phasing and switching networks.
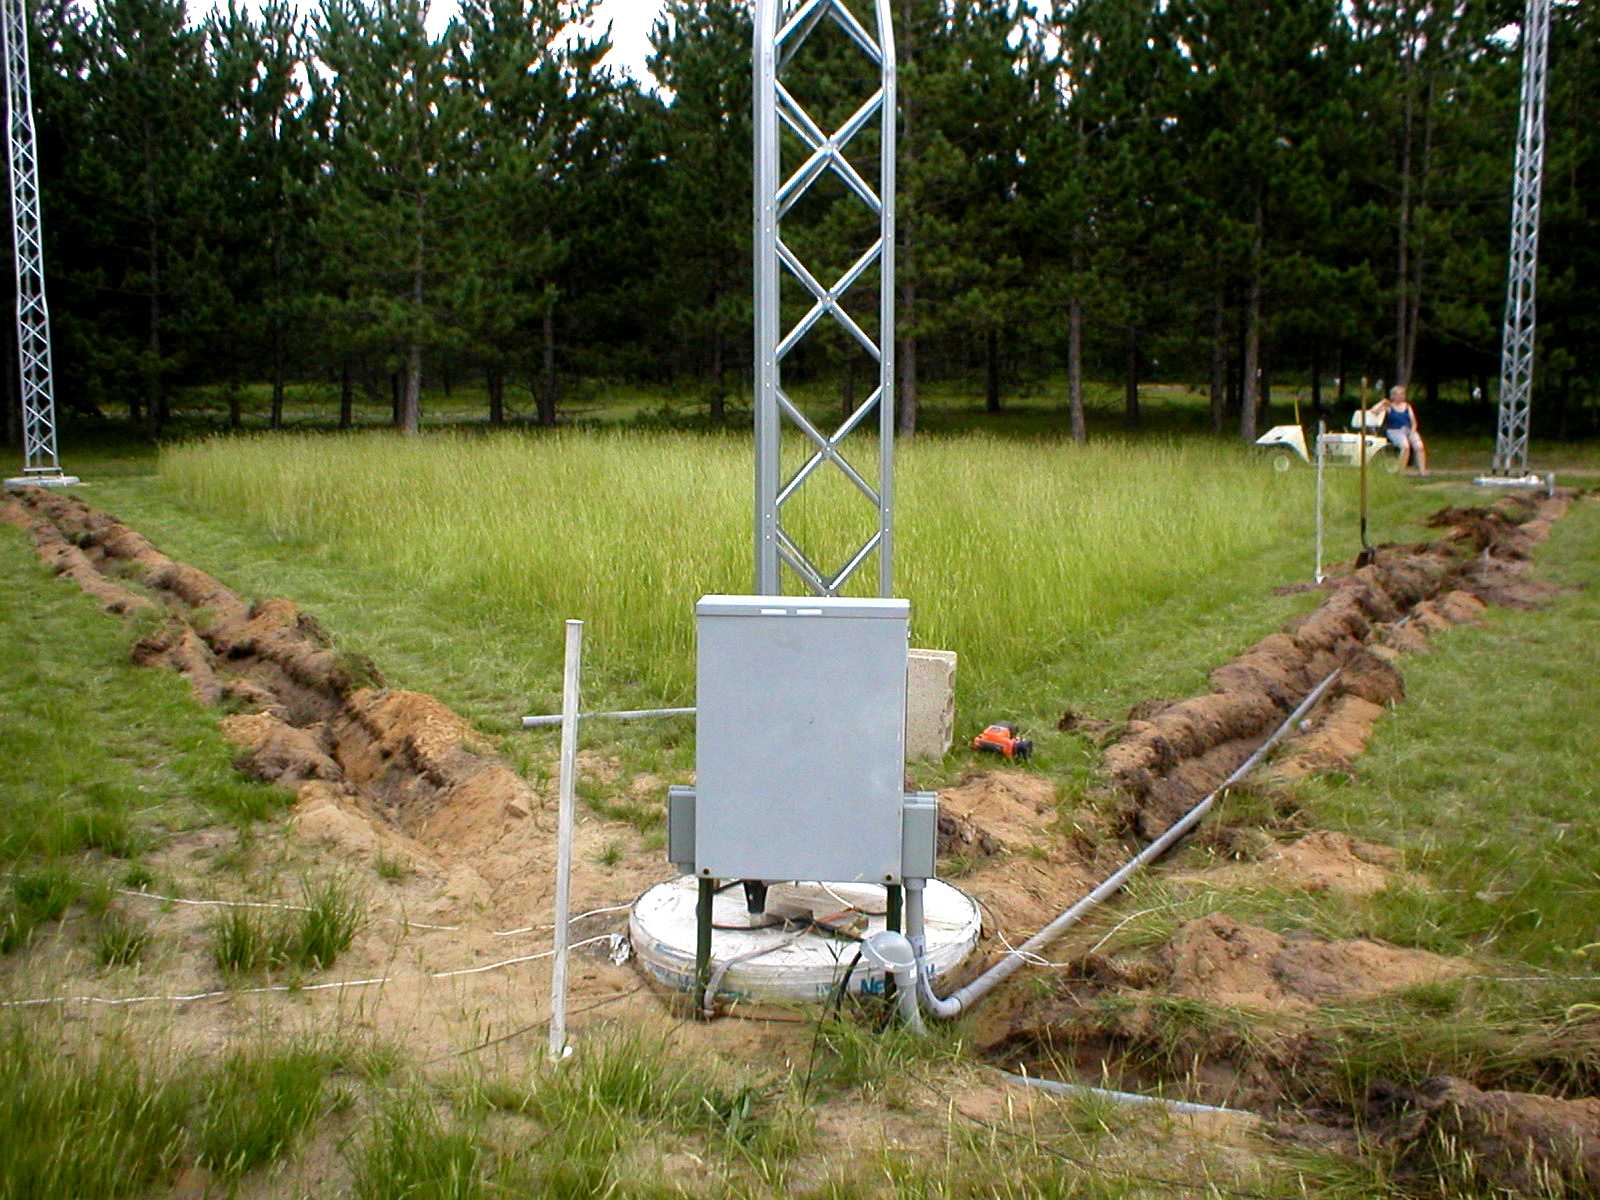
Trenches set for laying conduit.

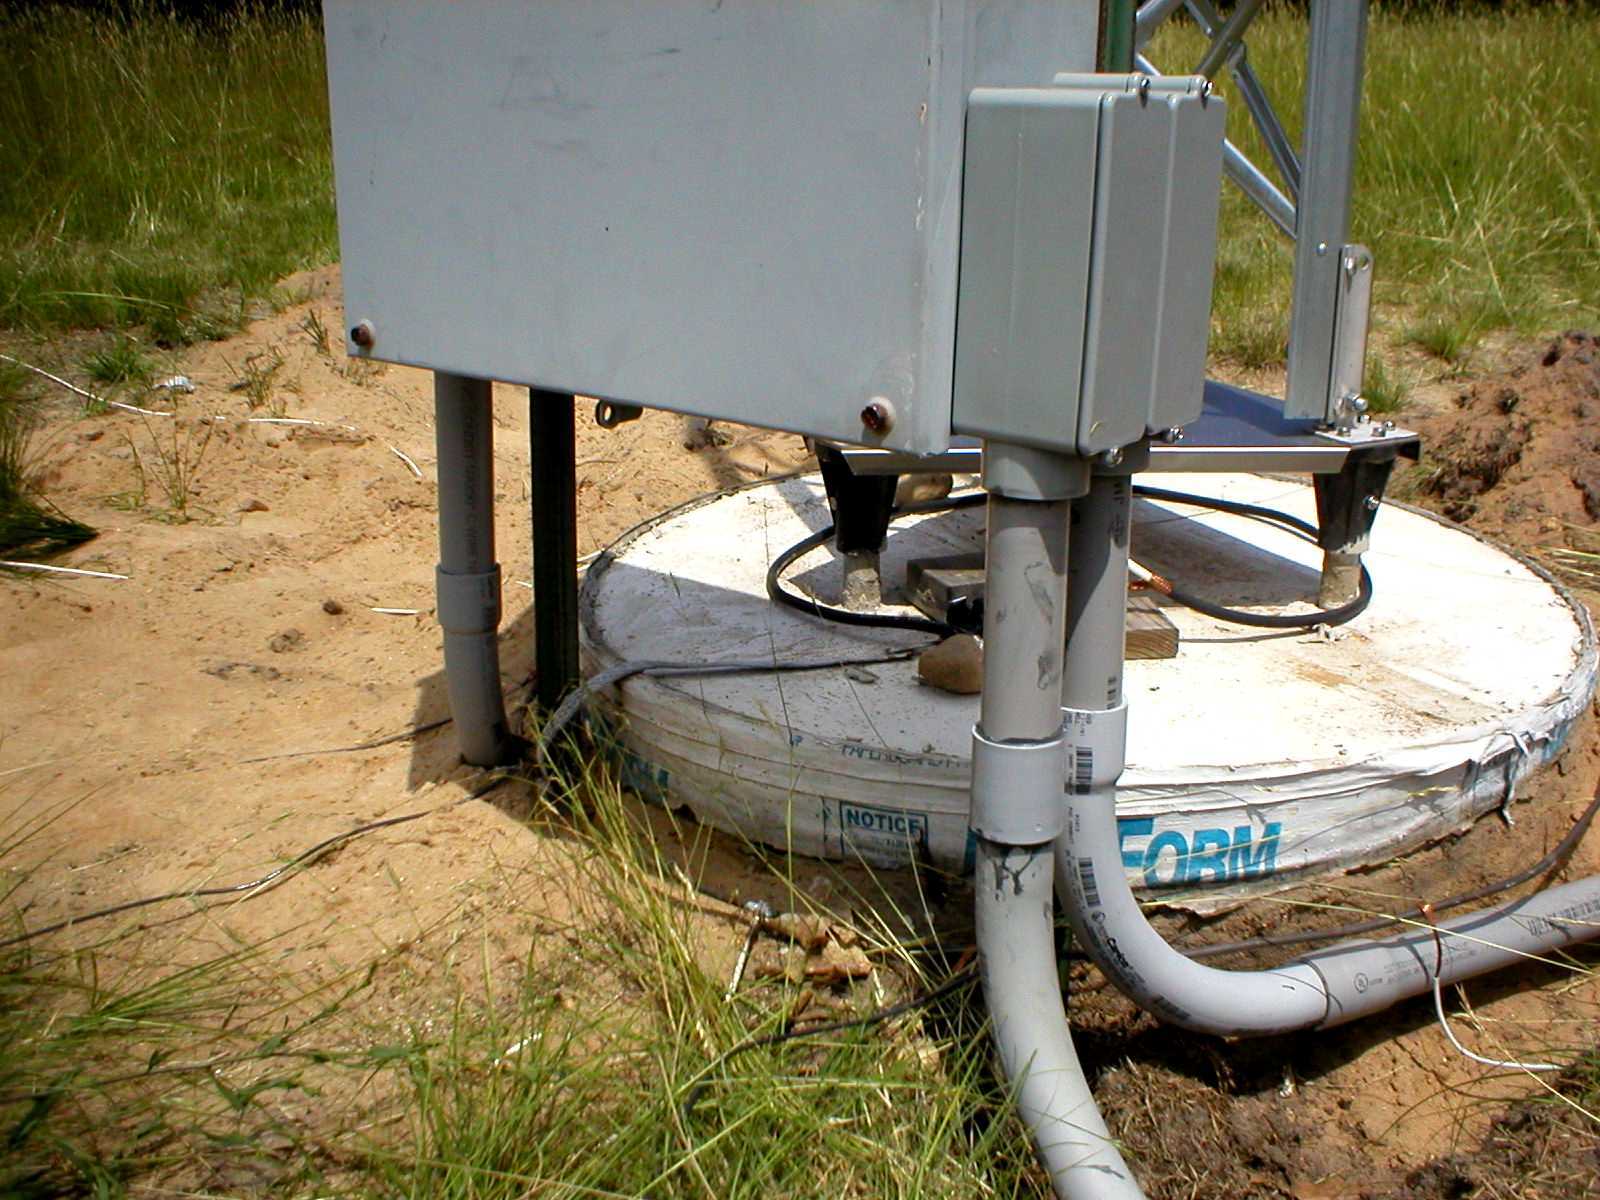
Conduit affixed to phasing box.

Temporary hookup before burying.
Final after counterpoise buried.
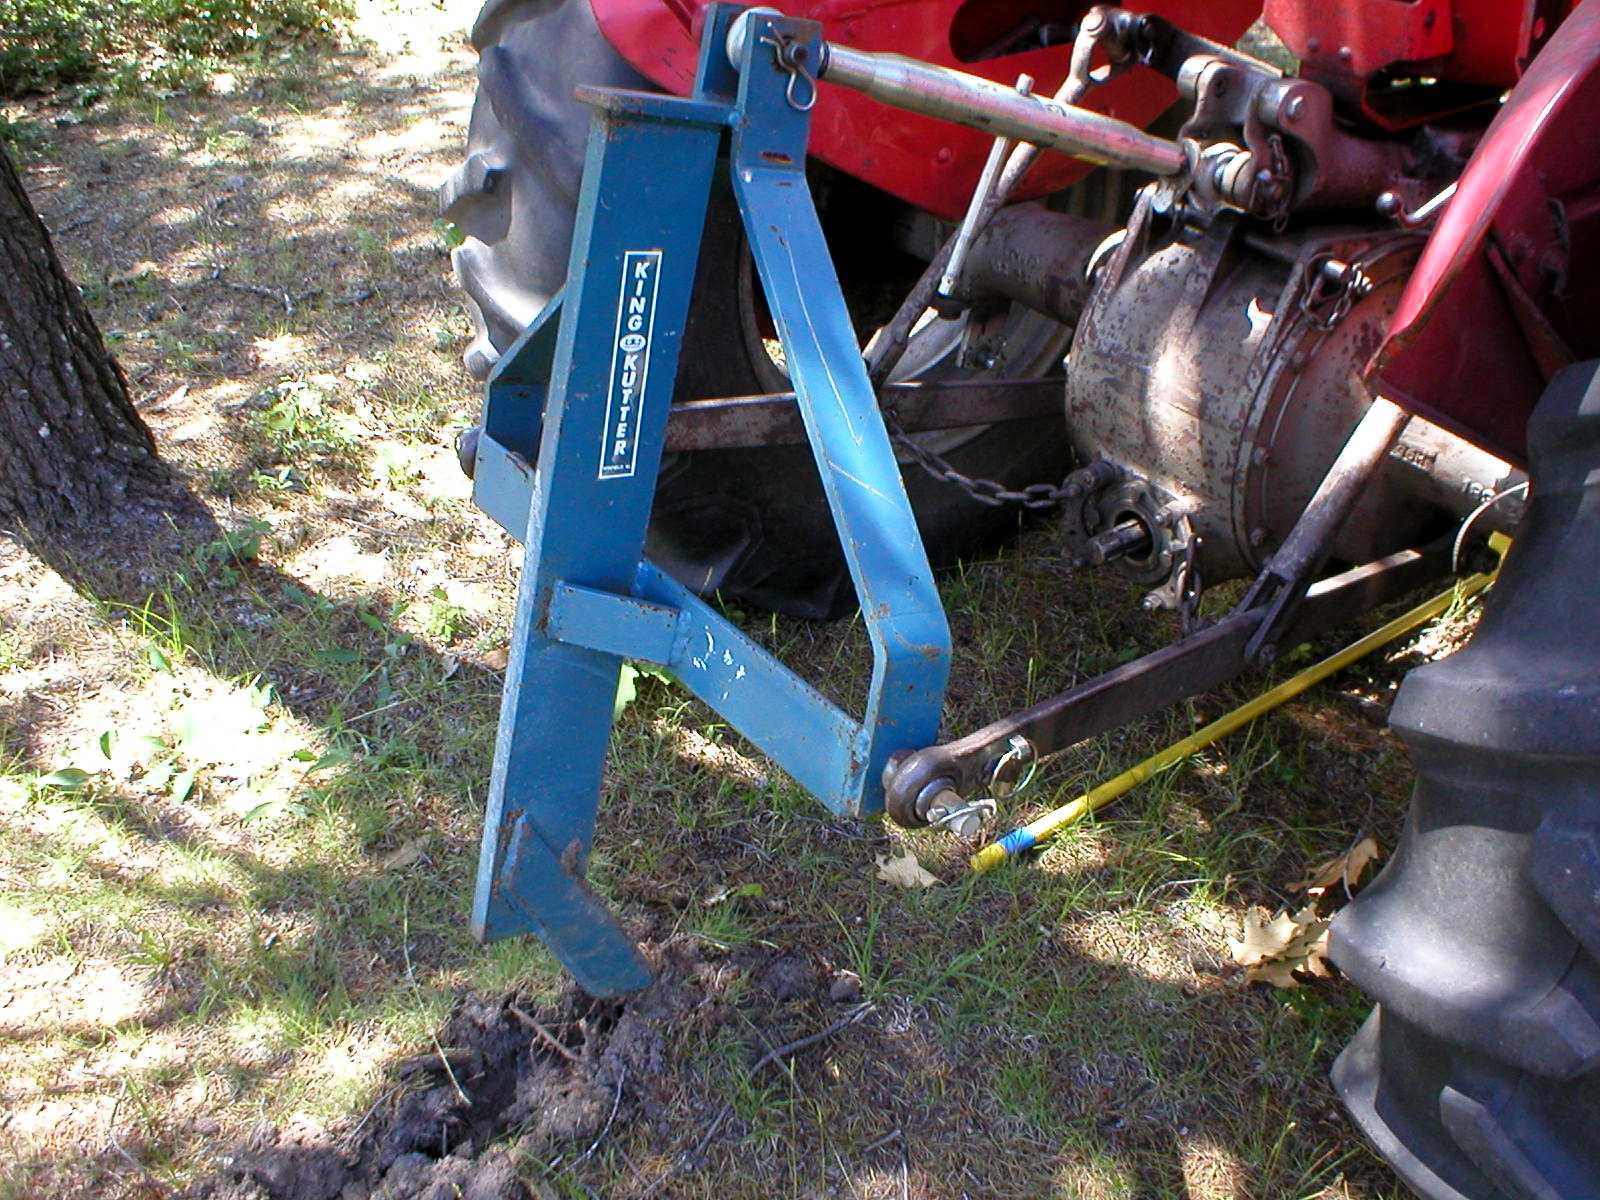
Counterpoise burying machine.
Conduit all underground.
Leveled and seeded.
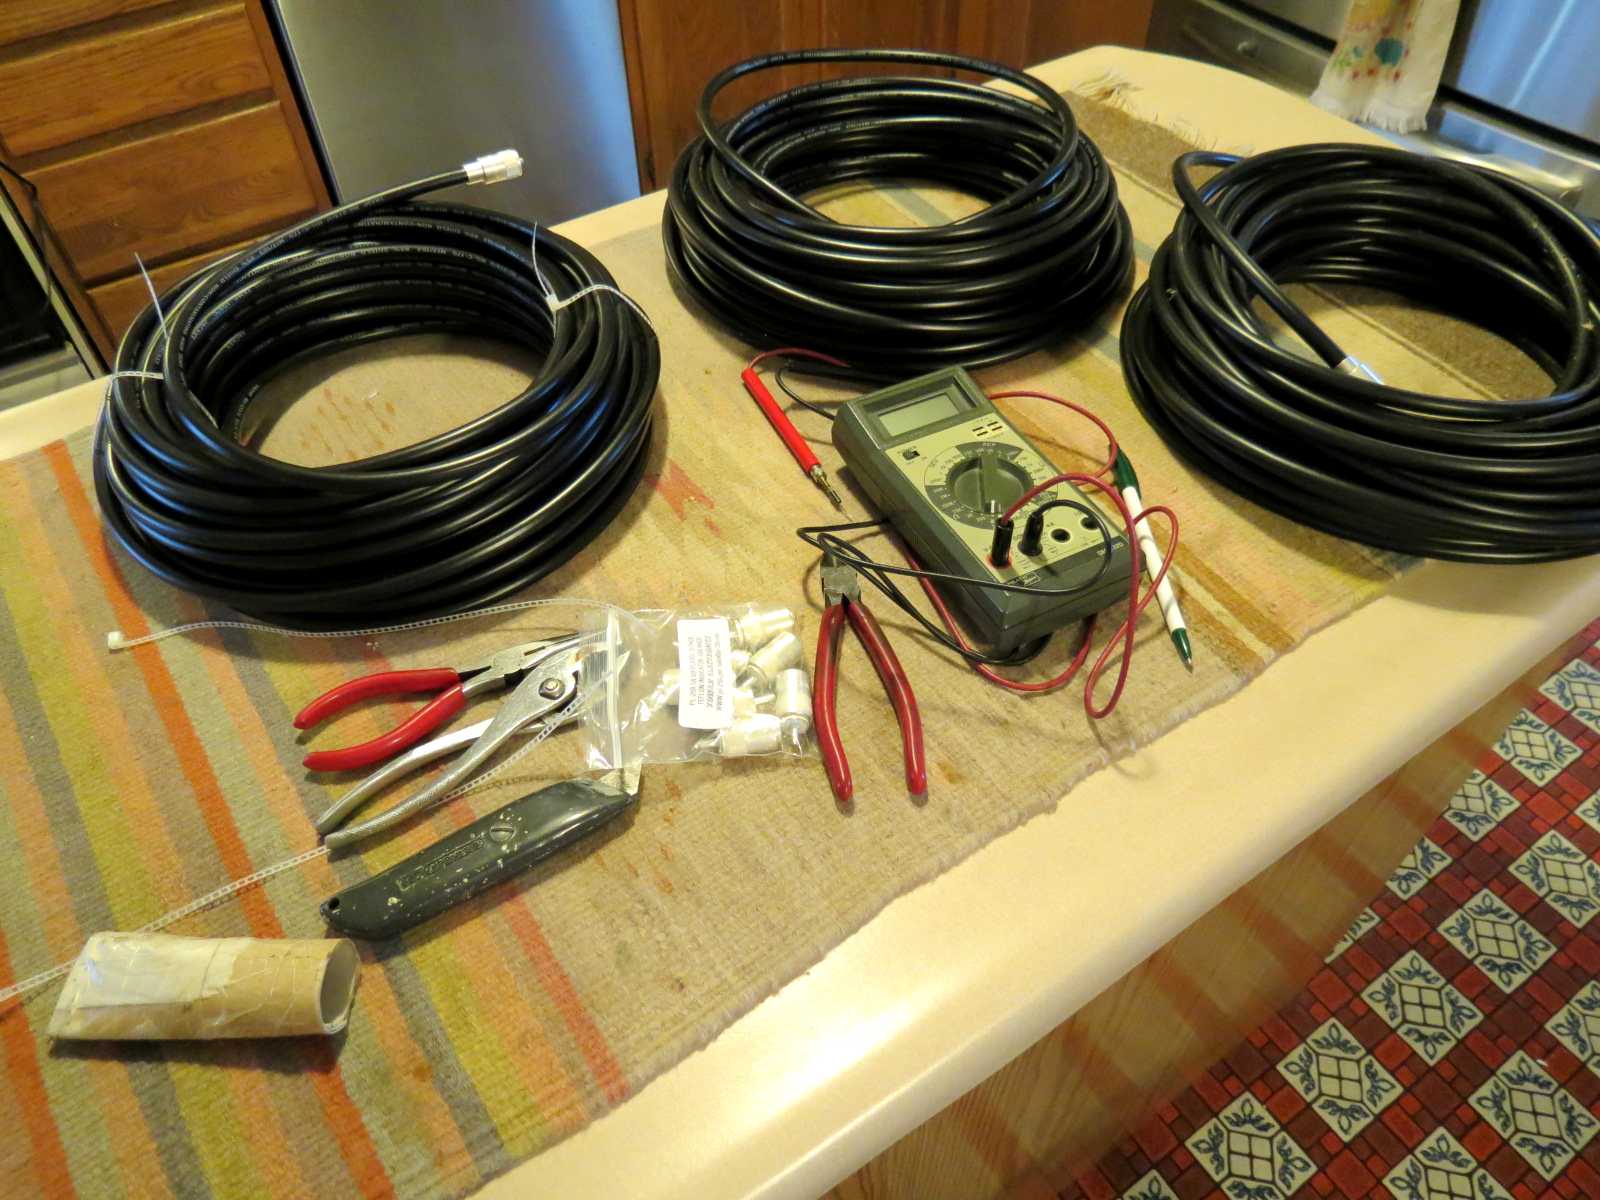
initial connection/phasing lines. Check continuity befor running underground.
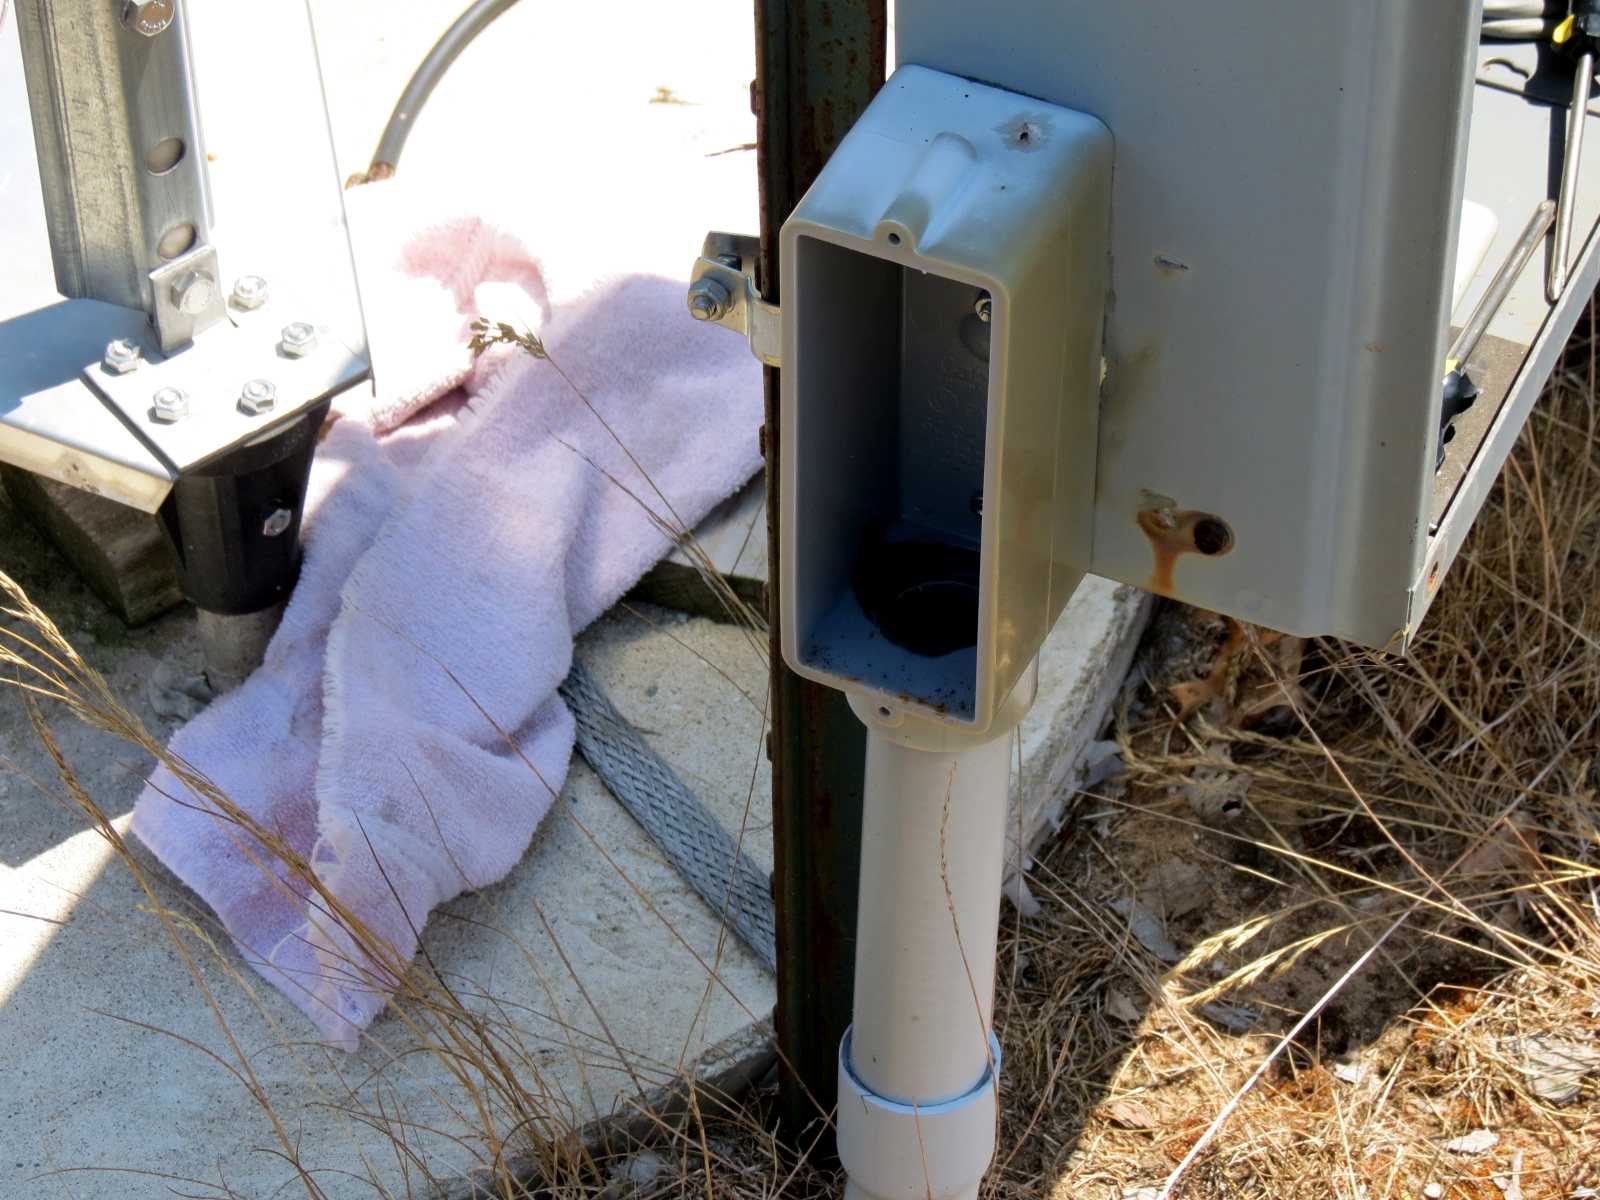
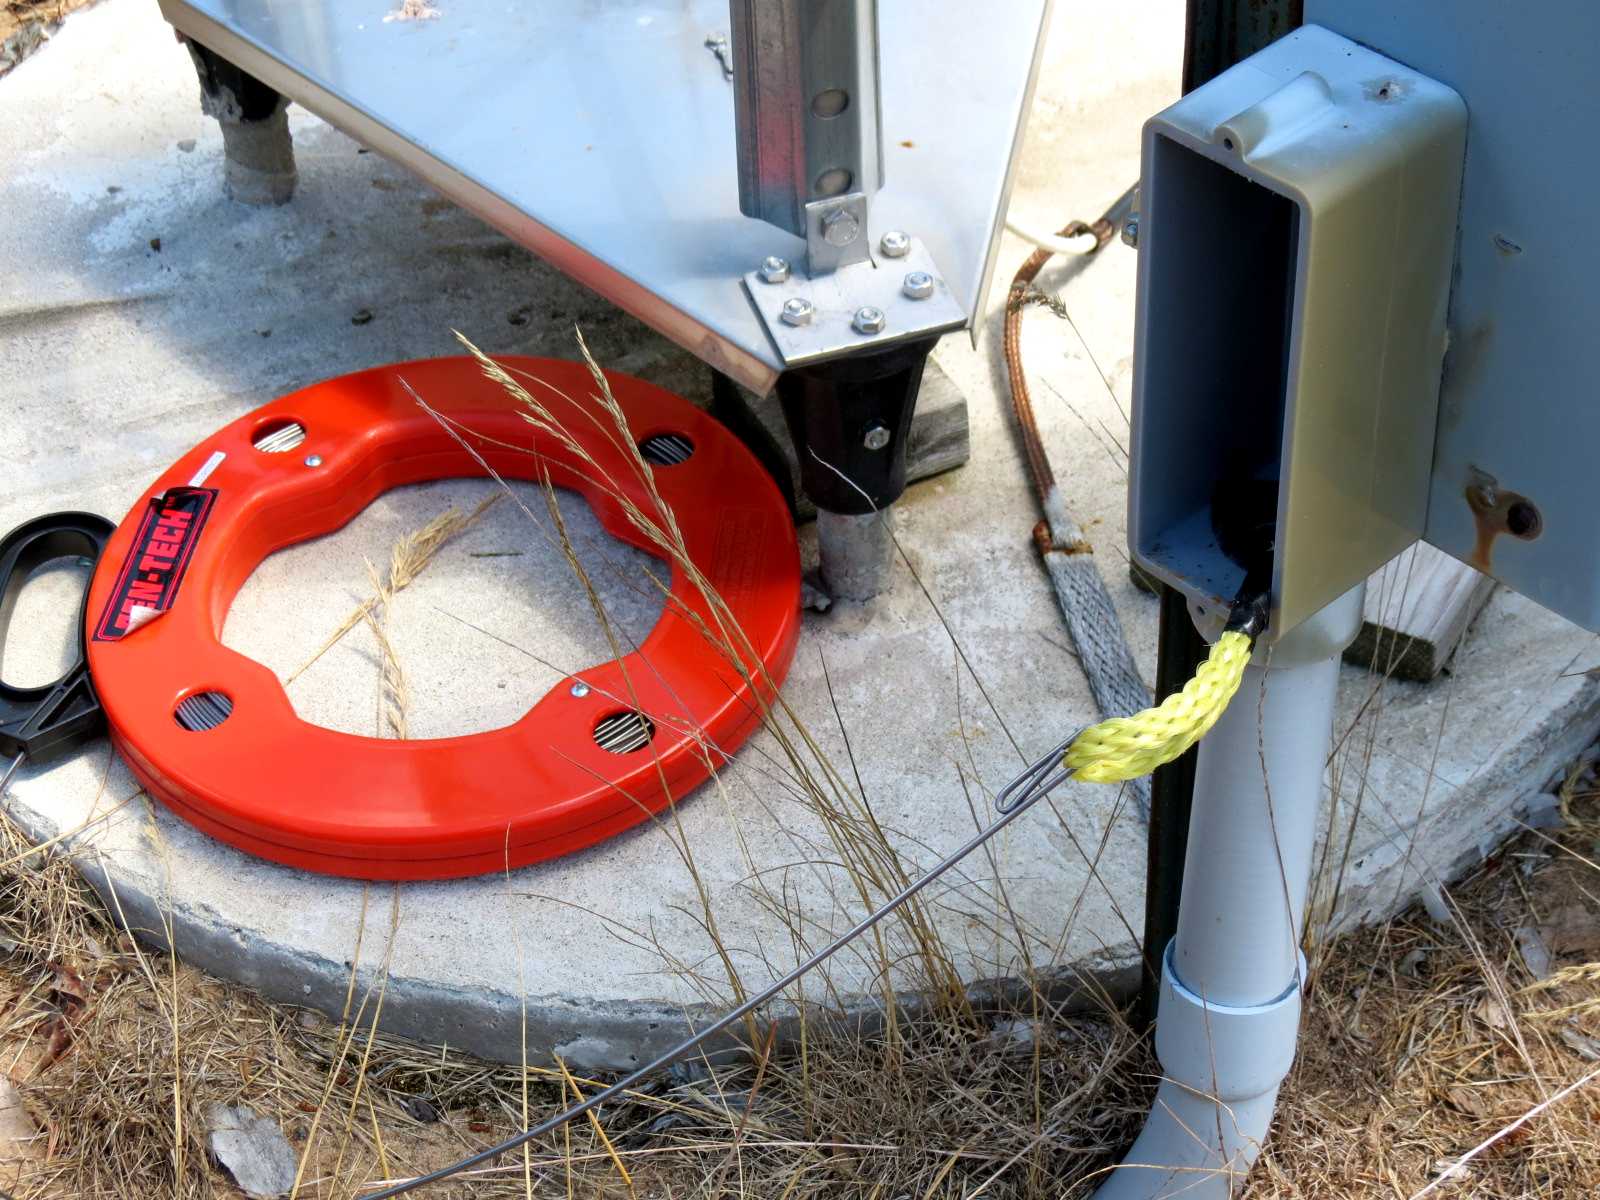
Start of running underground - phasing box end.
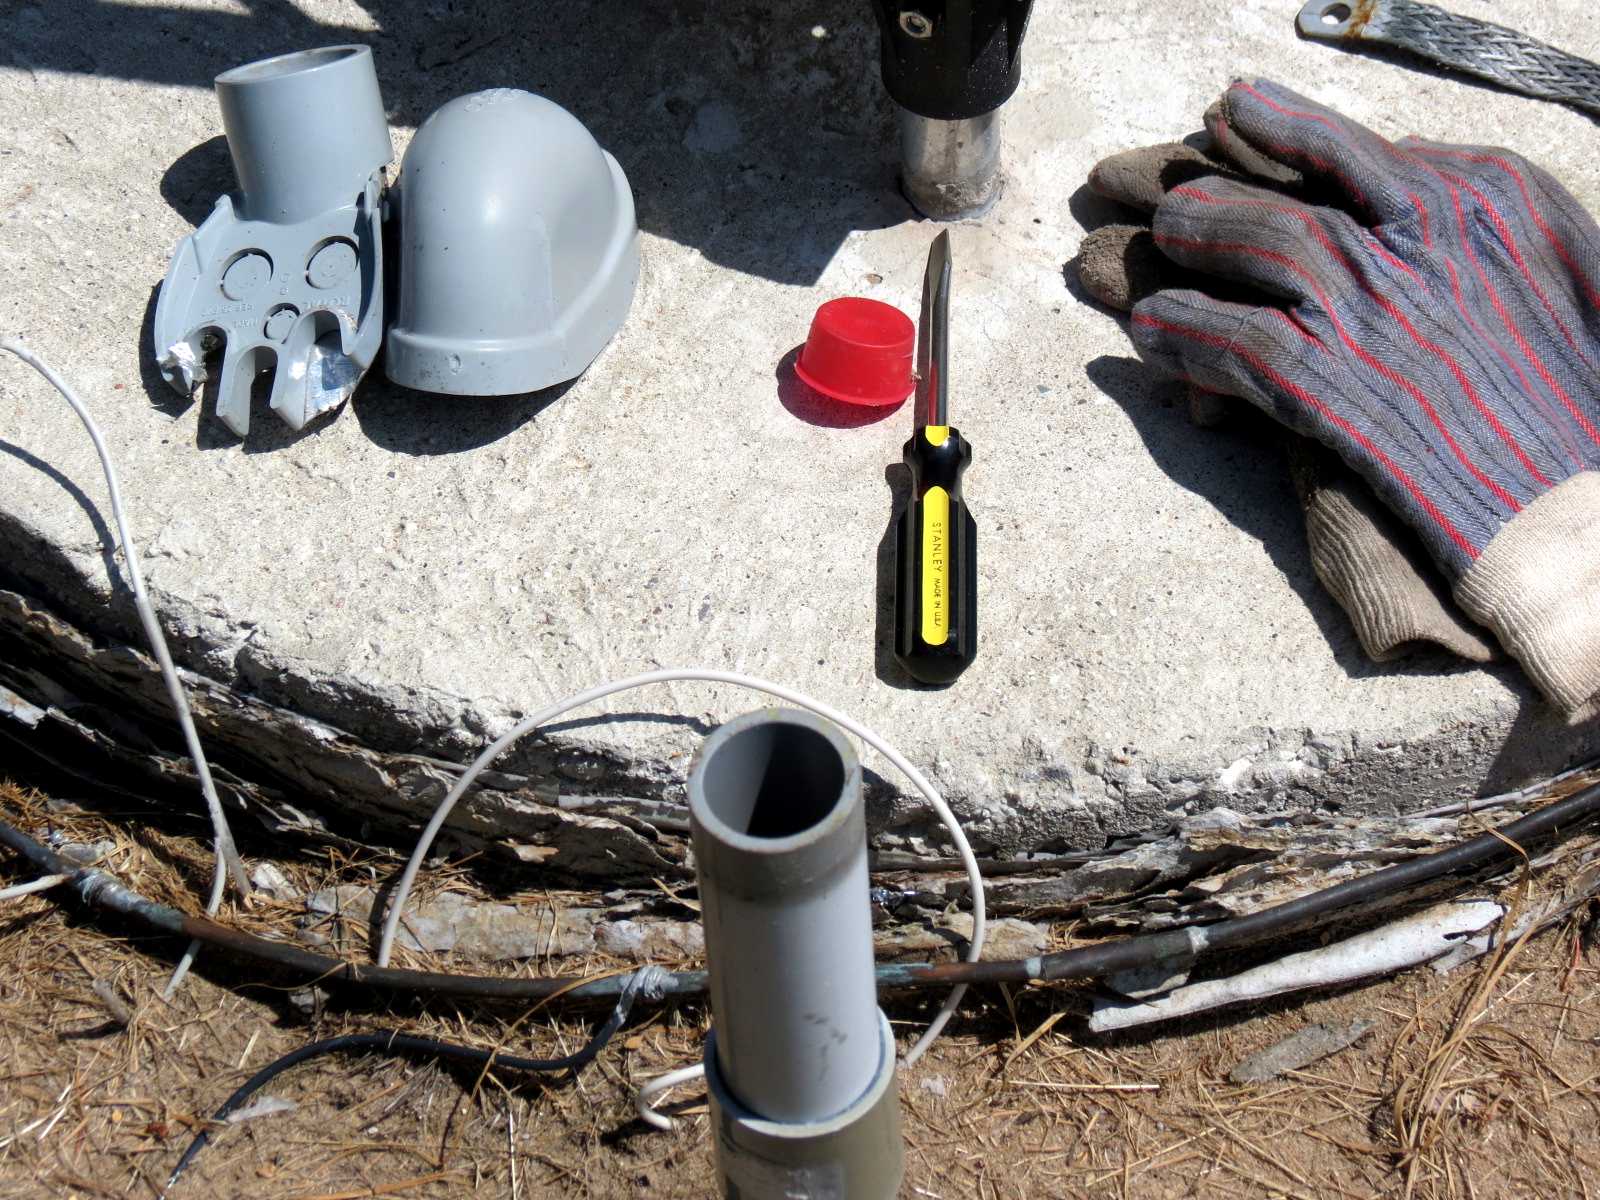
Start at outward tower end.
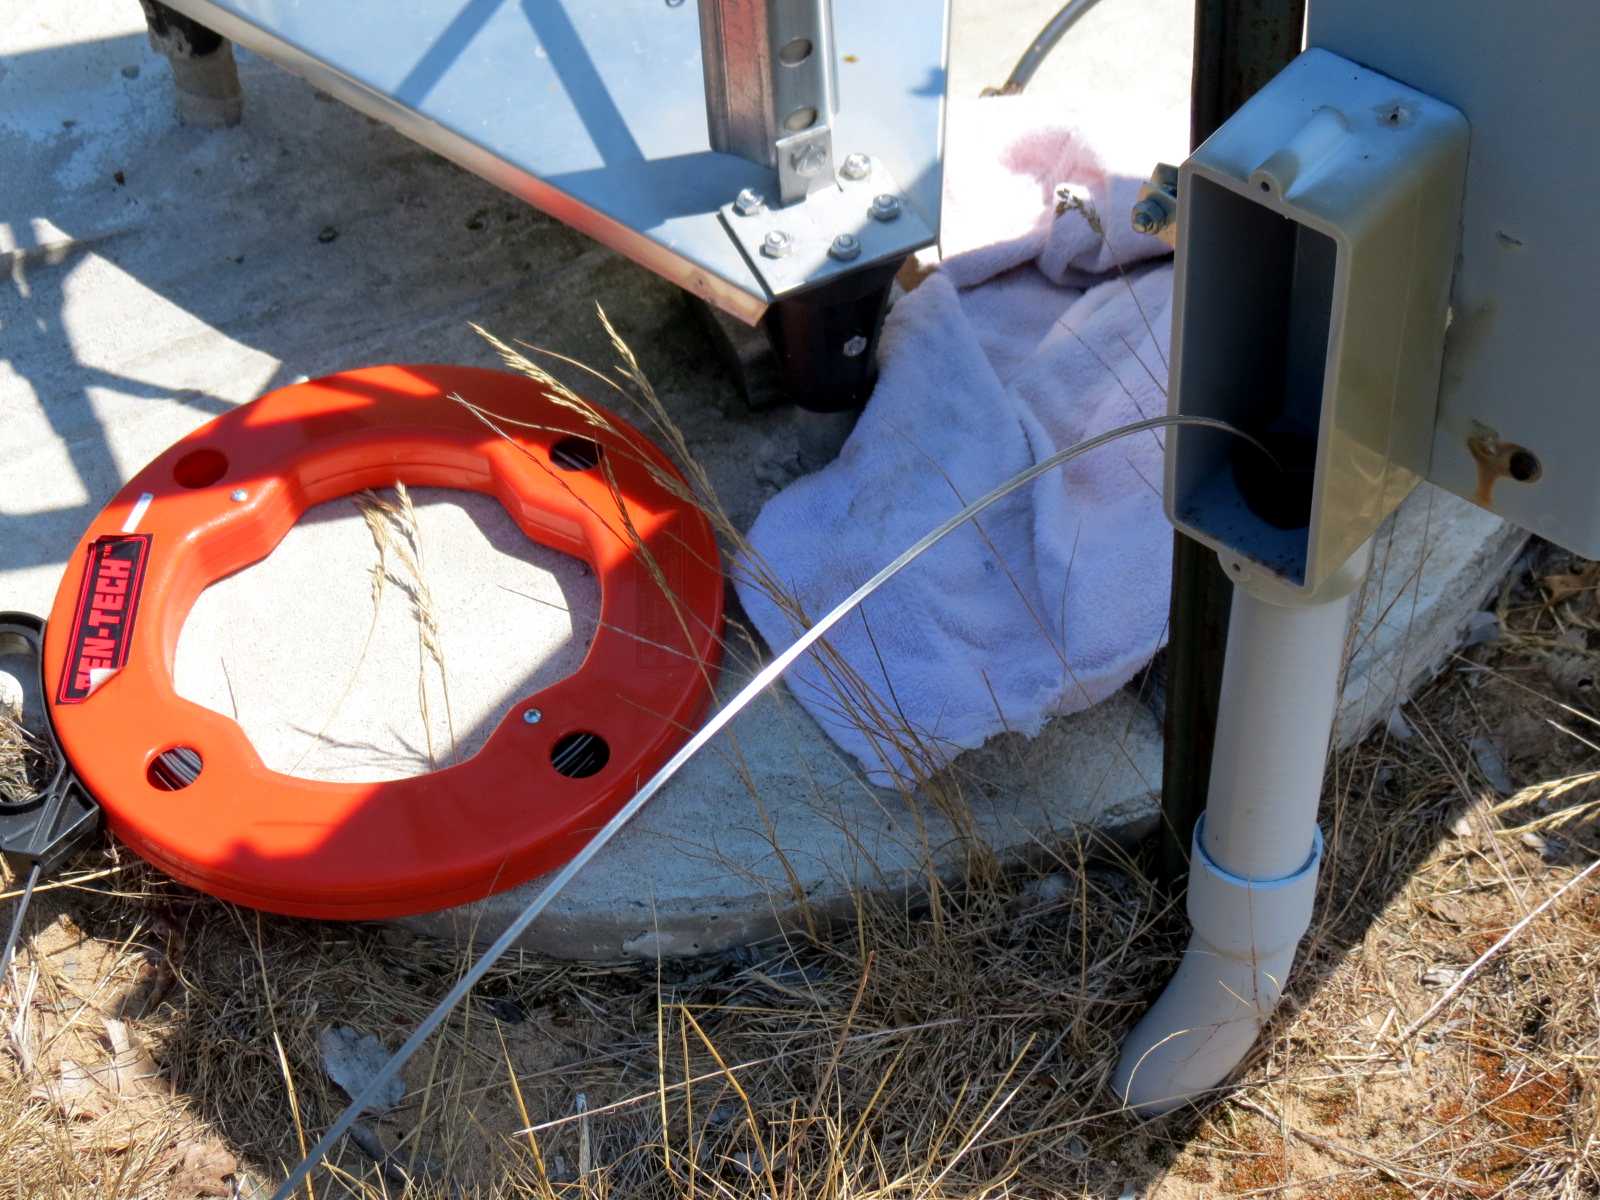
Need long fish wire to pull drag rope.
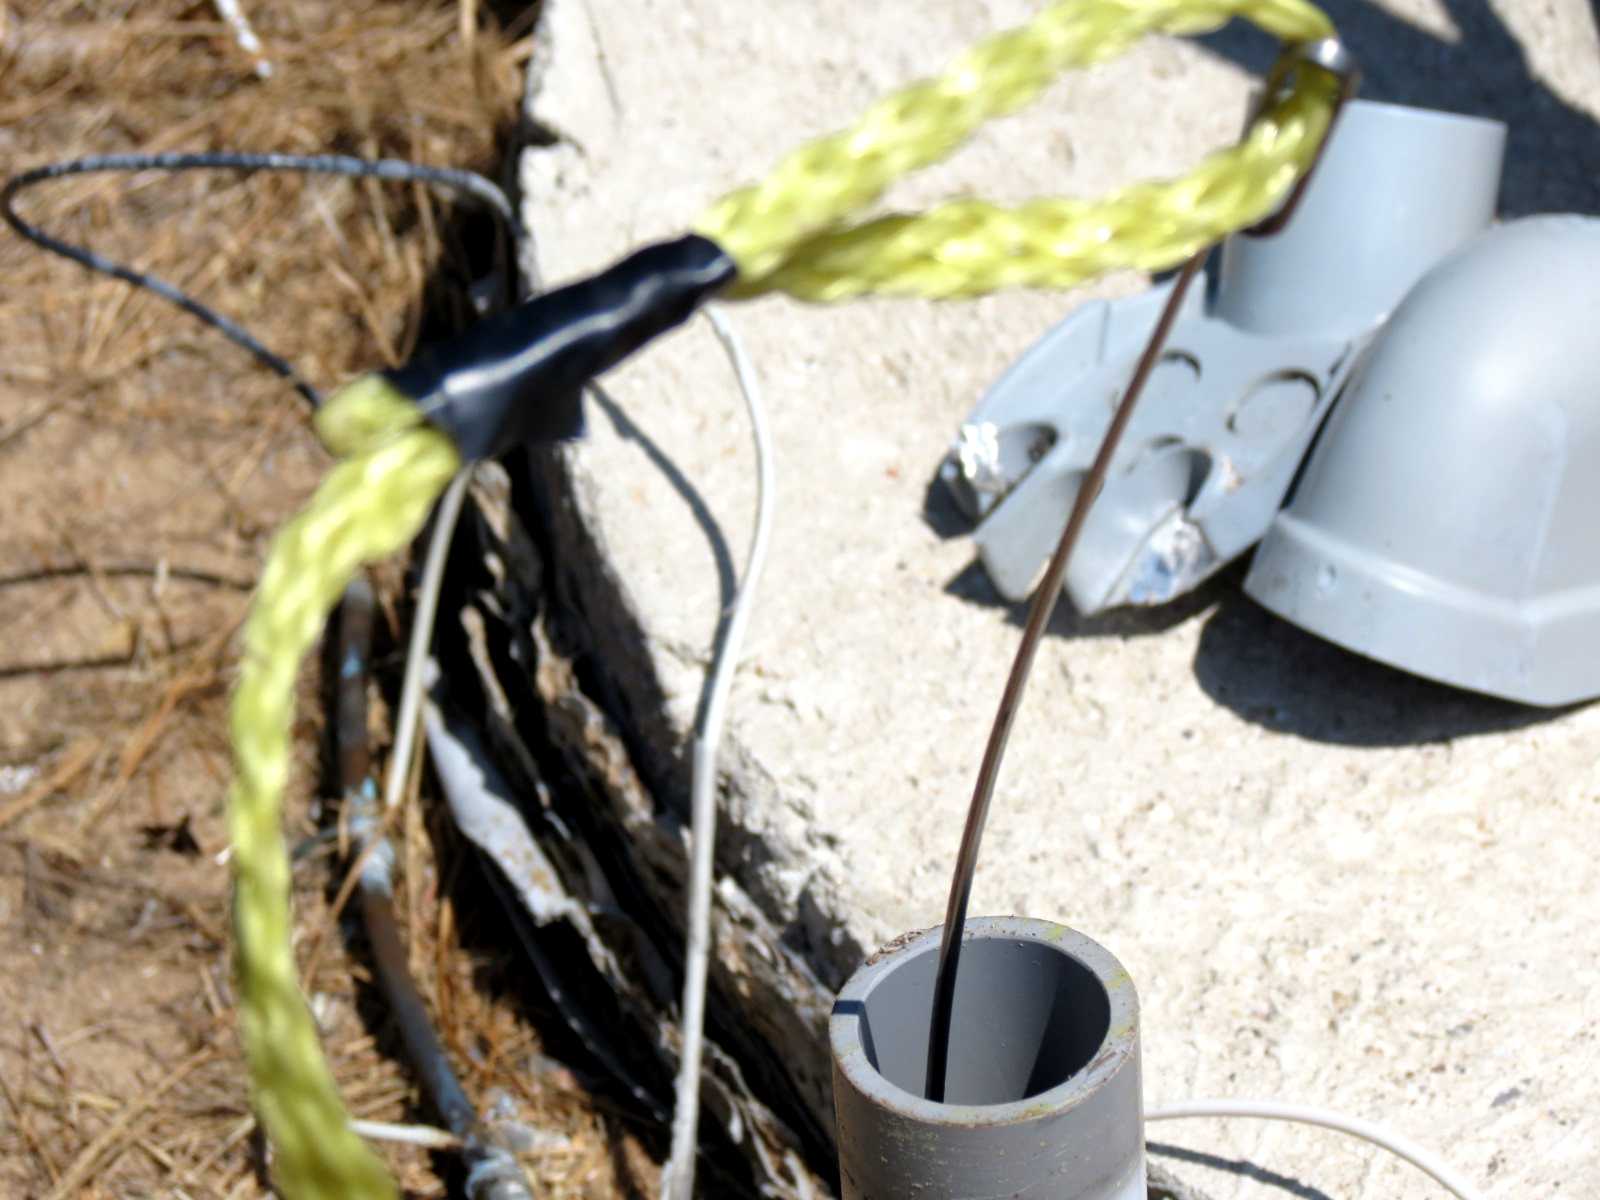
Drag rope on outward end to be pulled.
Made it ok. Now to attach coax for underground run.
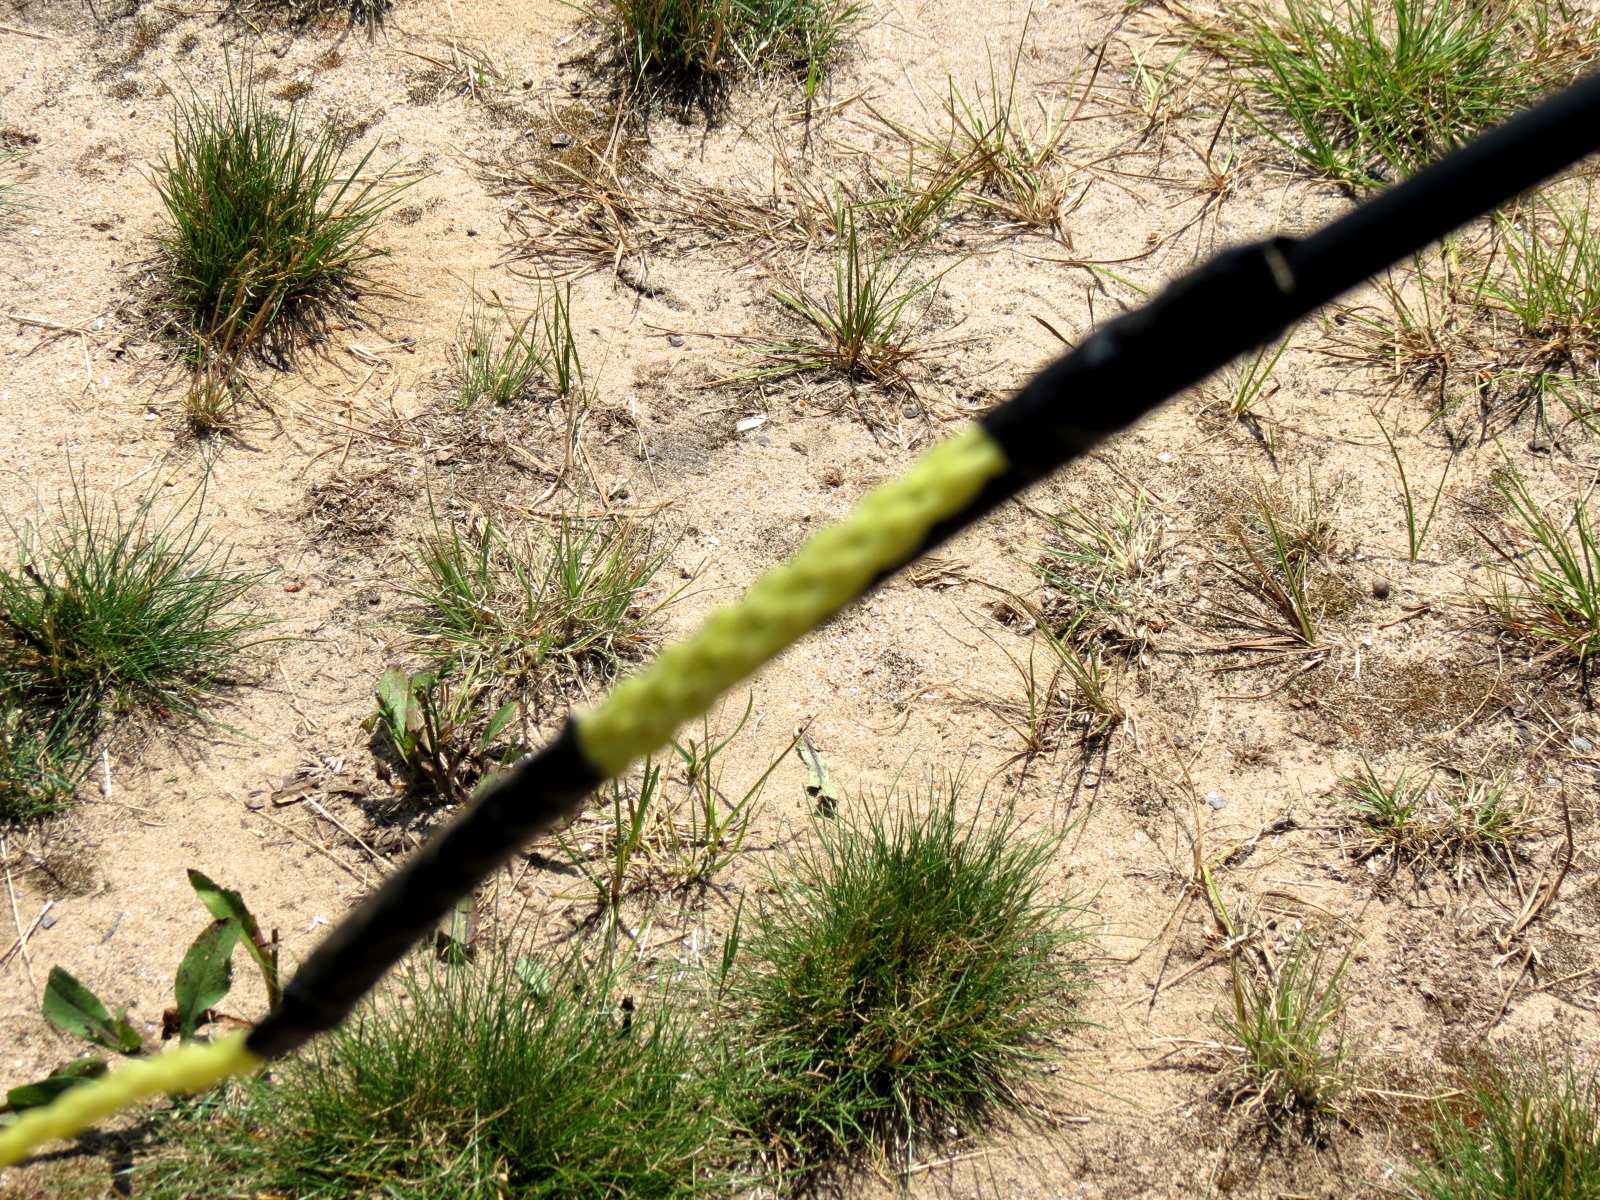
Coax attached to drag rope. Attach it well so it won't pull loose.
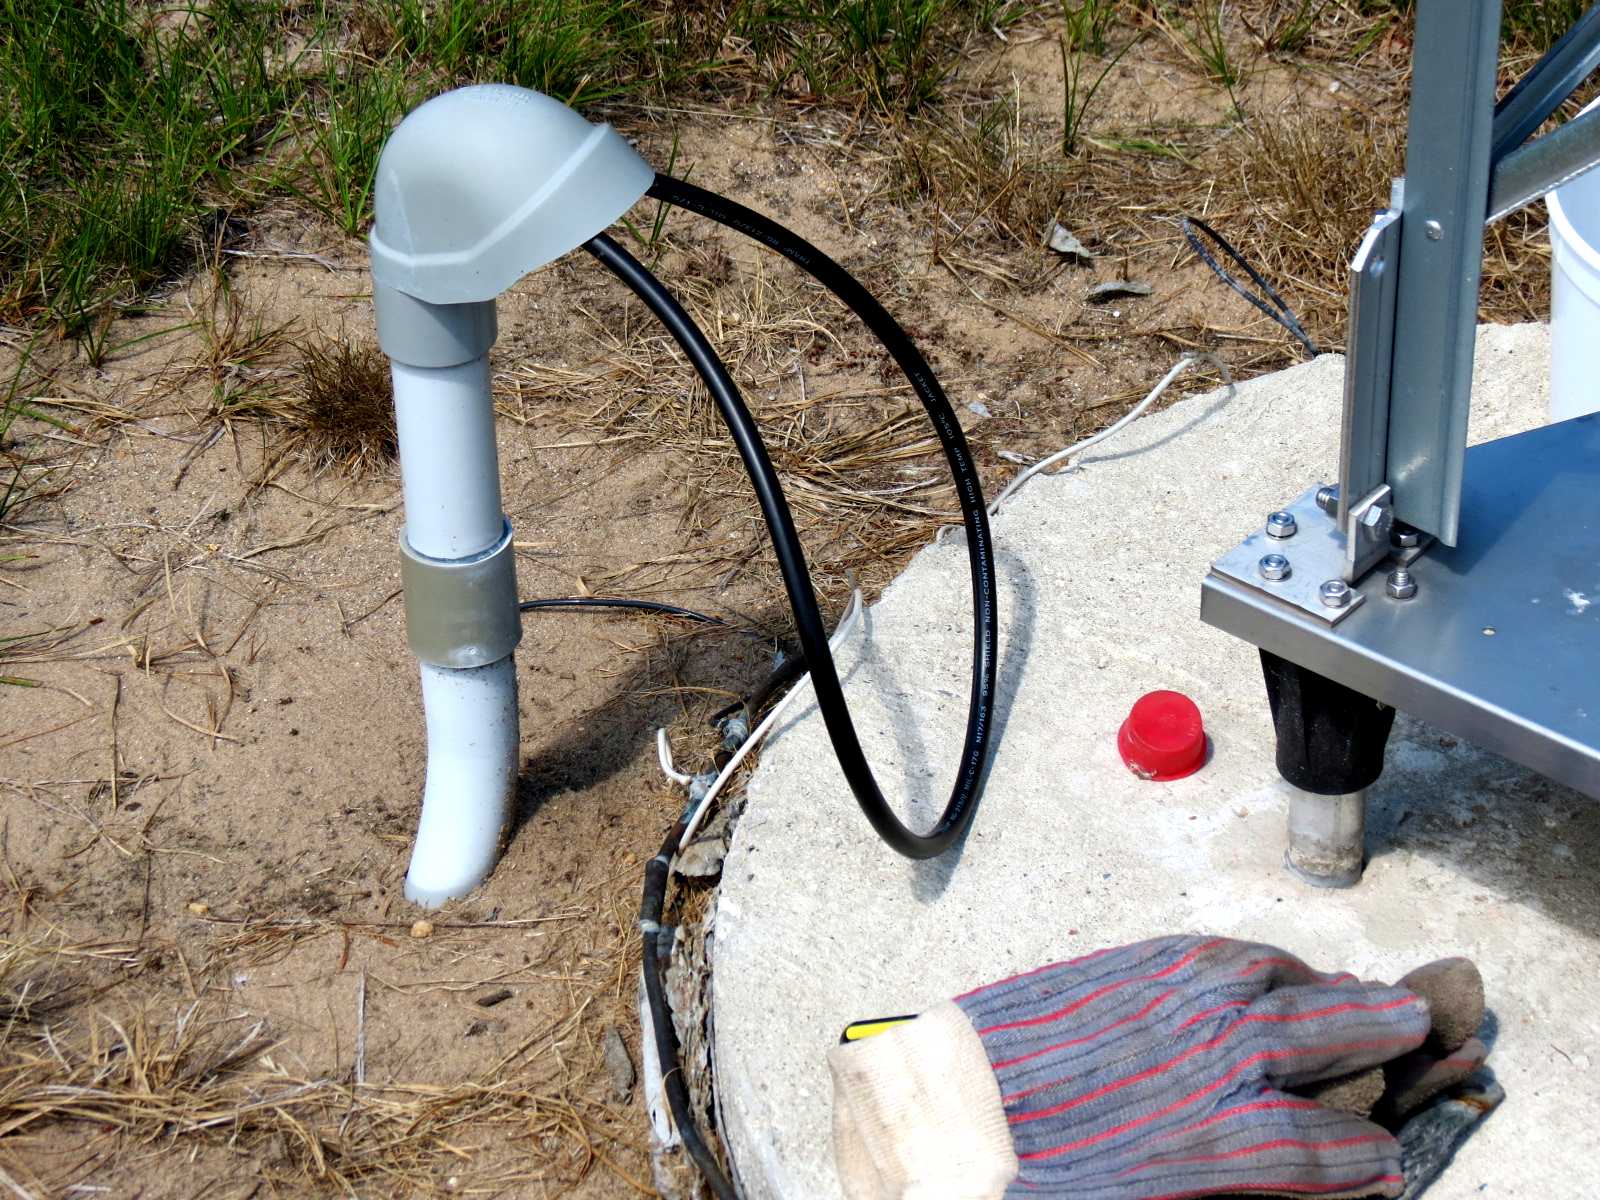
Looped back on itself for WX protection until final attachment.

Starting to make antenna attachment pigtail.
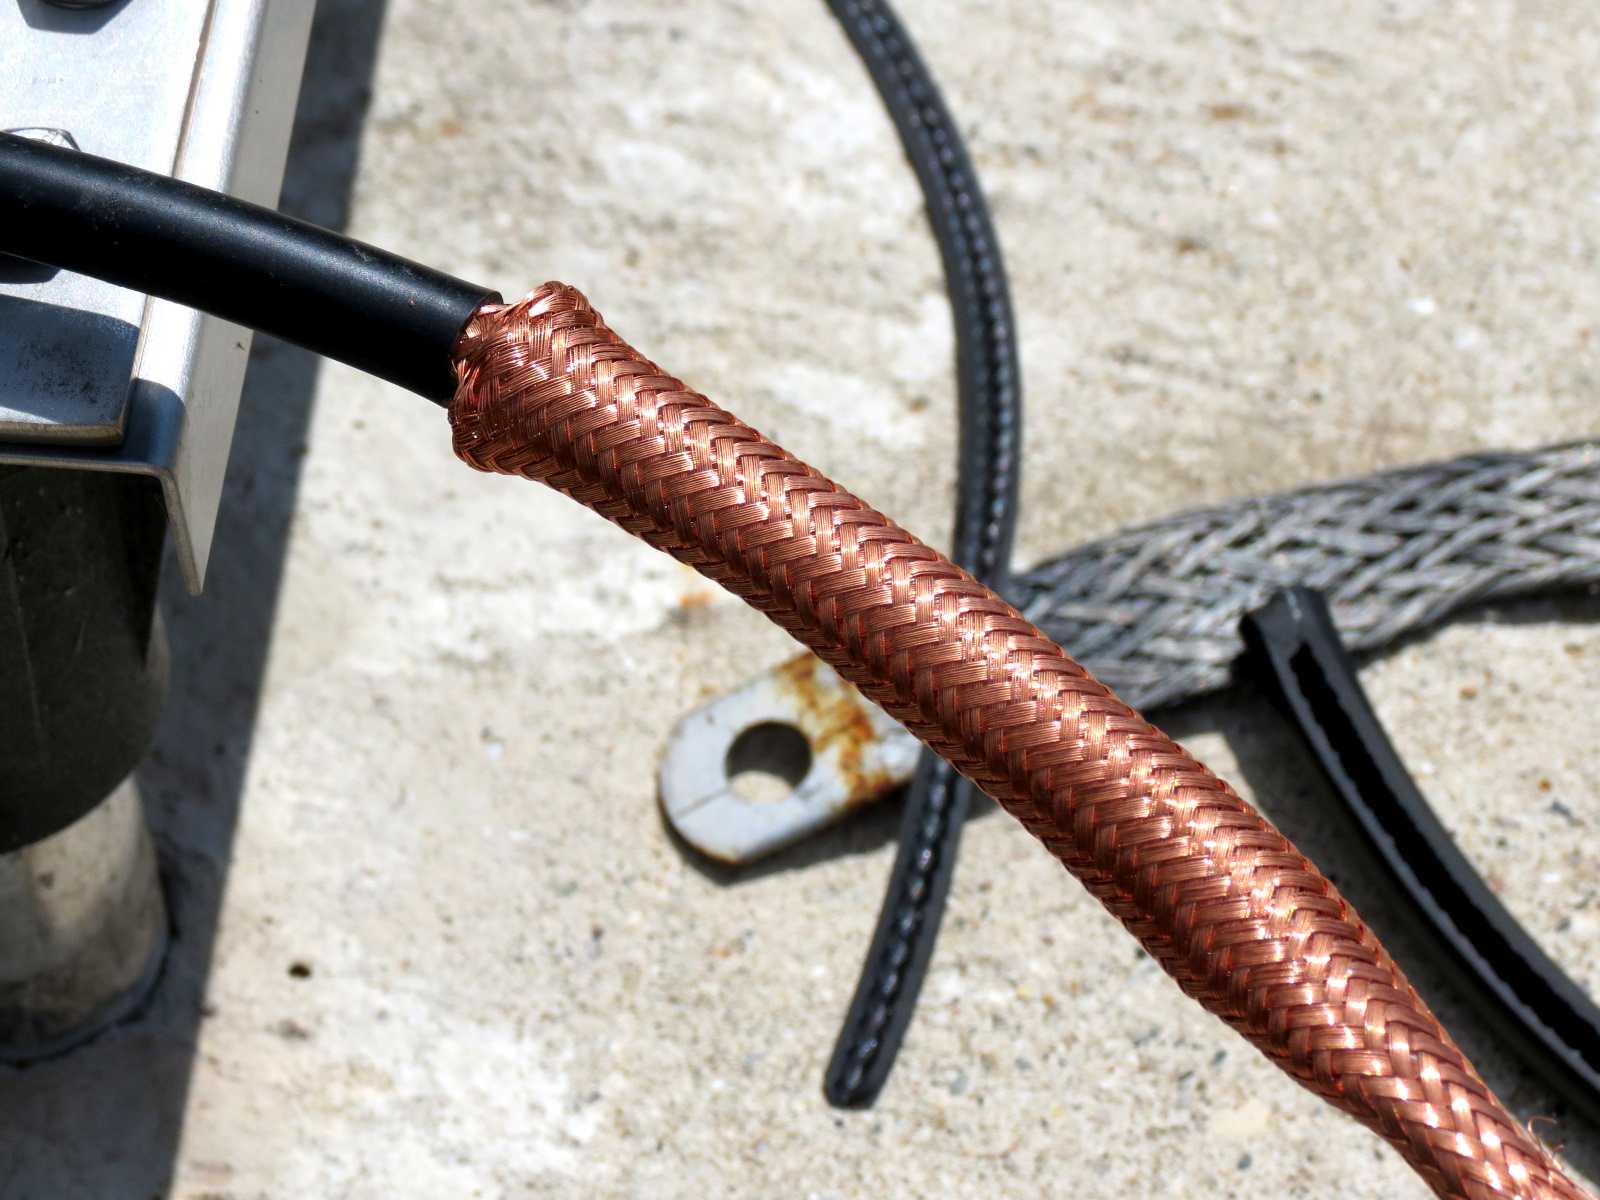
After initial outer cover removal, push shield back to loosen.
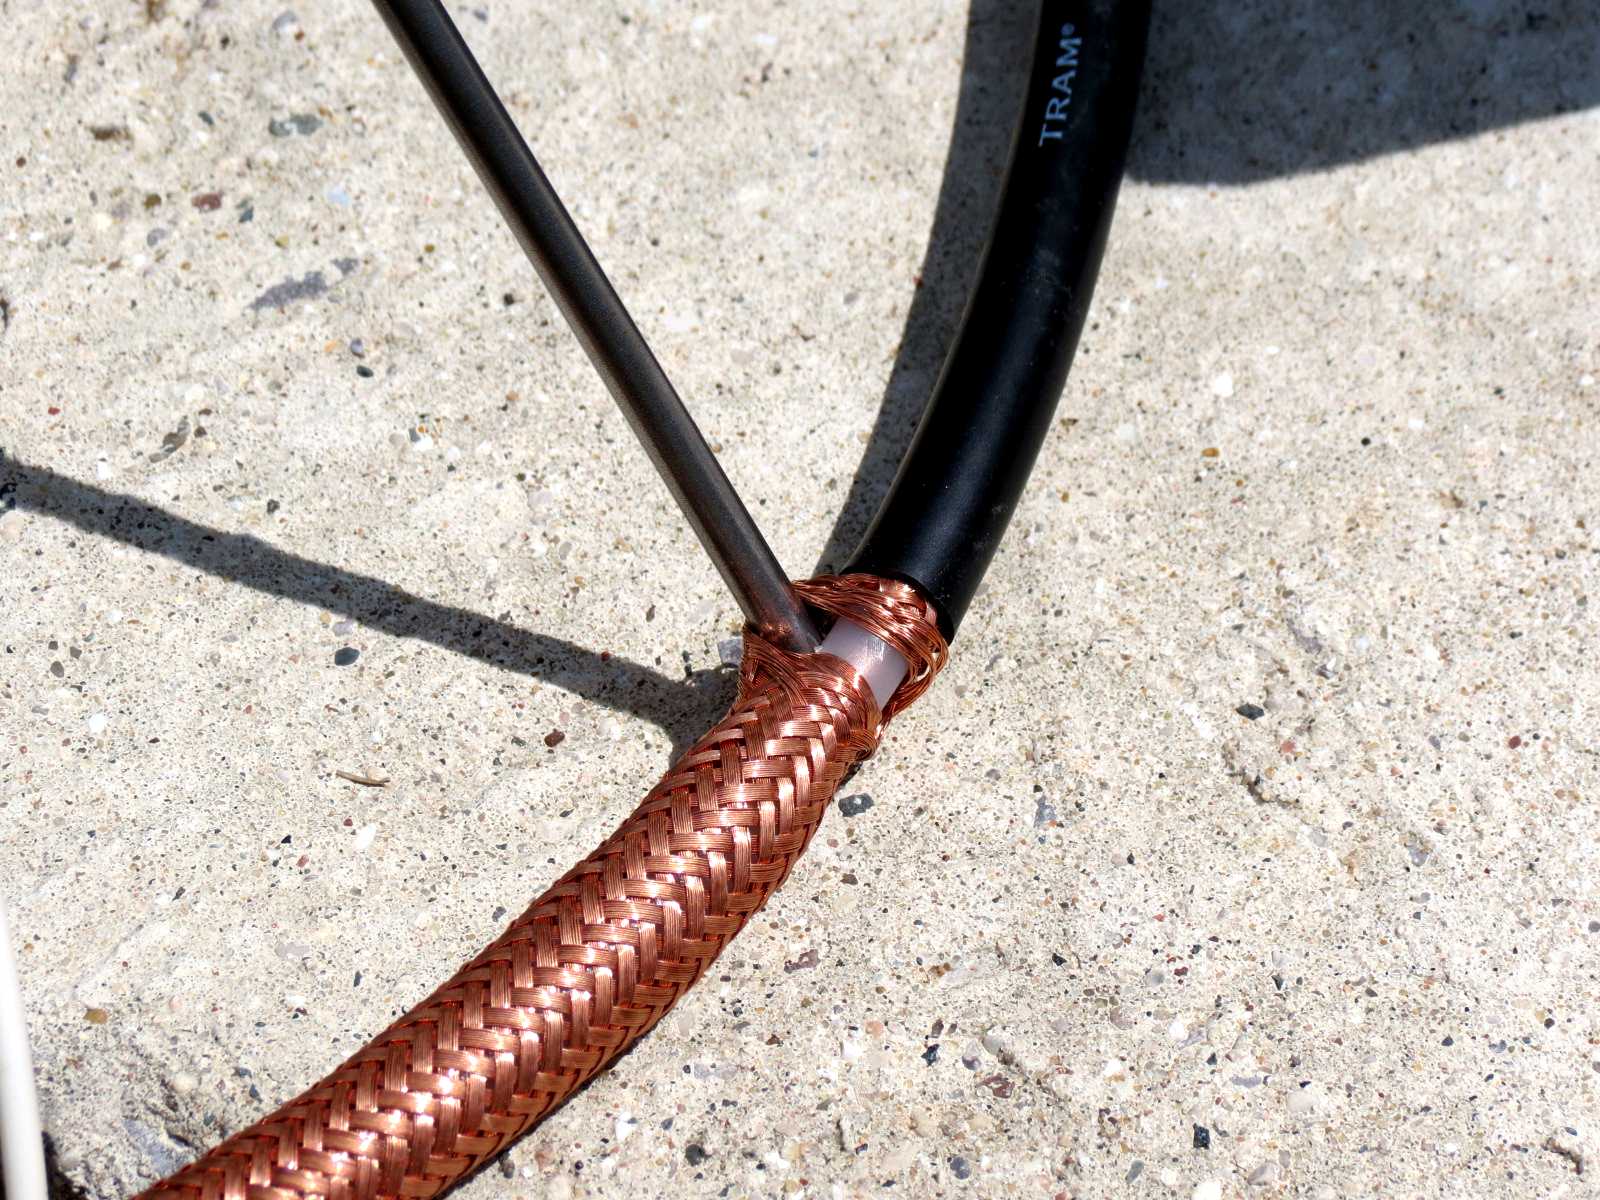
Work small diameter pin under center dielectric to start separating shield.
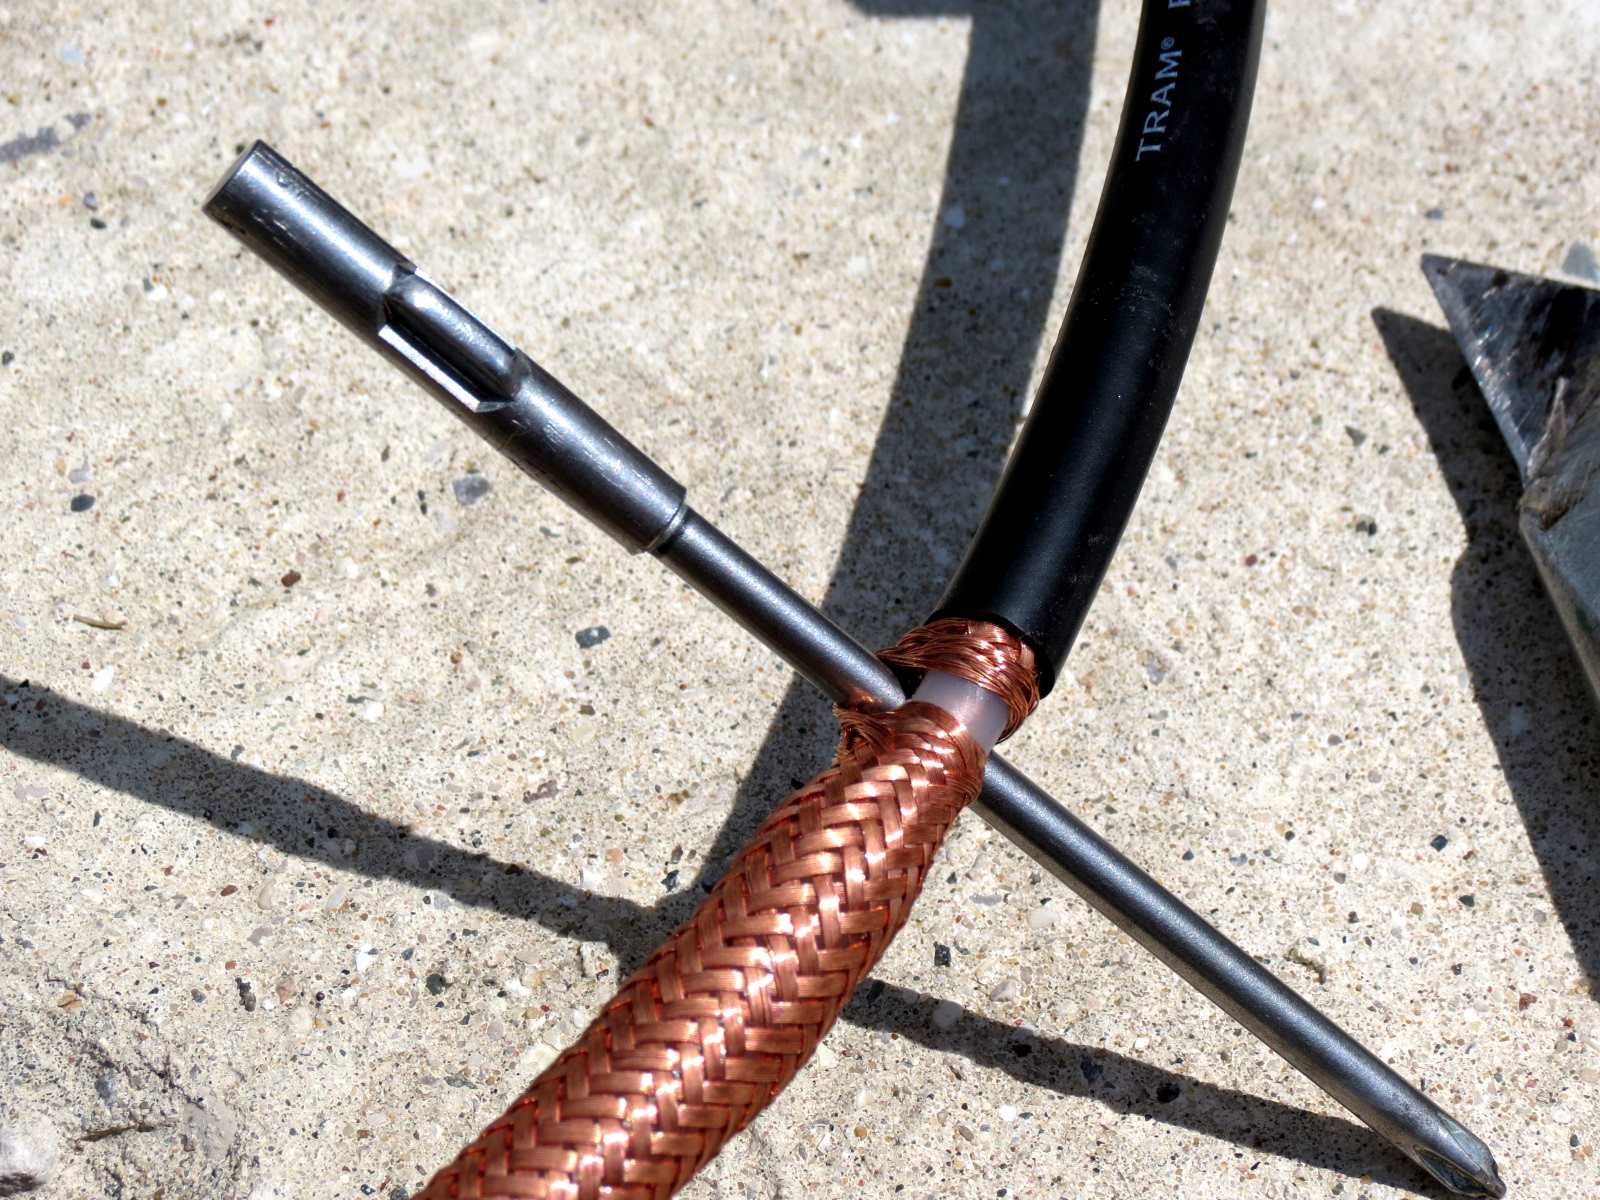
Pushed through and ready to separate.

Initial separation by pulling center conductor free of braid.
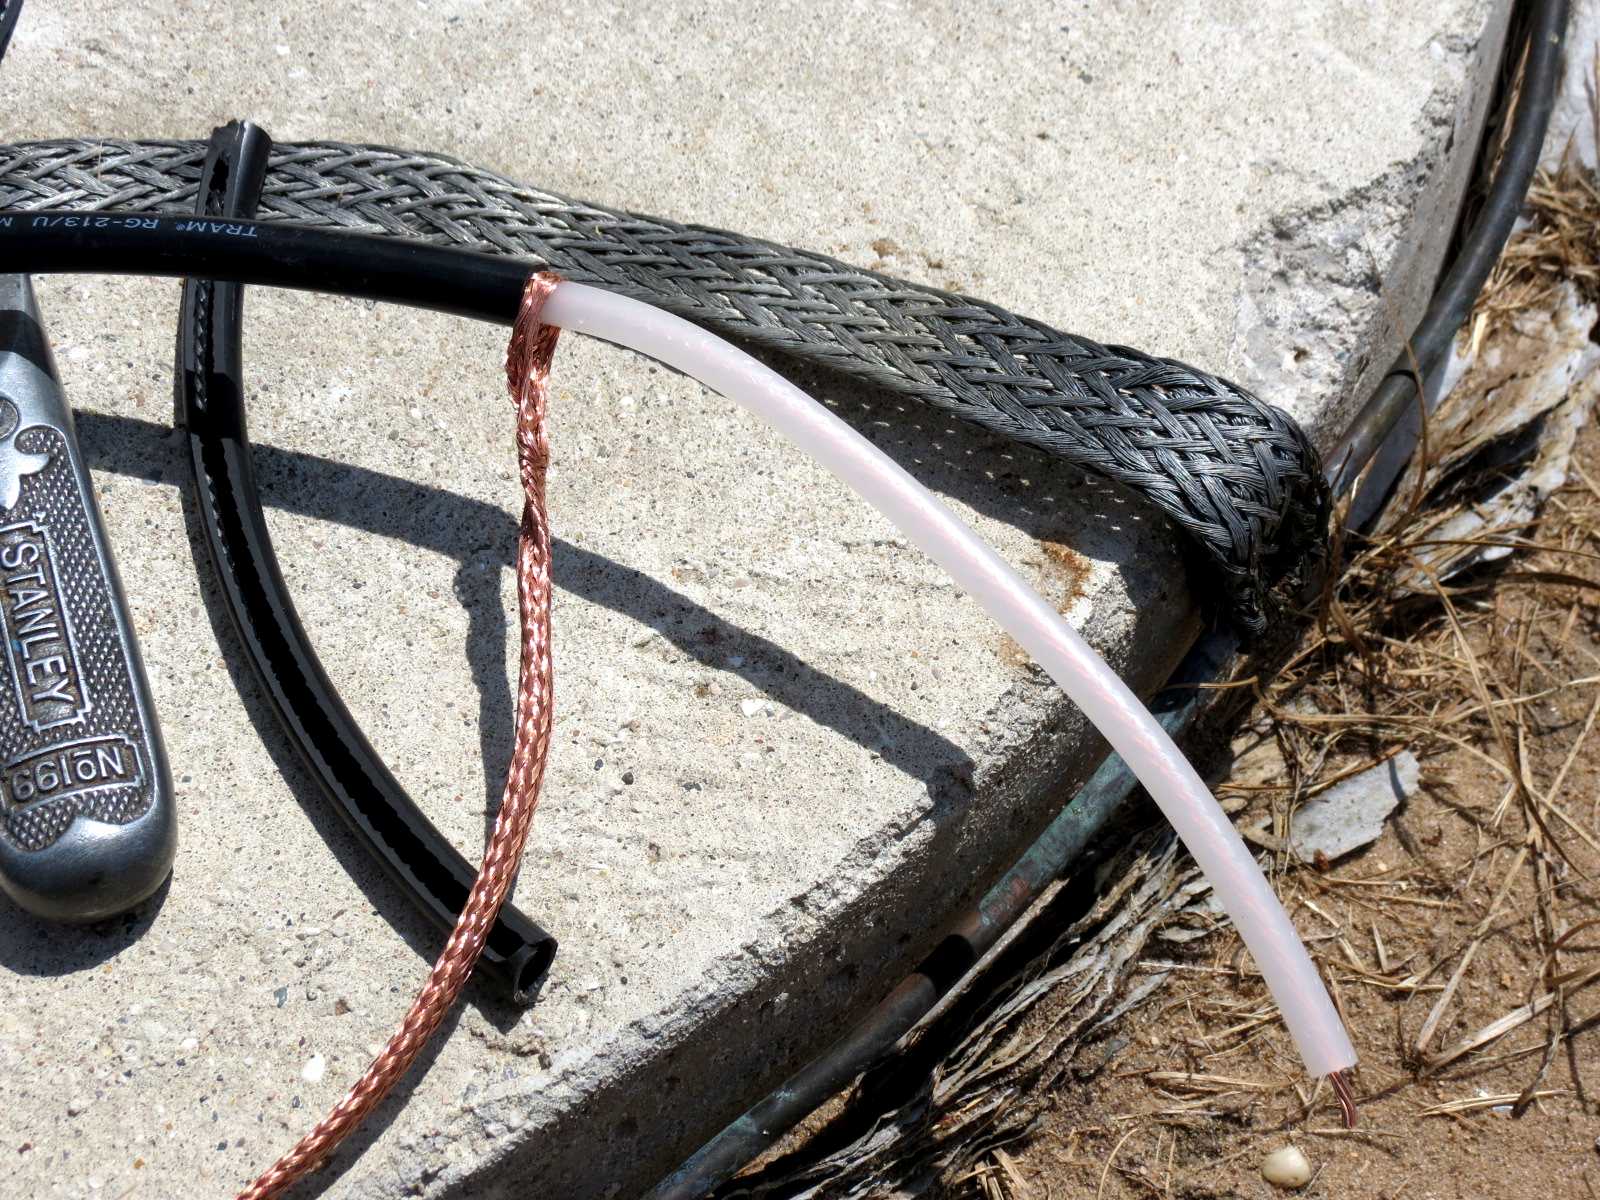
Flatten braid for later attachment.
Best stuff for WX progection of anything is Rubber Tool Dip, available
at most hardware stores - lasts for years.
Initial dip of pigtail end - 100% WX progection with this stuff.
Phasing switch installed and connected. Made my own double male for this
one.
Box with switch and phasing wires finalized.
Ground wire soldered to shield. This is also protected with Rubber Tool
Dip.
Brade attached to lightning progection spark gap.
Lightning spark gap provided by AC - as suggested by Art, K8CIT. Need to
re-galvanize this one. Best galvanize I've used was sent
to us from US Tower - BRITE GALVANIZE by Aervoe. Works almost as well as
original hot galvanize.
Any spark is dissipated by the counterpoise and lightning dissipation grid.